Growing From Seed: Kohlrabi

This is only my second time ever growing kohlrabi from seed. I grew them last, from seed, and used peat pellets. The same pellets that I used to start up the lettuce seed from the last post.

(THIS POST MAY CONTAIN AFFILIATE LINKS FOR YOUR CONVENIENCE. PLEASE REVIEW OUR DISCLOSURE FOR MORE INFORMATION.)

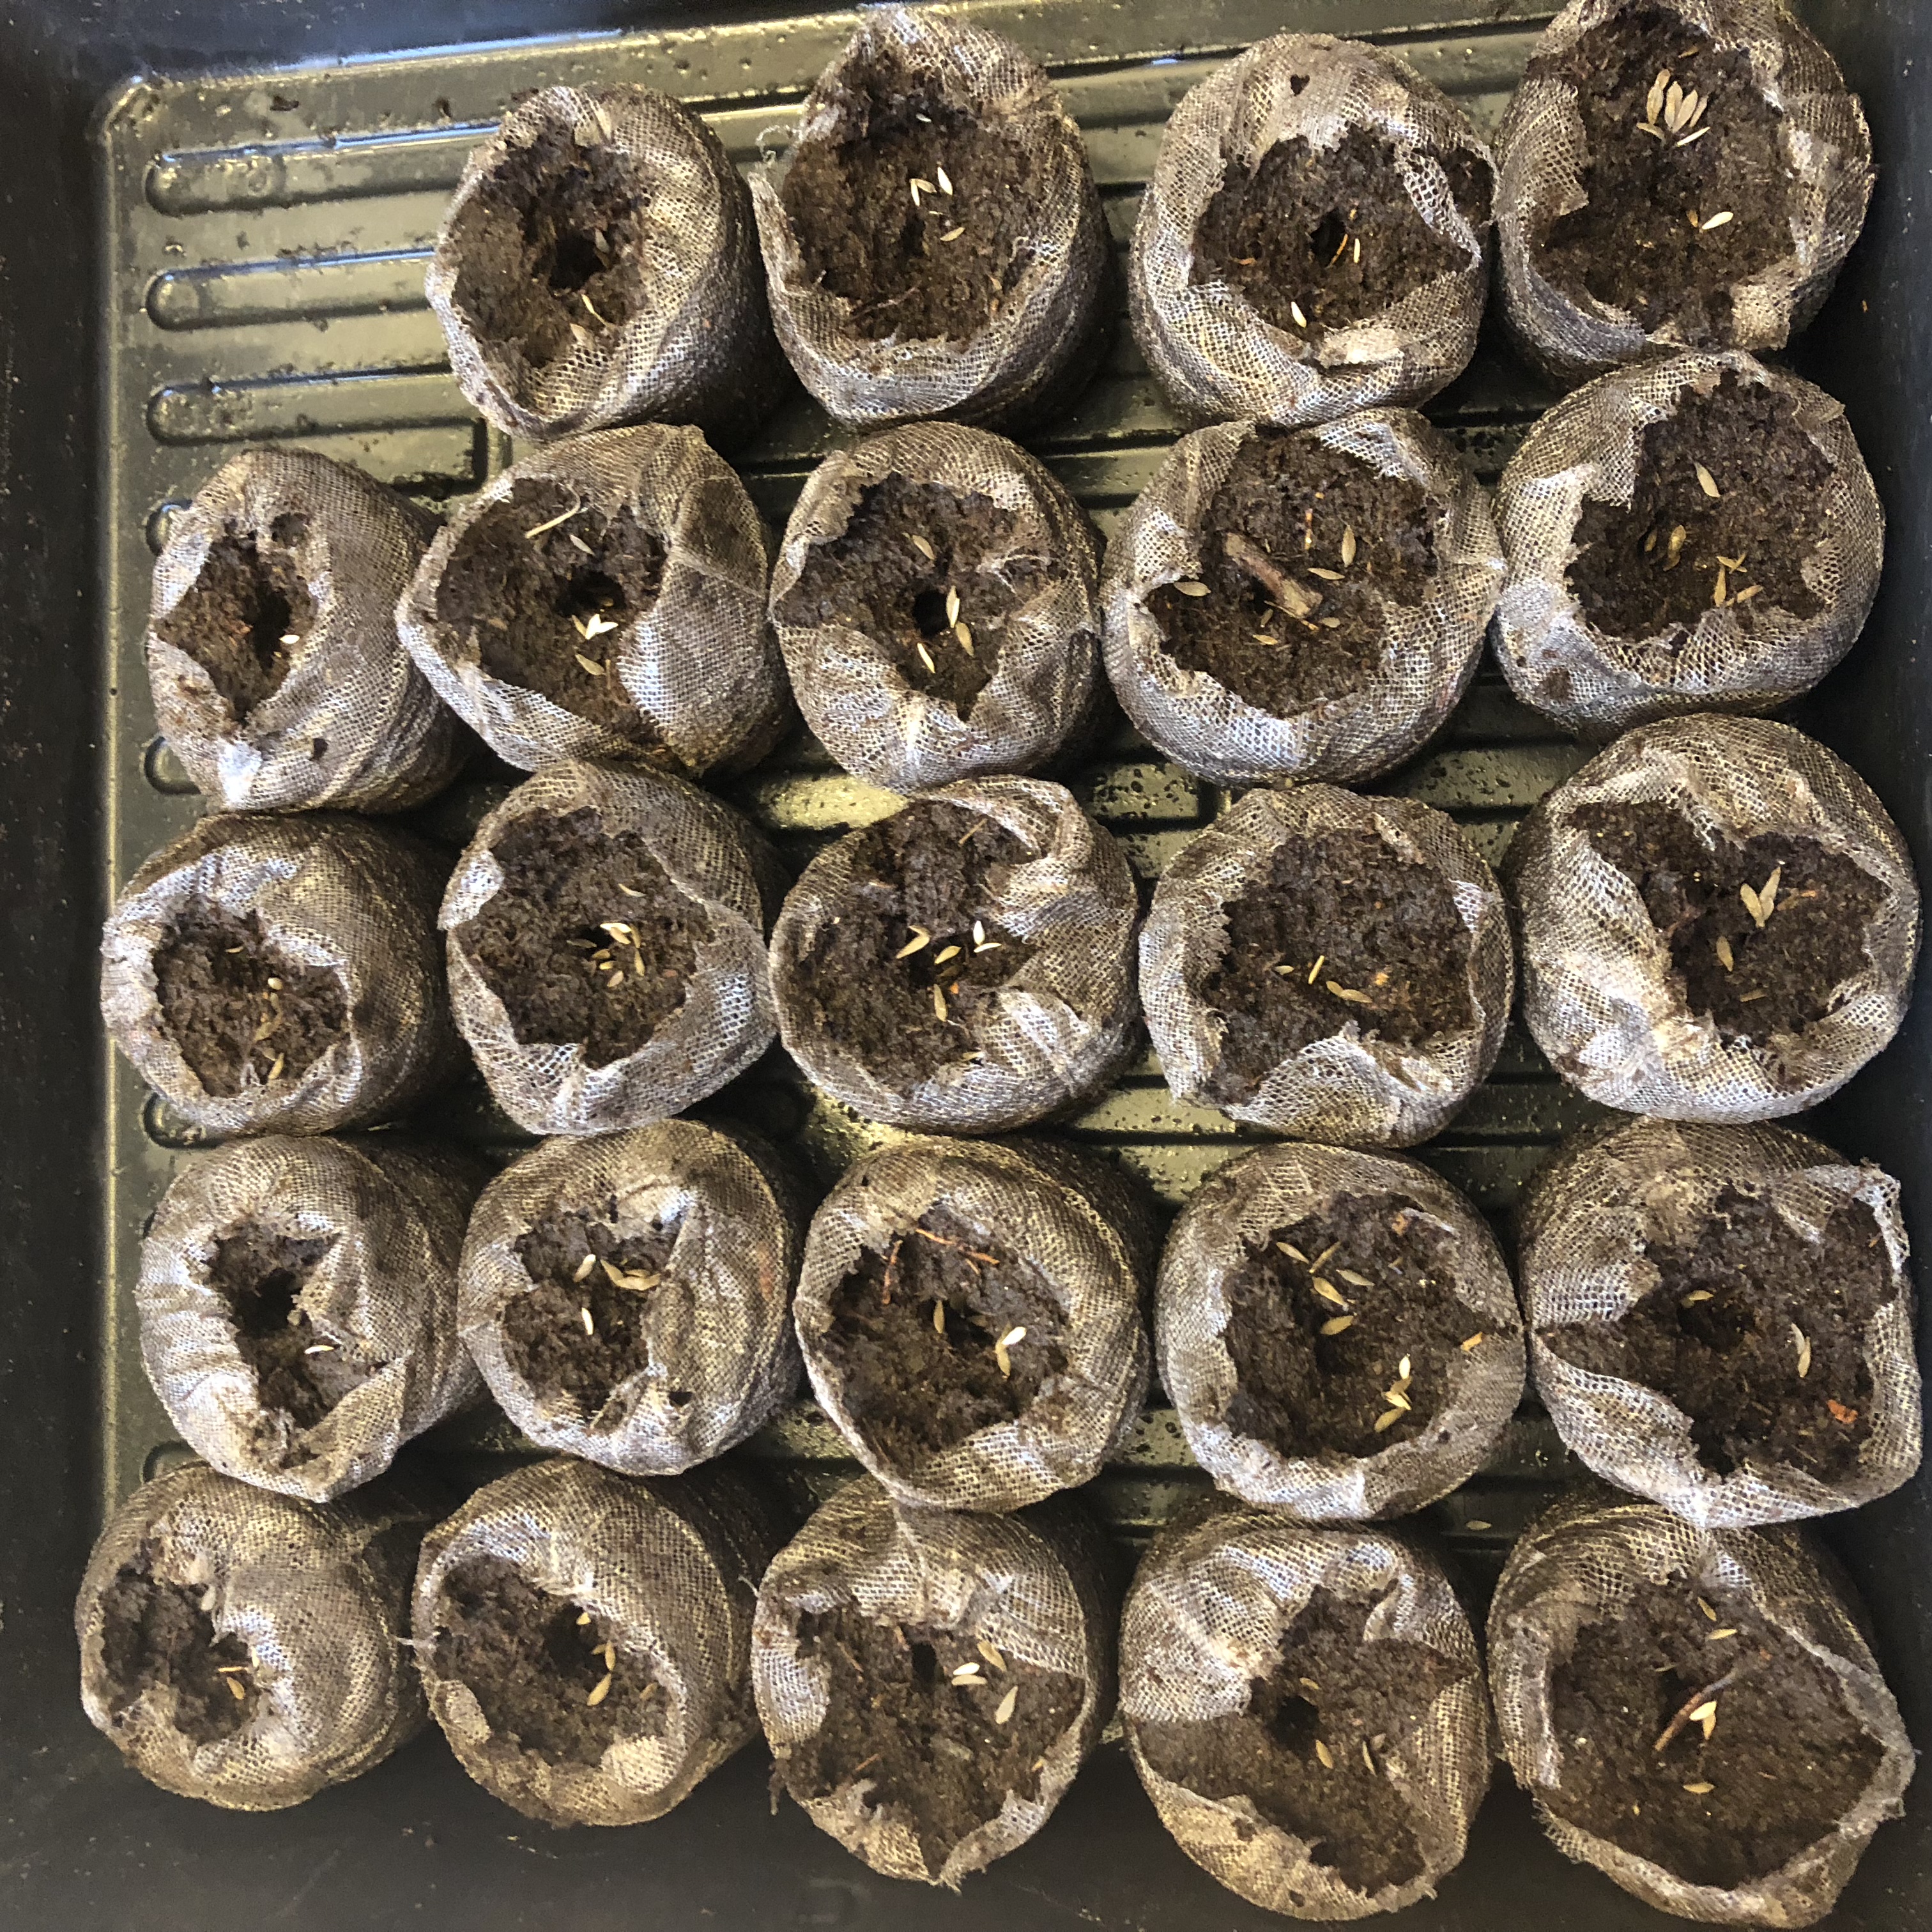
I had a couple free hours and wanted to get some seeds started but was out of pellets. I had a bag of soil and decided to use that. I set out the trays and filled them with soil. I dropped in a few seeds into each cell and pressed them into the soil. I lightly covered them with more soil and filled the bottom tray with water so that the soil could soak up the water.


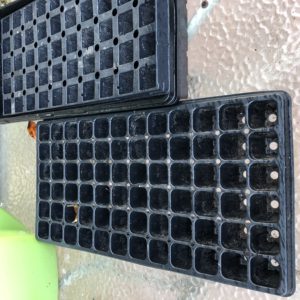
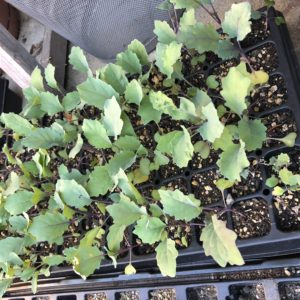
I put out all the trays in an area of the backyard where it would get some sun but not all day sun. I used that week of warm weather to my advantage and many of the seeds started to germinate.

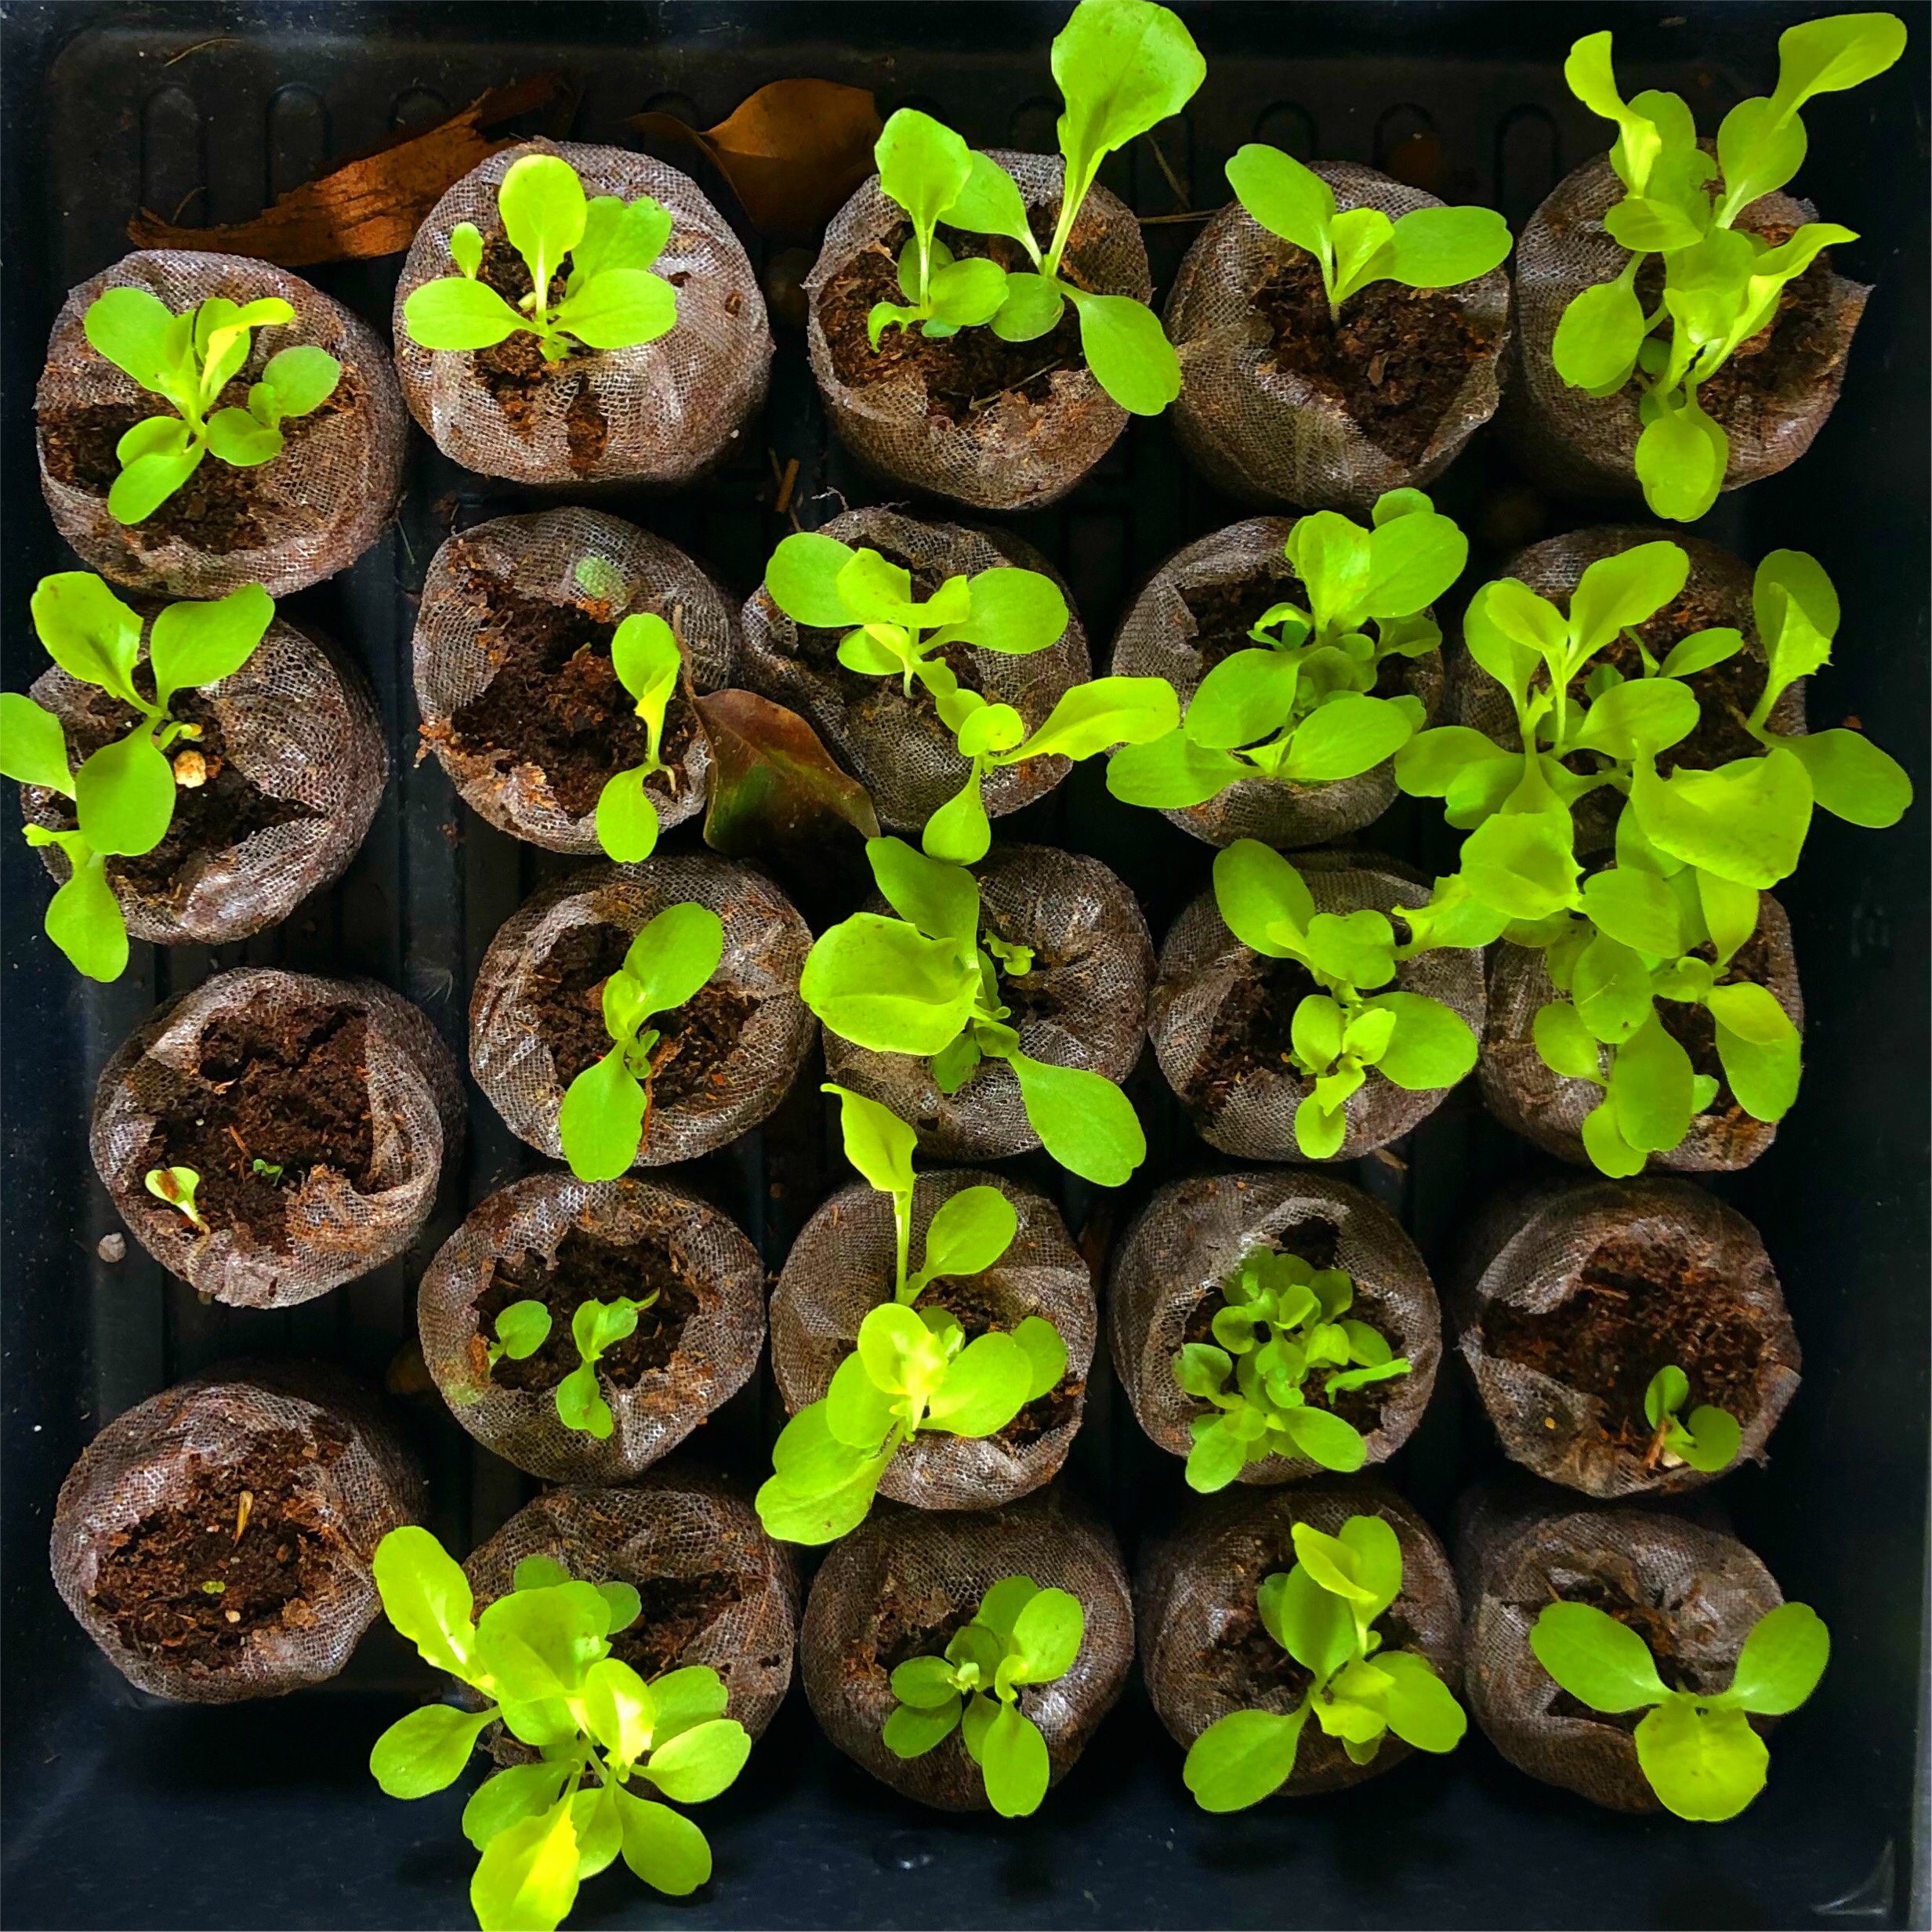
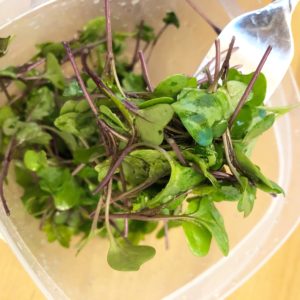
A few weeks later, I had to thin down the seedlings per tray from 3 or 4, down to 1. Those sprouts did not go to waste and went inside the house for a quick rinse. They were then mixed in with half a tablespoon of sunflower oil and were enjoyed as a mini microgreens salad. What is the point of letting them go to waste?

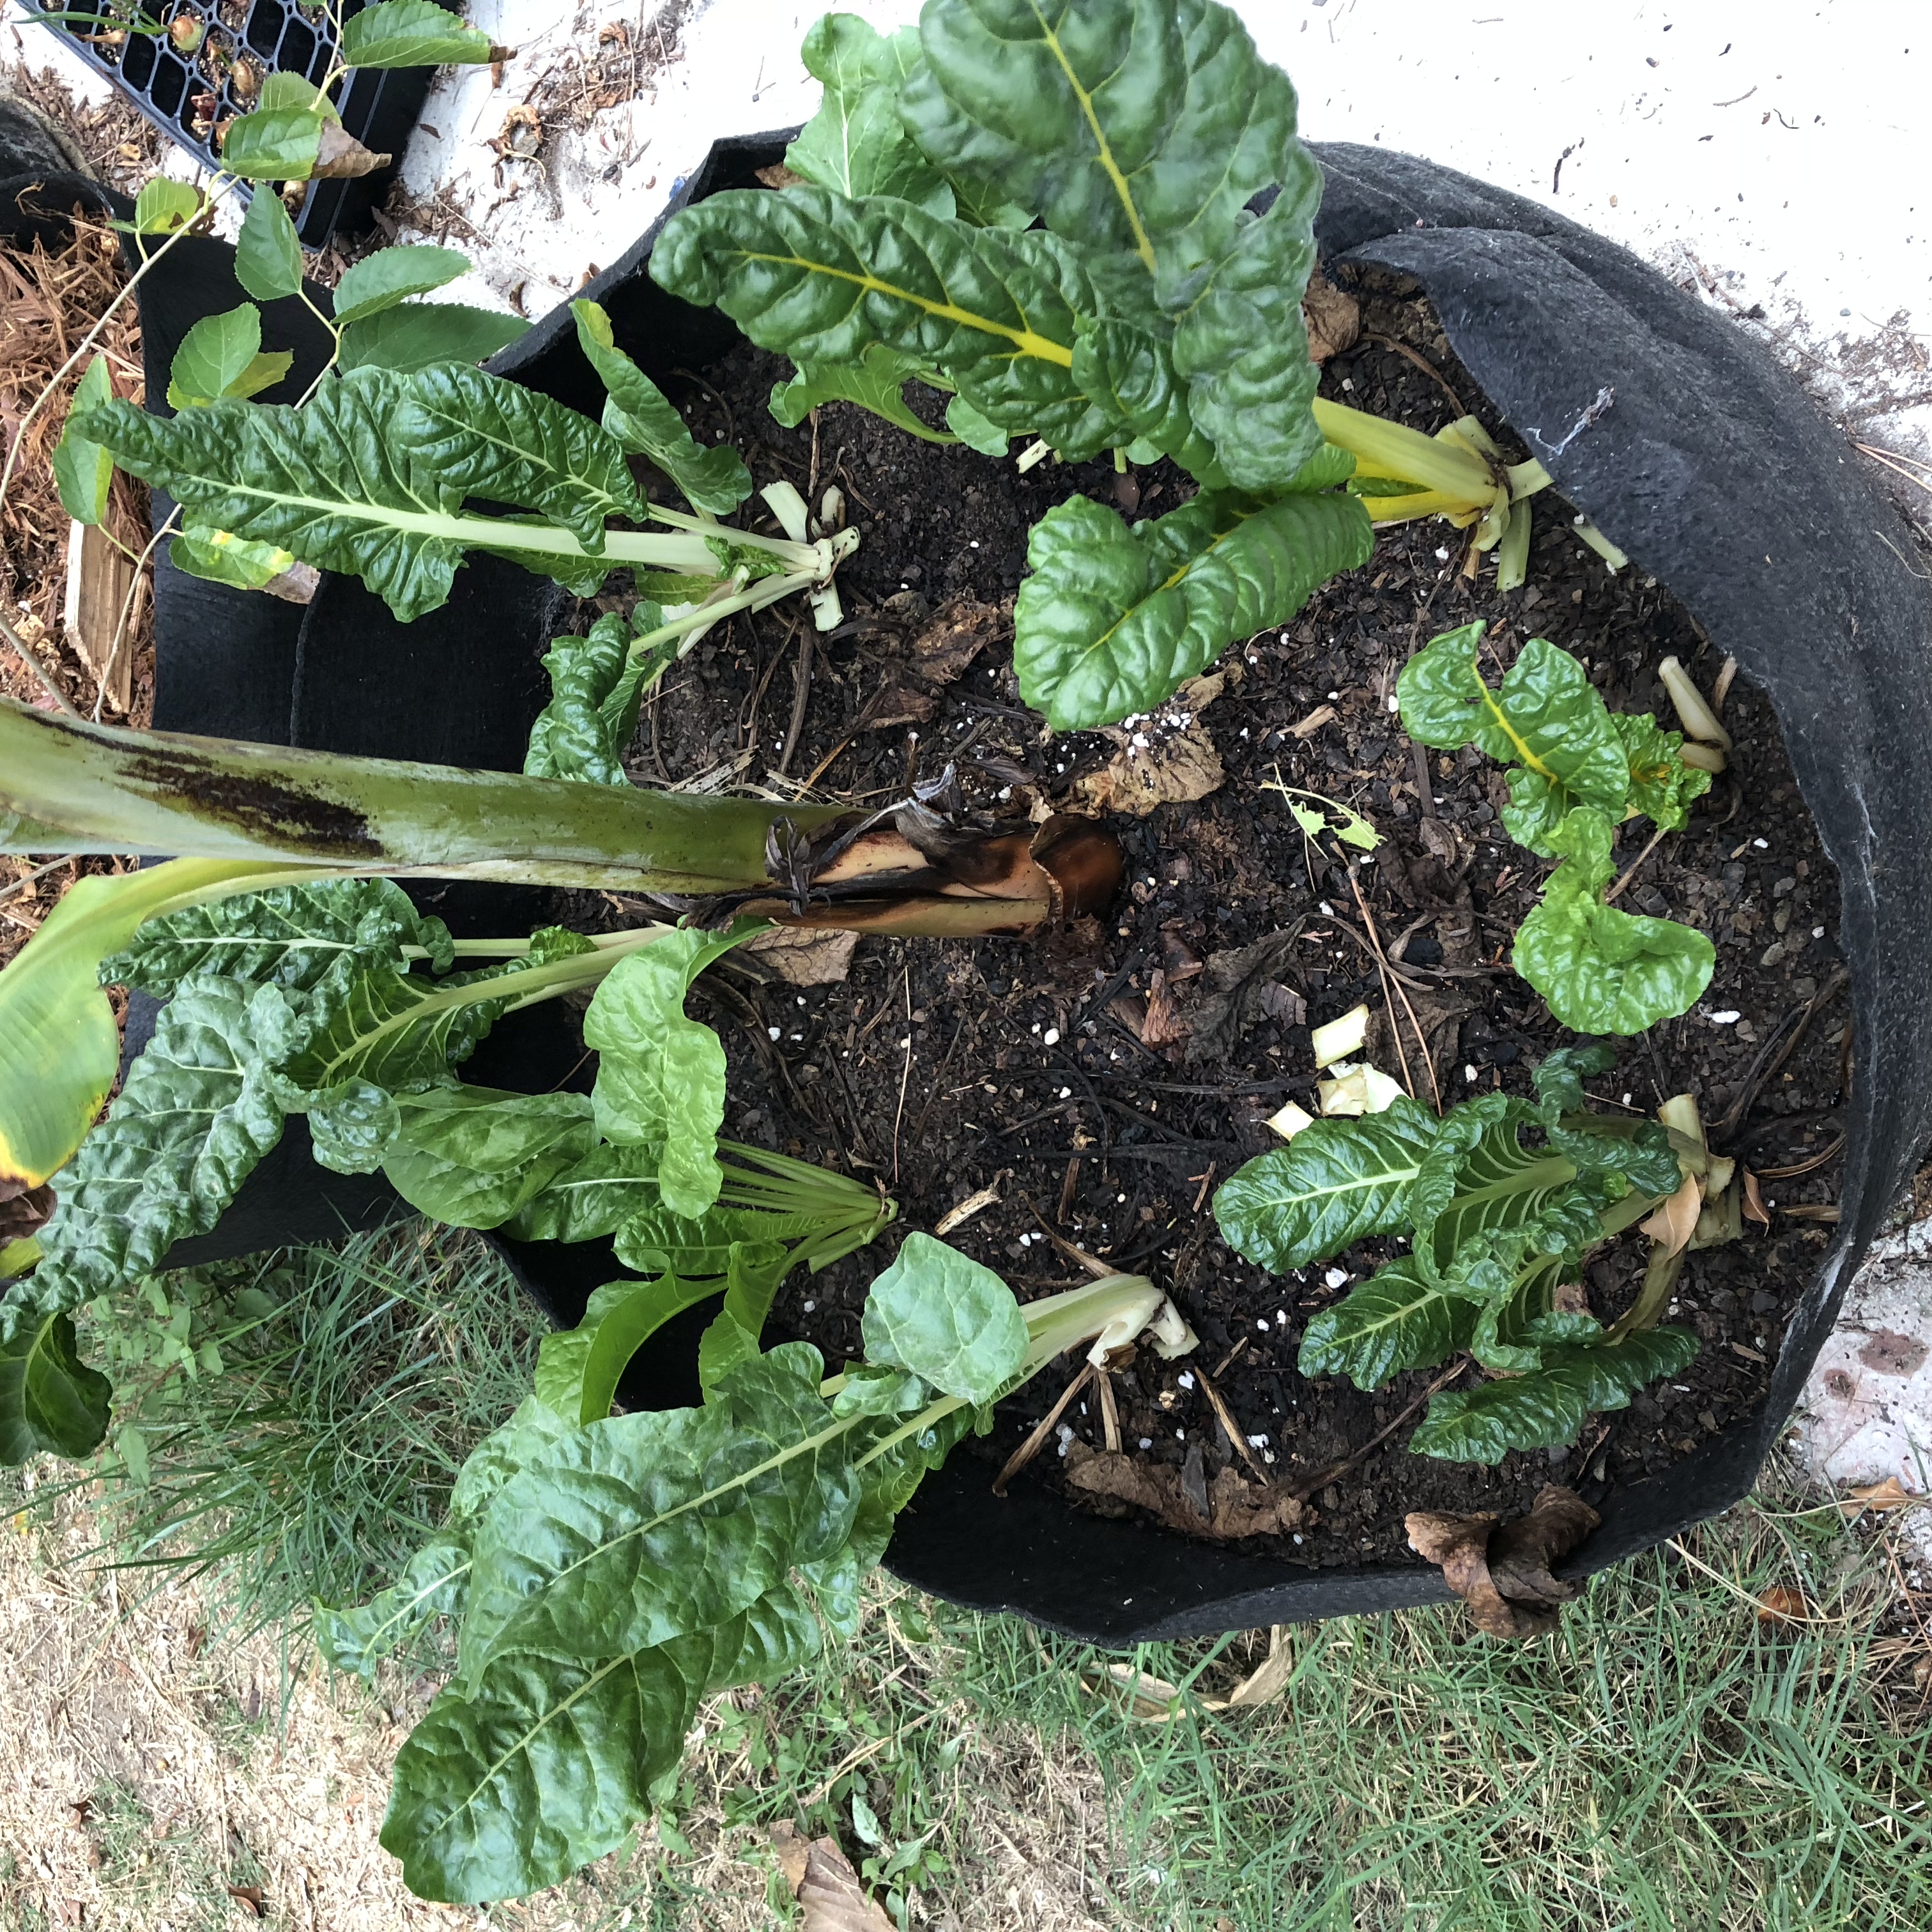
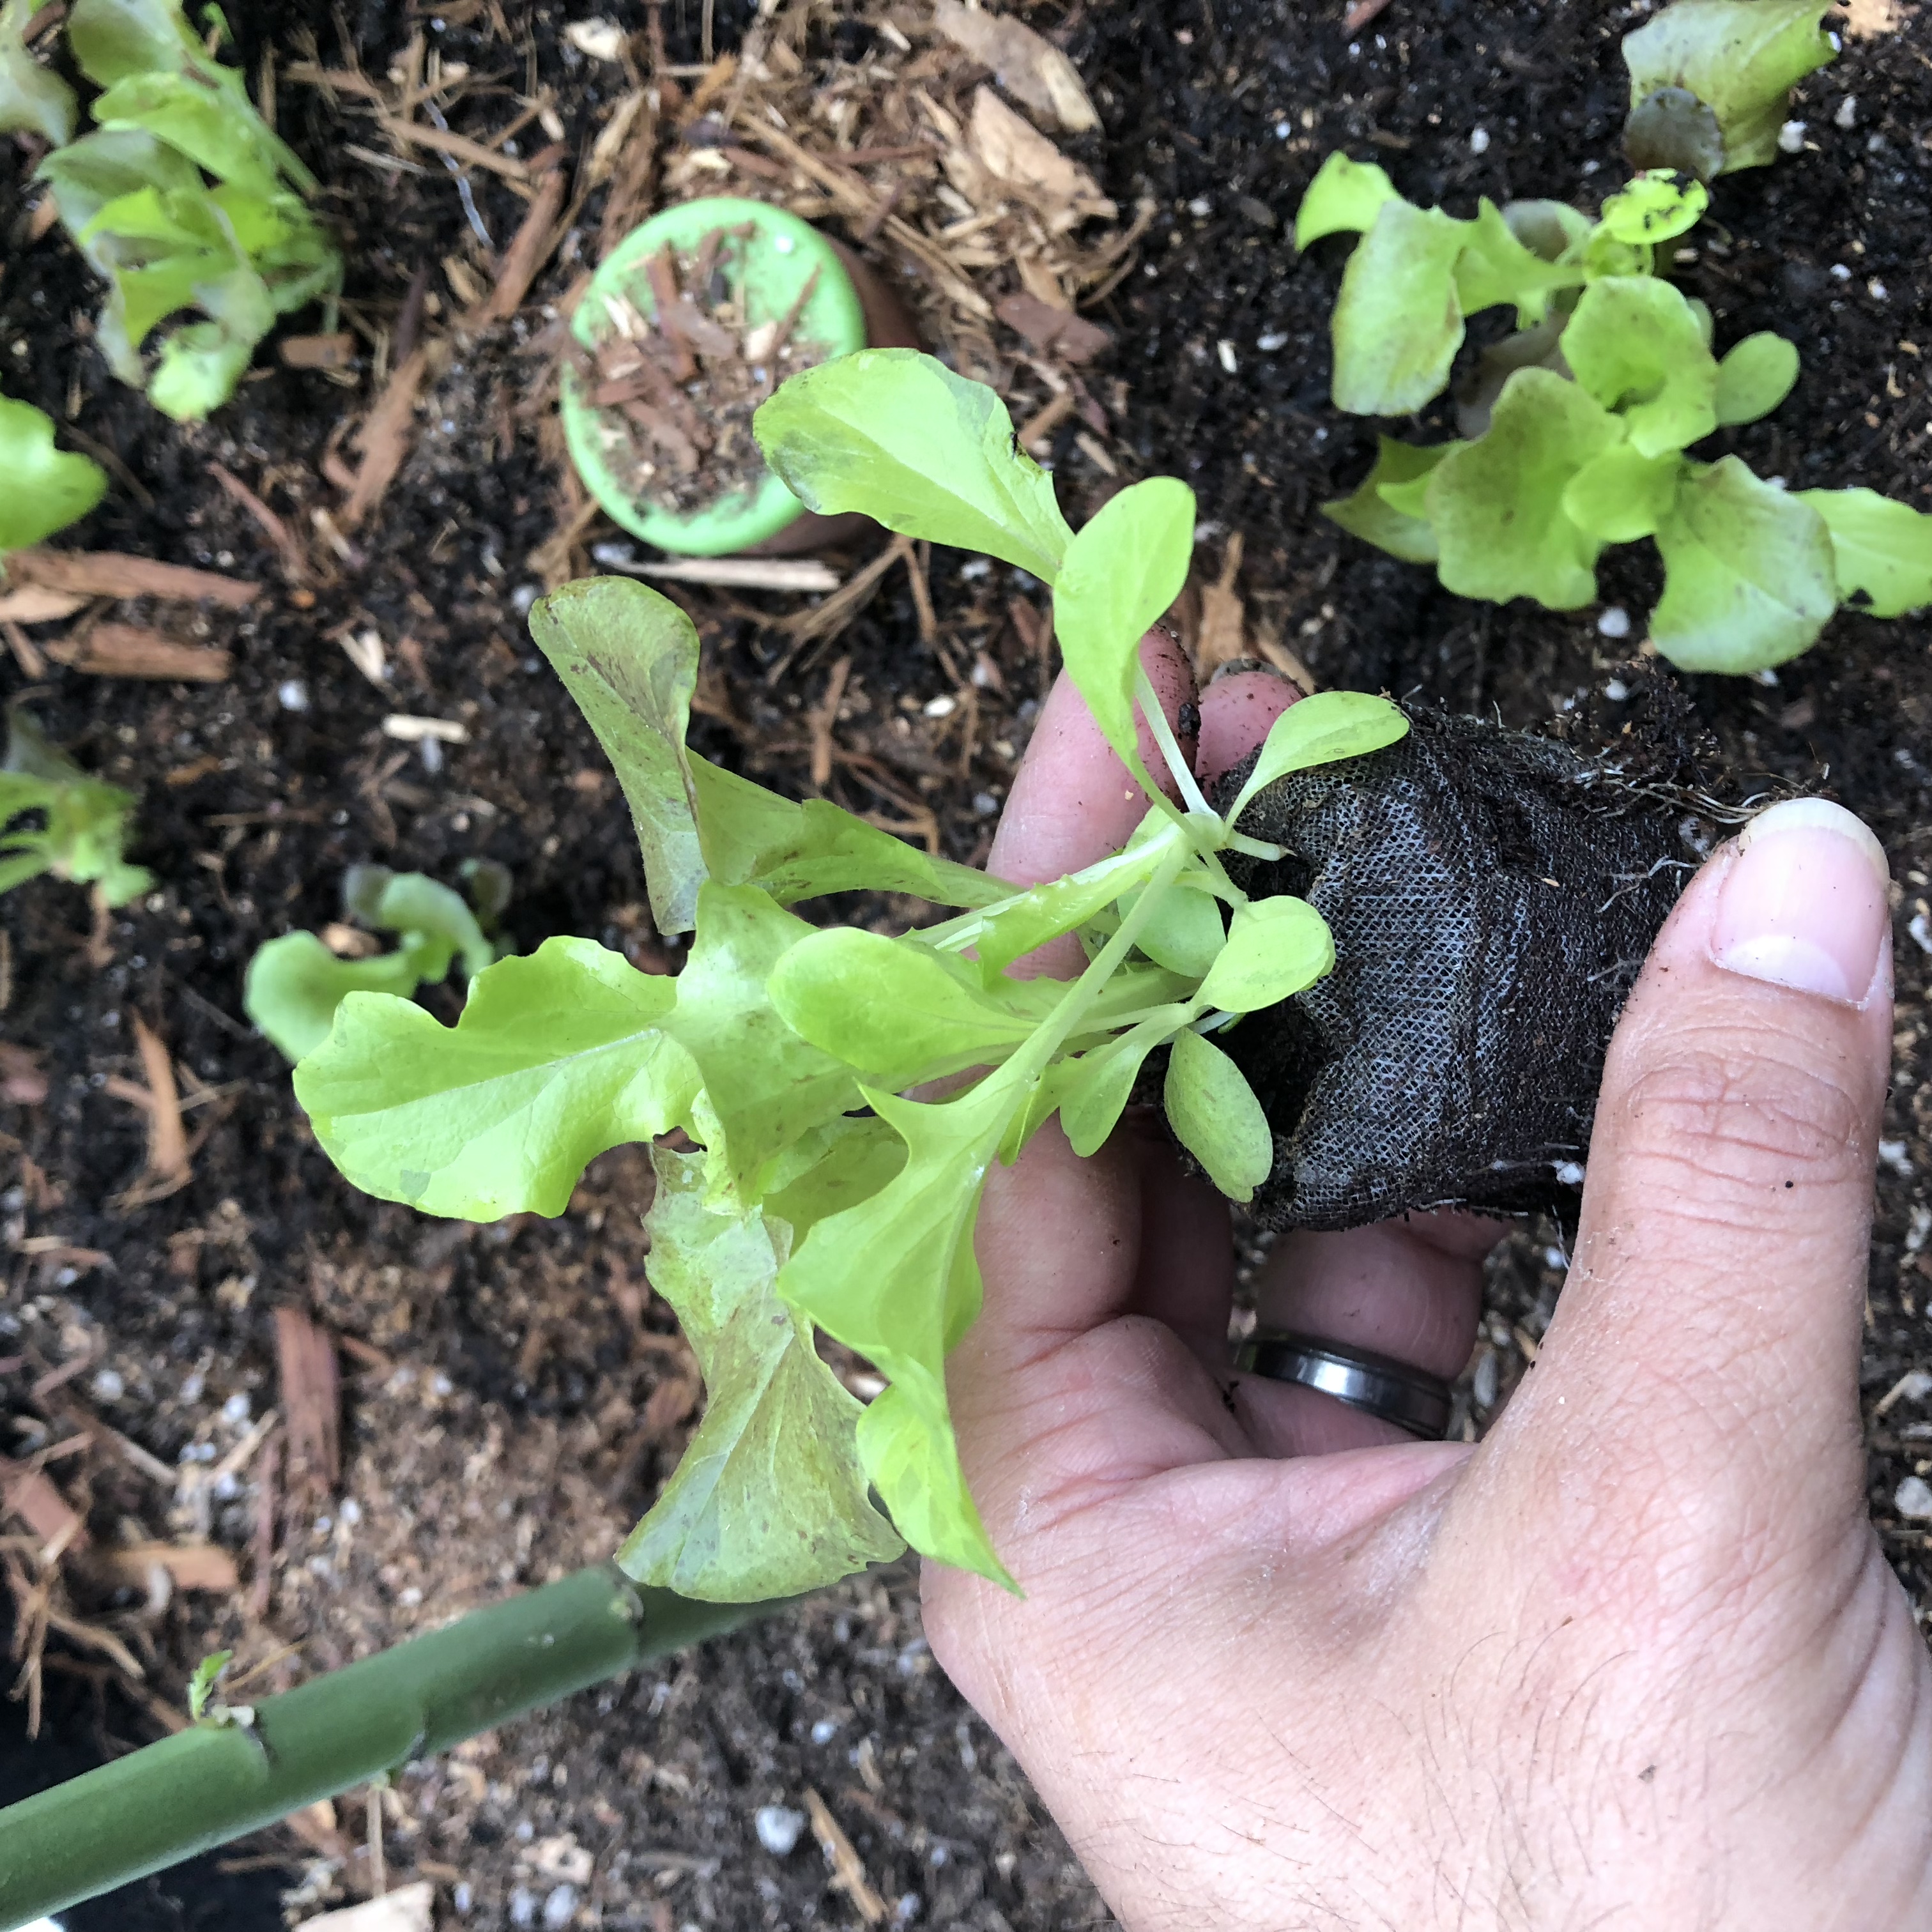
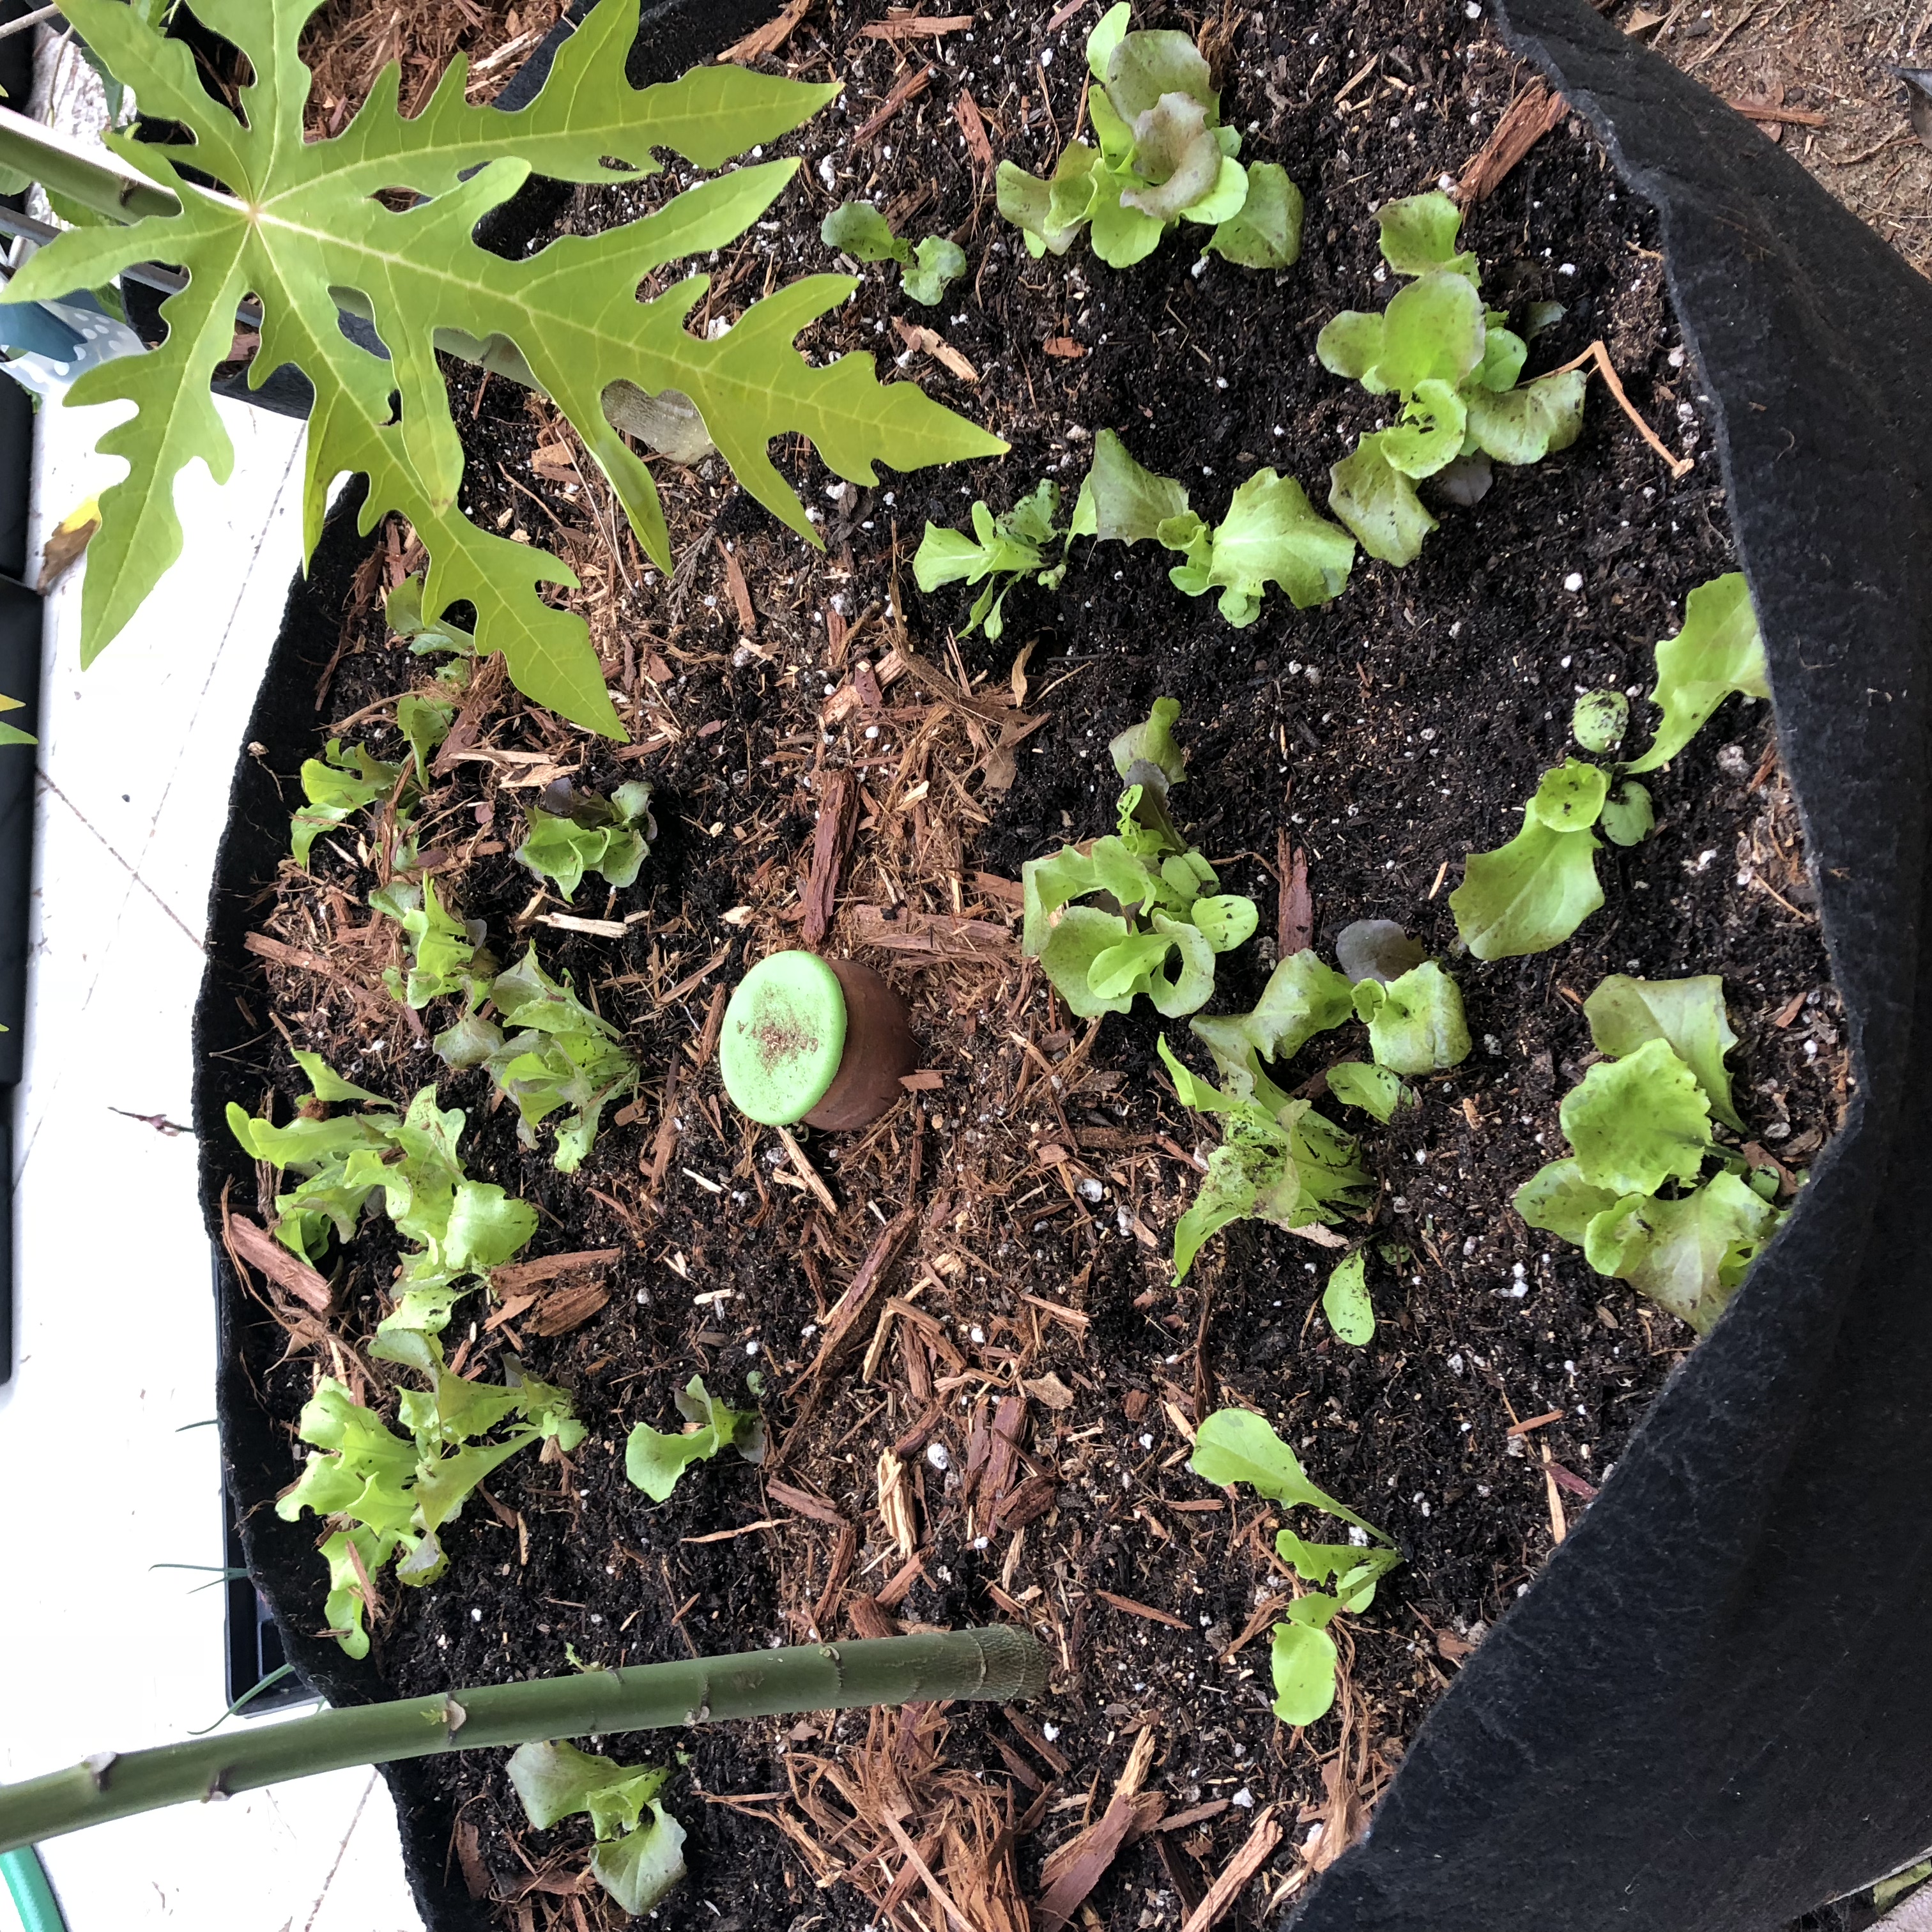
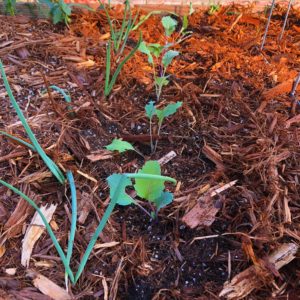
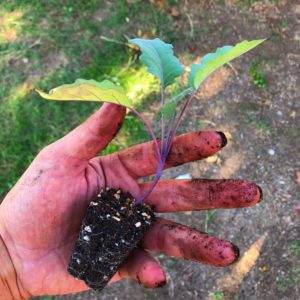
Once the plants were thinned, they were just checked for moisture levels and watered when needed. After a few more weeks of growth, they were planted out into the raised beds and some into 6 packs to be transplanted out at another garden.

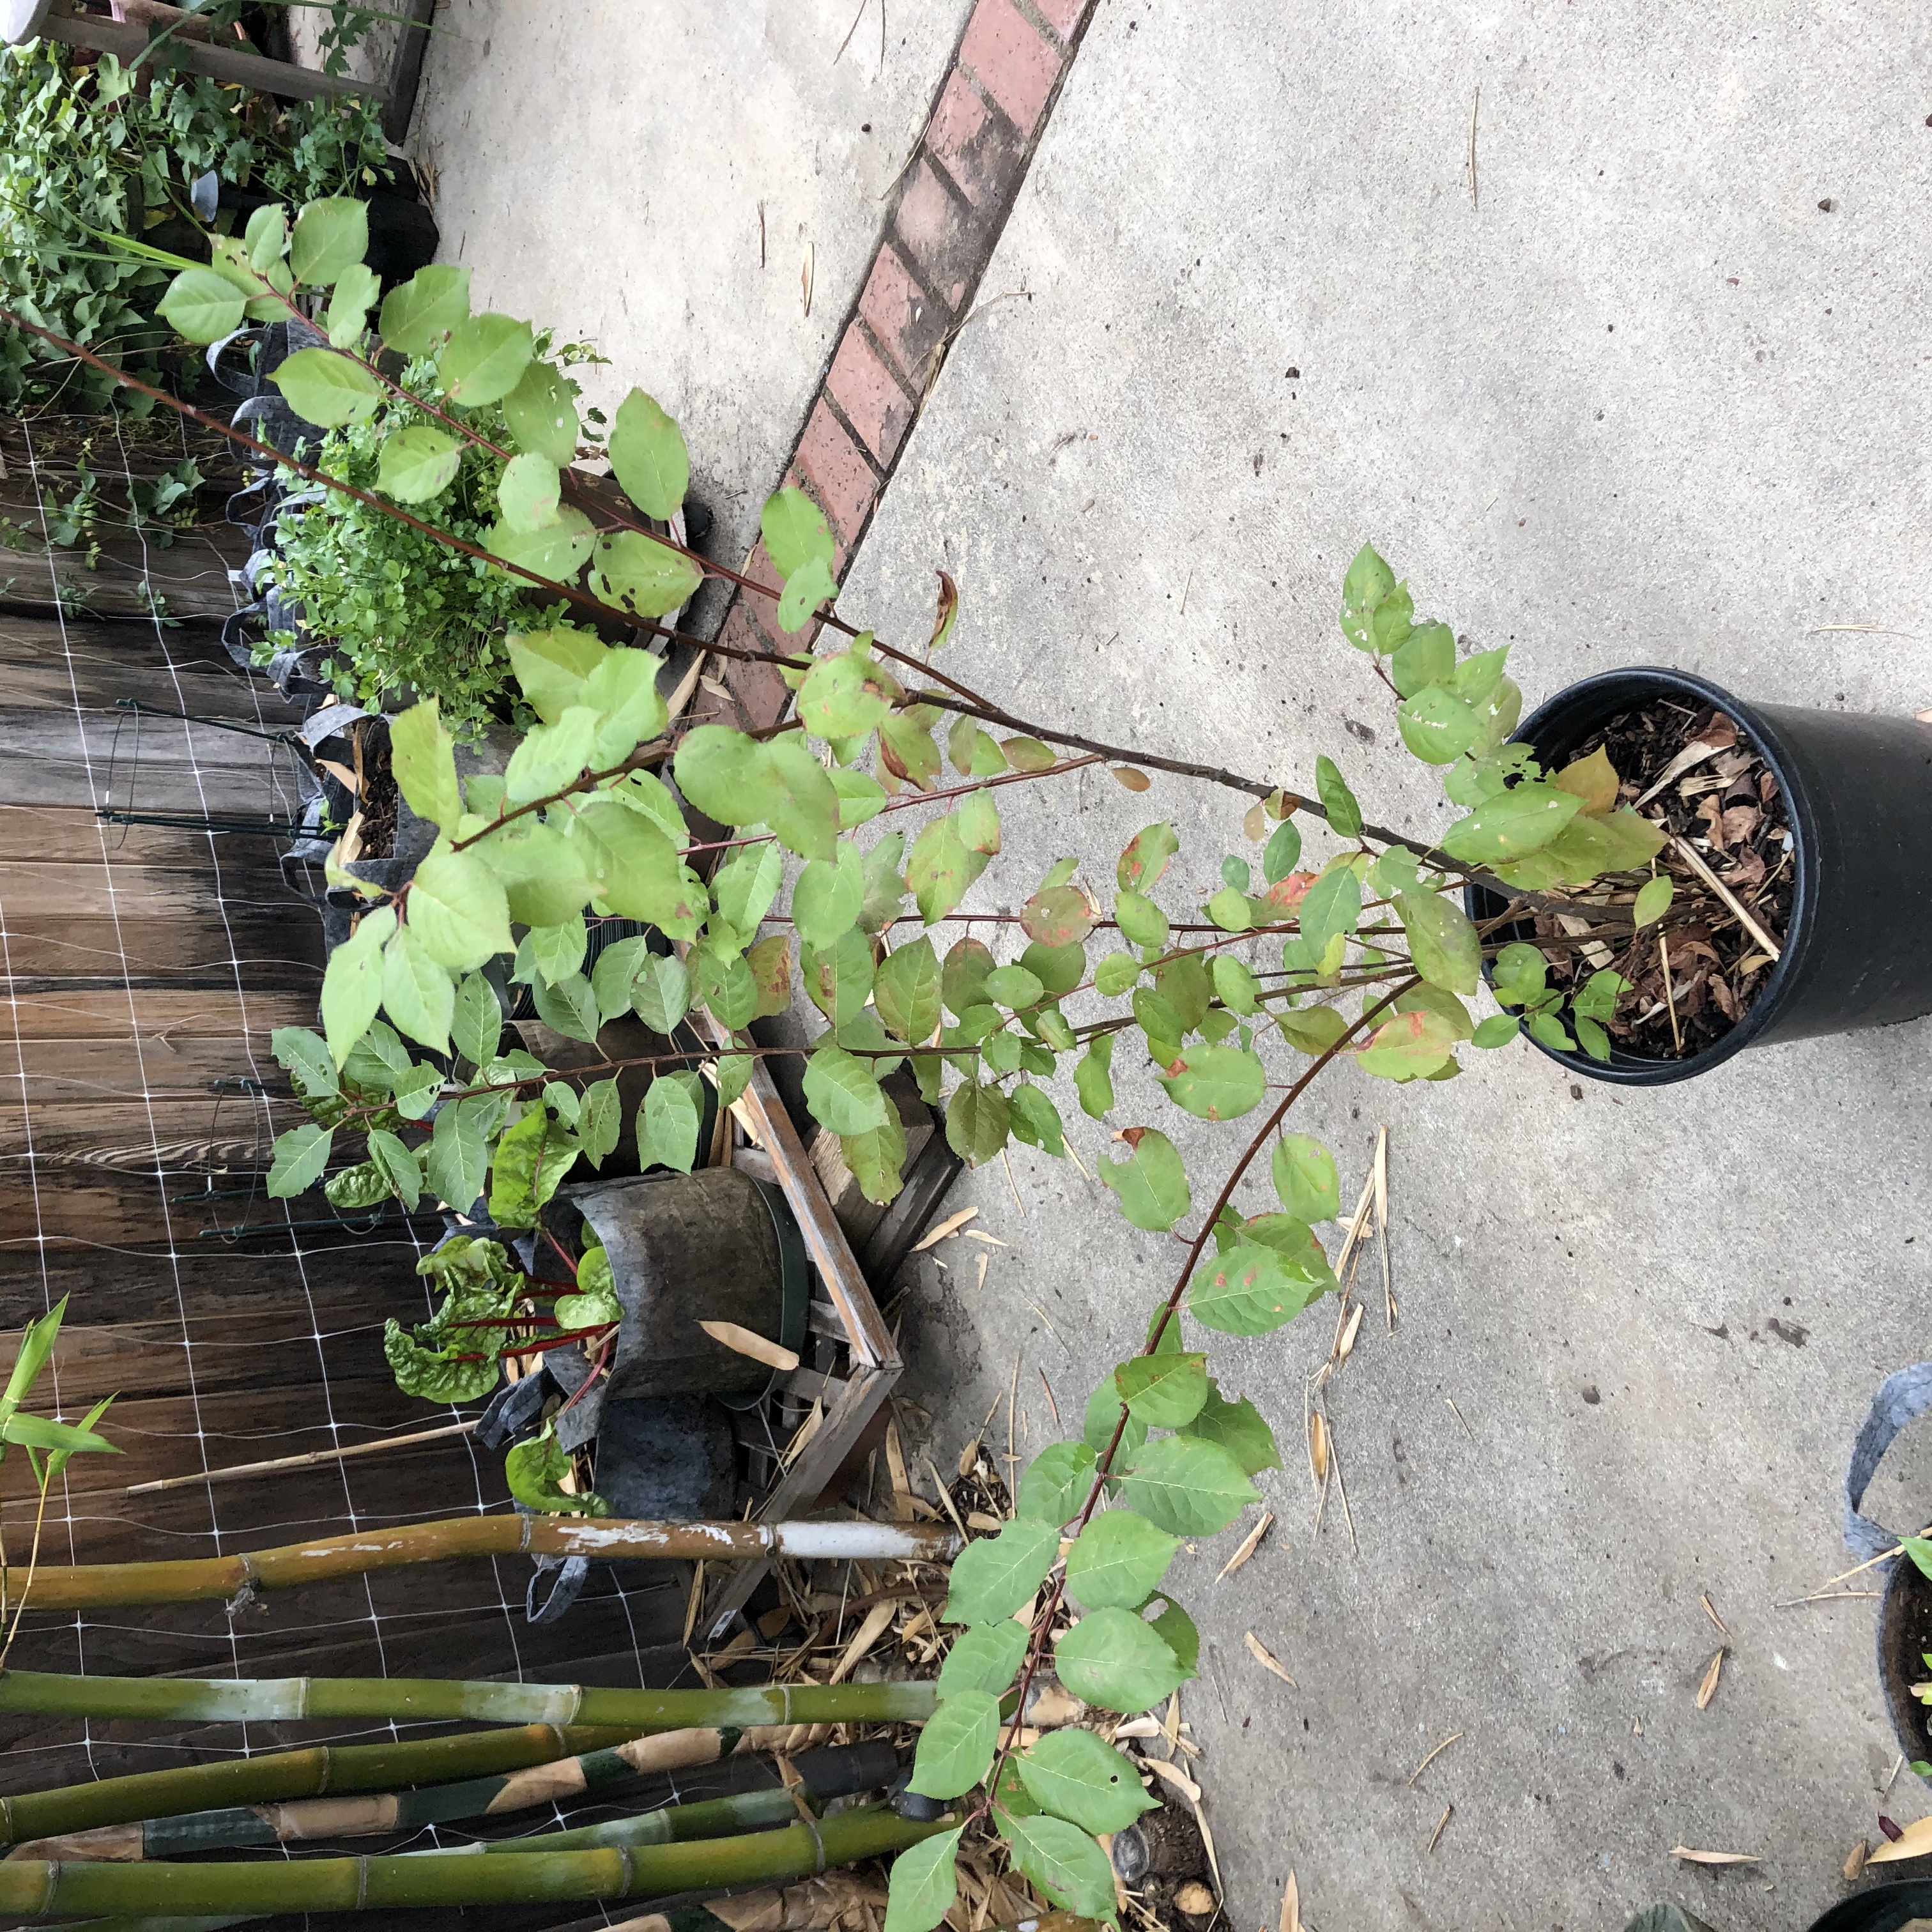
The plants will stay here until they are ready to harvest. I’m just hoping that the weather cooperates and we can be enjoying these very soon. One thing that gardening has taught me is patience. We are always so busy around here that it should not seem that long of a wait.

Luis

Materials List:

  1. 10×20 trays
  2. Seedling Starter Trays, 720 Cells: (120 Trays; 6-cells Per Tray), Plus 5 Plant Labels

  3. Seed starting Medium: Coco Coir Bricks, Seed Starting Mix, Potting Mix


Container Gardening

This post is for those people where space may be an issue and large planter beds are not feasible. You would be surprised as to what can be grown in these small spaces. Of course, not all plants do well in containers but there are many that actually prefer it over being in the ground directly.

(THIS POST MAY CONTAIN AFFILIATE LINKS FOR YOUR CONVENIENCE. PLEASE REVIEW OUR DISCLOSURE FOR MORE INFORMATION.)

When I started my gardening adventures, I planted directly into the ground but ran out of space and would not be able to fit the tray of plants I had started. I also wanted to have better growing conditions than my clay soil and by bringing in containers to fill with potting mix seemed easier. It also made more sense for me at that time. 

The containers can be pretty much anything but there are some minimum size recommendations. Most plants will not fruit until it feels anchored and a larger container may be needed. I am not saying you need a massive 20 gallon pot. Although if you have a dwarf tree of any sort, I have a kumquat tree, you may need one but most plants are fine with a 5 gallon pot.

Google brings up over 132,000,000 results for container gardening that may be more informative and much more thorough than this post. I invite you to read more than my 1 post. You will find A Guide to Container Gardening, a chart that shows minimum size requirements of containers for certain plants, here and many other pages.

Containers can be expensive, cheap or even free and who says they have to be ugly? Your creativity should be expressed. Stickers, paint, bottle caps and many other things can help spruce it up.  Your imagination is the only thing hold you back when decorating these containers.

I have used a rectangular salad container to start up some beet seeds and once they got big enough, I put them in the same container as my kumquat tree. The pot is so massive that the tree has room around it for more vegetables and this shows how one pot/container can be used for multiple things. If you have started your own seeds, possibly in your egg cartons or just in small containers, they may need to be transplanted into bigger pots at some point. Of course, the amount of available room for your garden will dictate the size of your containers and may require some creativity but may still bring in some vegetables or herbs.

A Smartpot with chard and a banana tree.

Well, I think this should give you some ideas as to where to begin. I know I did not go into detail about everything but I tried to include some useful links in the post. I am always here to try and answer any questions. As I have said before, I do not claim to have all the answers and do not thin I ever will, but may be able to lead you in the right direction. I also invite anybody that has comments / ideas / constructive criticism to post a comment with their information or idea.

Here are some products that may help:

  1. Smart Pots
  2. Patch Planters

Luis


Growing From Seed: Lettuce

(THIS POST MAY CONTAIN AFFILIATE LINKS FOR YOUR CONVENIENCE . PLEASE REVIEW OUR DISCLOSURE FOR MORE INFORMATION.)

Lettuce is one of the easiest crops but can also be the hardest to grow. They sprout pretty easily but you can’t let get them too hot as it will bolt/ go to seed. Once that happens, they usually become bitter.

This post is about my most recent time starting lettuce from seed by using peat pellets. I had some left from a bag of 200 that were ordered on Amazon.

I filled a small tray and added warm water. The little pucks expanded and were ready for seeds. I dumped out the extra water and made sure that there were openings in the netting for the seeds. The seeds get covered in the peat and were left alone for a week.

I put the tray in an area of the backyard that gets some sun but not all day. I was lucky that the pellets didn’t dry out. If I had put it in full, all day sun, they would’ve dried out in a day or two. If it doesn’t feel moist, just add water to the tray or container that the pellets are in. They will soak up the water and you just dump out out the extra water.

I left them alone and the seeds just exploded in growth. Once the plants got a little size to them; they were transplanted I to a large Smartpot that already had two small papaya trees and a Growoya.

I simply moved back some of the mulch, removed the netting on the pellet, made a small hole and dropped in the whole pellet. I backfilled with soil and cover it back up with mulch. As always, water when you transplant. It didn’t take much as the Growoya keeps the soil pretty moist. I just refill it once a week.

That’s it. You don’t need any fancy equipment. I may check on these lettuce every few days but I hope to be eating from here in couple of more weeks or less.

Here are the Amazon links:

1. Peat Pellets

2. 10×10 Trays

That’s all you really need, other than seeds. It only took 3 weeks from seed to transplant. We should be harvesting in another week or so.

Are You Gardening? Why Not?

I’m back with another post and this time I am asking as to why you are not gardening. I ran a google search for reasons to not garden but did not find anything that satisfied me.

If space is an issue, there are ways around it. You can try container gardening. There are many posts out there and all you gotta is just search for it. I started by using containers and will continue to do so in one way or another.

When I originally started gardening, I thought it would be too difficult but it has not been too bad. I am not going to lie, there is a learning curve. Although, the internet is there to help with every question / issue to that may arise. I started by tossing seeds into soil and added water. It is nerve racking not knowing as to whether or not anything will grow. When the seeds start sprouting, there is no feeling like it in the world. 

The general guidelines for seeds is to follow the directions on the packets. Those packets give you all the basics for those specific seeds. It will not give you every last detail but there is always the internet. When buying seedlings, keep those little tags that come with them and refer back to them when necessary. These tags offer similar information about the plant and help you keep them healthy.

Keeping your plants healthy does not have to be expensive. Gardening in general does not need to be expensive and there are many ways to achieve this. I have bought containers at the 99 cent store, and the spring sales are a great way to pick up potting soil and everything needed. Craigslist, Freecycle and the Pennysaver are great resources for free or near free stuff that you may need. 

That’s what I can think of now and would love to hear as to other reasons out there. I cannot promise that my information or ideas will work for everybody but at least you have started thinking about it. I leave it up to you to do more research about on the subject and not take my word as the absolute truth. There are new products and many other things that change out there daily.

Luis

Farmer’s Markets

I know there are many articles out there that try to get you to grow anywhere even if you don’t think you have enough space. Space may not even be the issue; it could be many different reasons. Regardless, it’s not always easy to grow everything yourself and that is pushing people to shop at farmer’s markets. The other reason is that most people see that we have a broken food system and all the chemicals that are constantly being used on our food.
The next best thing to growing your own is to buy from local growers. Meet your farmer and talk to them about their methods. You want to be as local as possible and may even be hyperlocal when you do a little research. You cannot do that with the conventional, broken agricultural system. 
Farmer’s markets are popping up all over and that gives the consumer more options to shop around. 
To find your local Farmer’s Market:

Farmersmarkets.usda.gov


In this dynamic; it makes it harder on the farmers and growers. They need to find ways of standing out. They may provide specialty items or unique/rare varieties of fruits and veggies. The issue is that once everybody sees what is selling; they all jump on the bandwagon. That farmer will need to keep innovating season after season and this keeps them on their toes.
It is hard being a farmer with the very long hours. These hours include: planning, seeds, planting, weeding, pest management, harvesting, packing, working the market, all the accounting work and many more things. It’s amazing that they get so much done.
So next time you walk through a farmer’s market please talk to them and see what they have to offer. What you see on their tables; really are the fruits of their labor. Please don’t even try to get a “better deal” on something. They have earned every single penny.