Basic Drip Irrigation

Hello and welcome to the Basic Drip Irrigation post. If you came from my video on YouTube, Welcome! If you found me any other way, Welcome as well!

Let’s get right to it.

Shopping List:

Basic Process:

  • Connect Hose End Splitter Spigot
  • Connect Orbit Timer
  • Connect Pieces from Main kit: Backflow preventer, pressure regular and connector to switch over to main 1/2 inch water line.
  • Use tephlon tape on connection points and wind clockwise so it doesnt come off as you are adding pieces.
  • Attach main 1/2 inch line and start combining connector pieces to put together a path to cover all your beds, containers or in ground areas.
  • Use Deluxe hole punch to connect 1/4 inch lines to main line and then off to sprayers and / or drip line with built in drippers.
  • Turn on water to clean out 1/2 main line of dust and debris.
  • Make sure all your areas are covered.
  • Use figure 8 piece to cap off your main line.
  • Set your timer and run it to test that there are no leaks.

Tips and Tricks:

  • Draw out a diagram of your garden to know how many connections you will need for your 1/2 inch main line. Map out the tees, elbows and extenders. Check the pieces in the kit and buy necessary pieces before going home to install.
  • This is mainly for the line without the holes. The line with the built in drippers is thinner and easier to get them connected. I use the lighter to help soften the end of the 1/4 inch line to help get the barb connectors in. You can also have some warm water, in a container, to get the same result. You can also leave the line in the sun to make it more pliable.
  • Lay out your 1/2 inch main line in the sun to help mold it around the areas that you need.
  • Don’t be afraid to cut that 1/2 inch line or any other pieces but remember to measure twice and cut once.
  • Don’t take yourself too seriously.
  • Practice makes better.
  • Prepared to get wet! It happens.

I think that this is the very basics to get you started. If you have any questions and /or constructive criticism, please comment. I will try to keep up with the comments and may even edit this post if there is something that is missing. I’m sure there is as I’m only human.

I hope that this post gets you thinking about taking on the task and you will learn something along the way. It would be amazing if you get going on the install and completing it.

This is not meant to be all inclusive of every situation and it will not fit everybody’s space but it is a starting point. You can start with a smaller main kit. I believe there is one for just container / patio garden that doesn’t include the 1/2 main line. That’s fine. Use it if it fits better.

You don’t have to even buy a kit and buy each piece individually but just be sure to grab all the same pieces, especially for the first few pieces connected to the main line. You can even add a filter to the main line but I never do and the systems run fine. It is all about customizing it for yourself.

If you are a visual learner and would like to see a video overview of this, check out the accompanying YouTube video here: https://youtu.be/J1rVbpJ8LuA

I hope to continue putting out content on YouTube and may keep adding blogs to go with those videos. I like providing both mediums. Different people learn different ways.

Peace,

Luis
 

Food Gardening for Connection Series

Part 1: What Shifted In Our Family

Written by: Melissa Botten: MOM, CHN, RYT, Student of Spirituality, Bosslady🐝

There is something really special about seeing a seed in your garden, turn into food. Food gardening is like creating magical experiments, especially for the novice gardener like myself. I am always game for a good challenge plus personally/astrologically, very detail oriented. So, growing things I may someday eat, is super fascinating to me….. My Virgo tendencies, allow me to further my curiosity and pay close mind to the whole process & in this case, turning over a seed into an edible food item.

Just over 2.5 years ago, I was invited to the North Long Beach victory garden, for the tomato festival. While there, I asked all of the booth presenters & food gardeners if they could help me get my kids a job. What I meant was, “put them to work, get em’ outside volunteering, allow them to learn something, and to help our family’s mental health improve. Little did I know, that we were about change our family’s lives in an amazing way.

Food Gardening, introduced us to creating a food source, getting outside in a new way and putting our hands in Mother Earth with more of a purpose.

We also got to meet new people of common interests, improve our relationships with each other, build a greater sense of hope and inspiration & overall, improve our mental health.

Anyone else out there have trouble getting your kids to eat regular, routine amounts of veggies and fruits? Is it a fight, or are you at an improved level from the last time you checked? You laugh hearing this, but Wow….. I am serious! My children are very open minded and excited to try new things, but they are also my greatest critics when it comes to food and innovation. So, if you ever really wanna know the truth, ask a child, or just ask mine.

While maintaining balance as best we can as parents, putting the green stuff out onto the table is risky. Will it go to waste, will they pretend to eat it, then hide the evidence in their cheeks or pockets like I used to do? I remember one of my aunts telling me as a new mom, that my children will act & do to me, as I did to my parents. Ha! I’m doomed.

As a young lady growing up during some of the trendiest, dangerous and most fad diets in history, I was so confused about food & nutrition. I also knew at a young age that I was a vegetarian, in my heart I knew. I was just like many kids that grow up in the mountains or have dad’s that are hunters. We eat the meat because that’s just what we do for meals and family tradition. Both of my parents were providers and my dad was the hunter.

From a young age I had food allergies, which did help devote my need for understanding vegetables, consuming plants, roots & herbs….. and the nutritional advantages & intolerances that go along with it. Because of all of the information that I didn’t understand at that time, my weight ups and downs became part of my lifestyle. Hi I’m Melissa, I’m a recovering yo-yo dieter.

My experience was mostly because of the fact that I didn’t know what I was doing, I was following trends. and a trend is not necessarily a bad thing but what’s missing most of the time is information around that.. TREND.

Understanding that not everyone can afford a nutritionist or go to school to get a certification in nutritional science, it’s hard to know who to talk to about your health concerns that are personal to YOU. There are so many opinions out there, do this, do that, not this, try that. However when we discovered that we can grow our own food and how easy it can be, everything changed. This is where our family and my private practice took nuritional healing to the next level.

This is just a another good thing about holistic healing & nutrition, it has little to no side effects except for improving your health. Let a kid plant a seed and see what happens. Let them dig into the ground, spit in the soil on top of that seed(this is fascinating for the DNA will grow into the seed of that plant). This technique of swapping saliva is essentially, claiming that food source for the person who spit on it. I’m not sure how a much closer you can get to your food than that.

So dig in friends! Grab a simple pot with ventilation in the bottom, get some soil and seeds, and get growing! Sprouts from growing veggies are ready within days… Your thyroid will thank you. Radishes and peas grow REALLY FAST as well as many other veggies that will yield harvest in 90 days or less. Also, this food your growing… it’s ALL FREE. So if anything, save your money for vacations and grow your own food!

We are on YouTube!

Hello and welcome!

I have been uploading regularly to YouTube over the last couple of months and would love for you to join me! All you gotta do is just tap the banner and follow our journey over there! Don’t forget to smash the subscribe button followed by the bell icon to get notified when we upload!

Thank you for stopping by!

Luis T

P.S. I am working on bringing in guest bloggers with posts that are related to gardening. Please stay tuned for that!

Community Gardens

We are not all blessed with having the space to have a garden at home. Container gardening only takes keeps you satisfied for so long and that is where the community gardens come in. Community gardens vary by state, city, or even neighborhoods and no 2 are alike but the idea is all the same. They unite residents and provide a place to grow our own produce. Fees, rules, and regulations will differ from garden to garden. Most gardens require a fee, and some also require community service hours. Gardening is growing in popularity and space at the community gardens is limited. Many, if not all, have a waiting list. The difference in community gardens does not end there. Plot size from garden to garden will vary but should not be an issue. Most plants don’t require tons of space and should coexist without any issues.  Some plants will need trellises or cages to help control growth but it should not be a problem. Of course, gardens should be planned out. Once the plot is all planned out, the soil may need to be amended with compost and other organic material. A great benefit to having a plot in a community garden is that most, not all, will have compost and/or mulch for its gardeners. Some gardens may also have manure that can be added to plots to encourage growth.  These “extras” may be free or come at a fee. Along with these extras, the garden may have a stand that sells seeds or seedlings that can be purchased but these can also be bought elsewhere. After you have seeds or seedlings planted, you need to know how to keep them growing. Gardening does not come easy to anybody and books can only explain things so much. Some books and online resources are so broad sometimes that we are left to figure it out on our own. This is a perfect excuse to talk to your fellow gardeners and see what has worked for them. Your new friends may be full of useful information, tips and ideas that may have worked for them. I am all for making our own mistakes and learning from them, but what is wrong with getting some help along the way? Meet your plot neighbors and as many people as you can and form new friendships. Forming new friendships is part of life and helps us enjoy it. Once these friendships have been formed there is a feeling of community. Different people garden for different reasons, but getting out of the house and interacting with other people has its own rewards. Technology has put most people behind a computer screen and avatars are the only way we interact with the world. So, hop on the web and look up the community gardens that may be in your area. You may be shocked to find that you may have one nearby and you never knew about it. Luis

Let’s Get Vertical

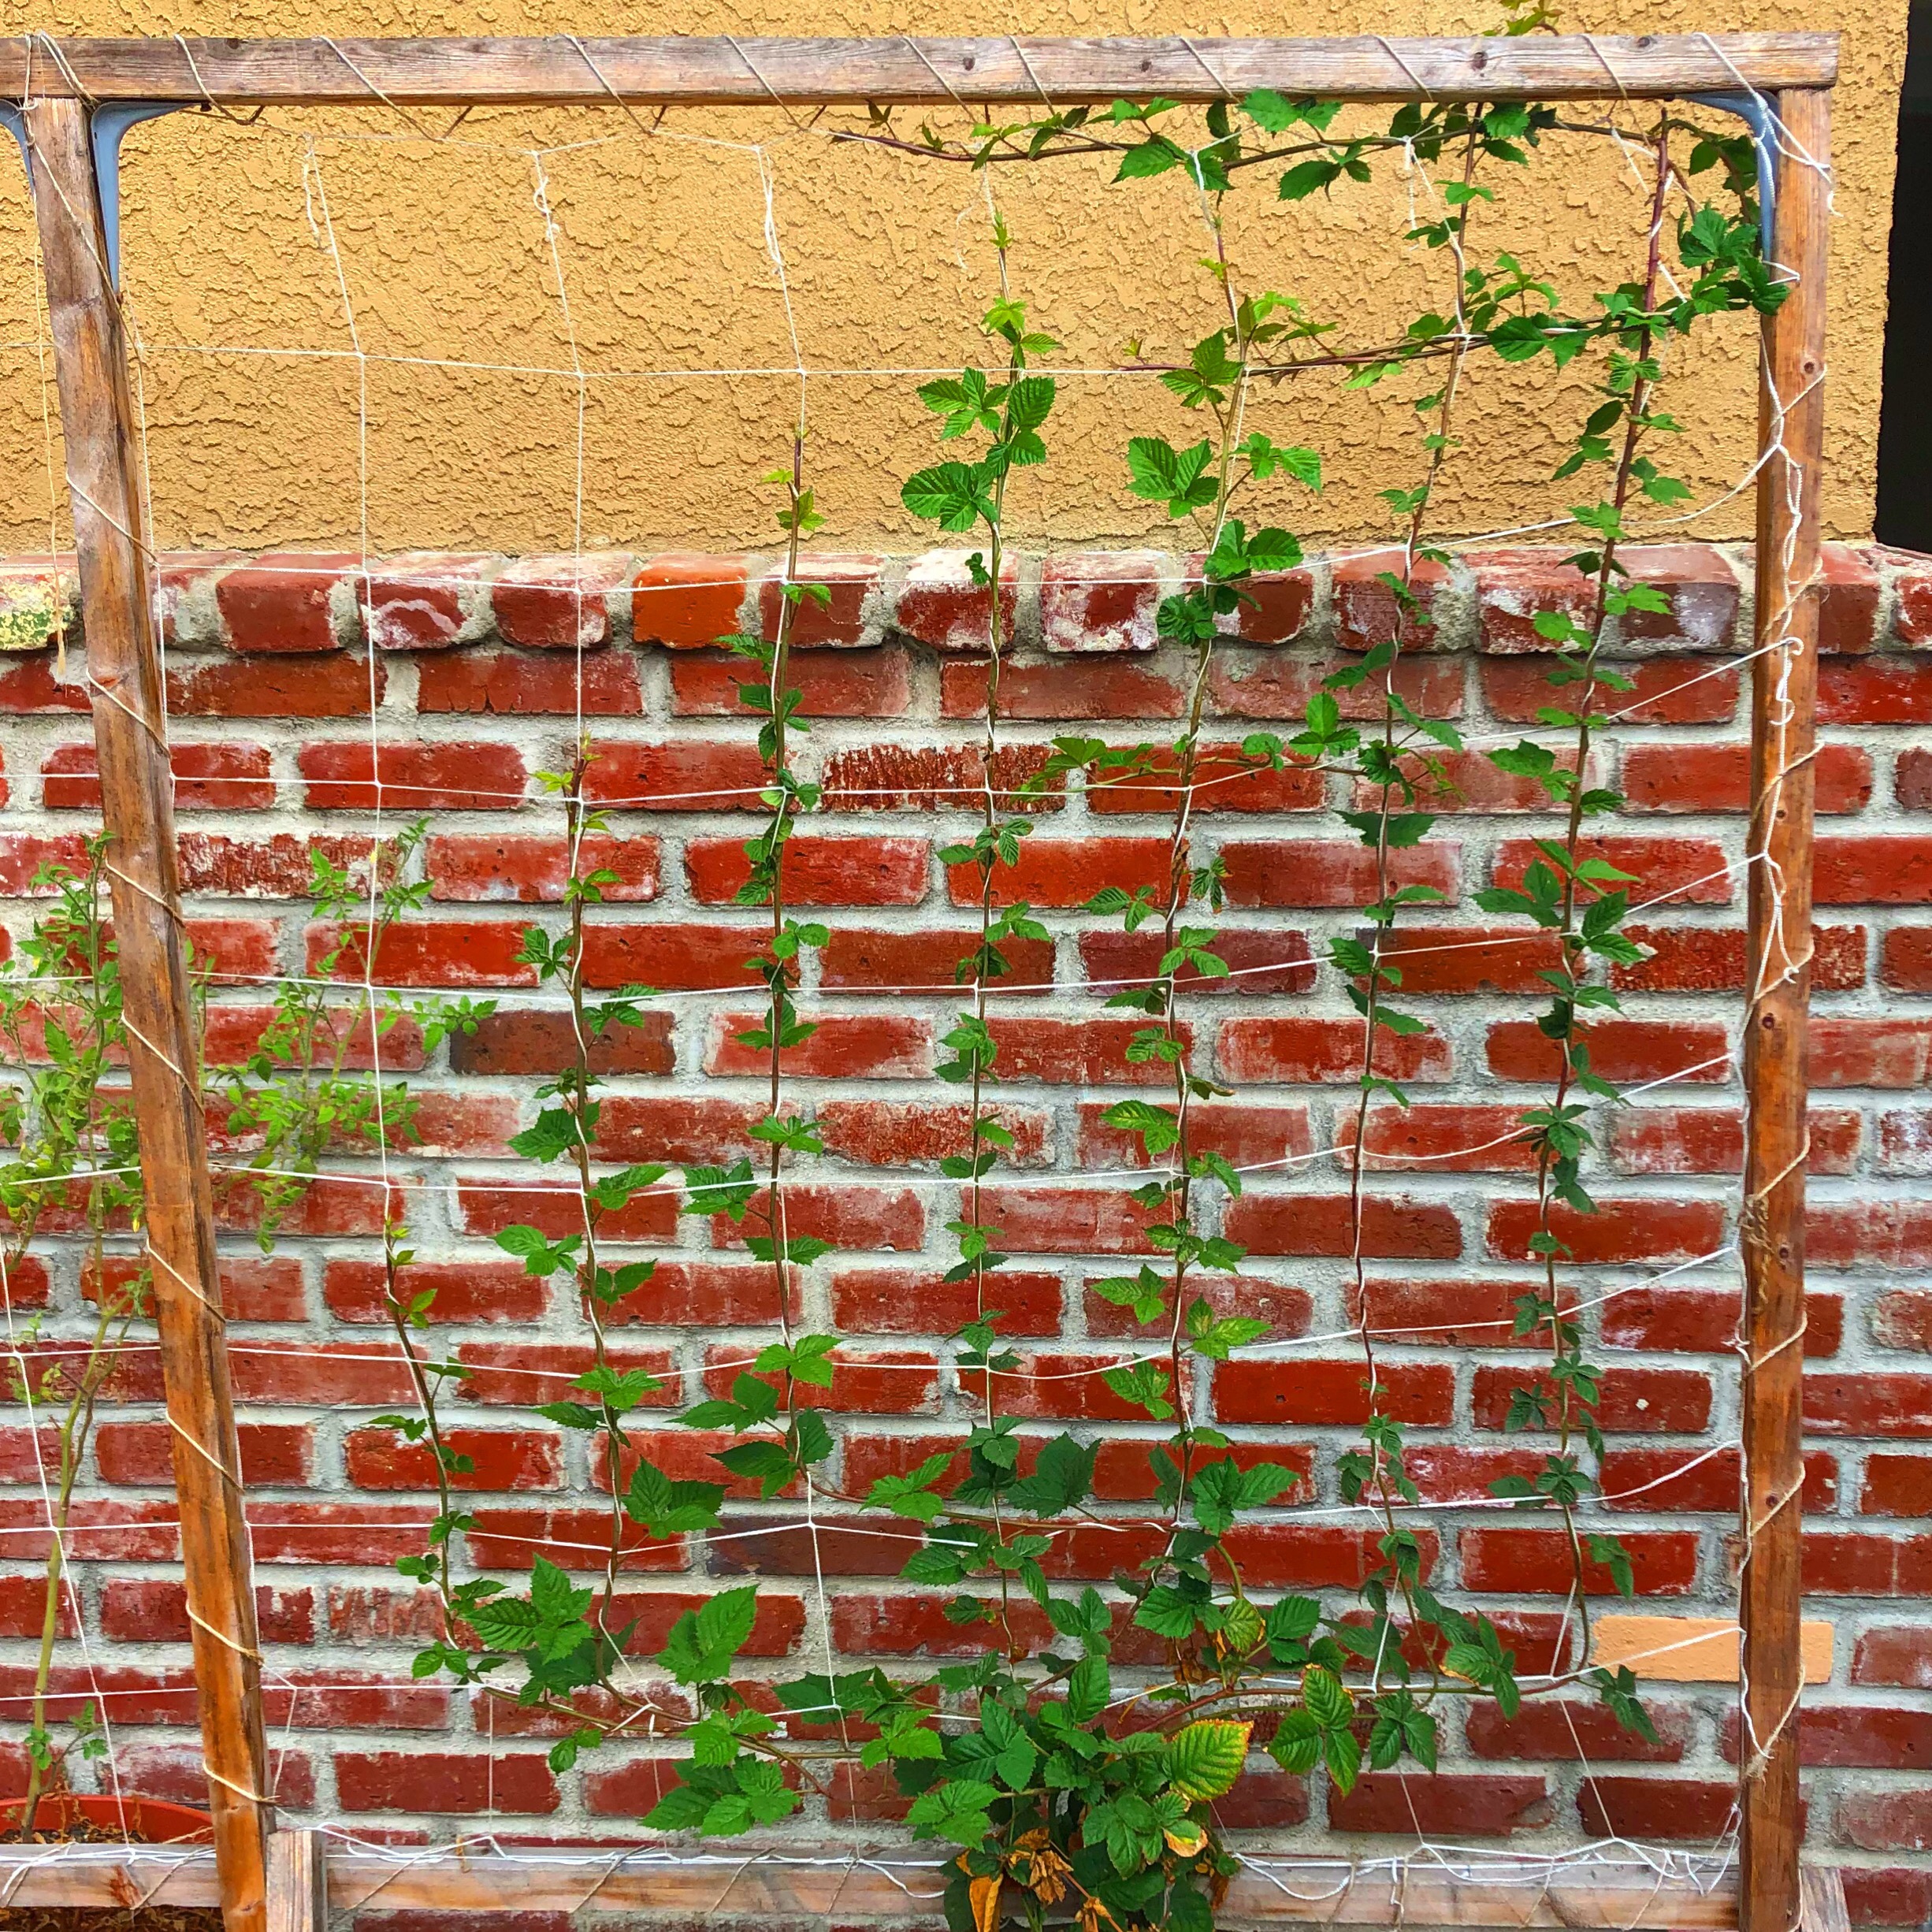
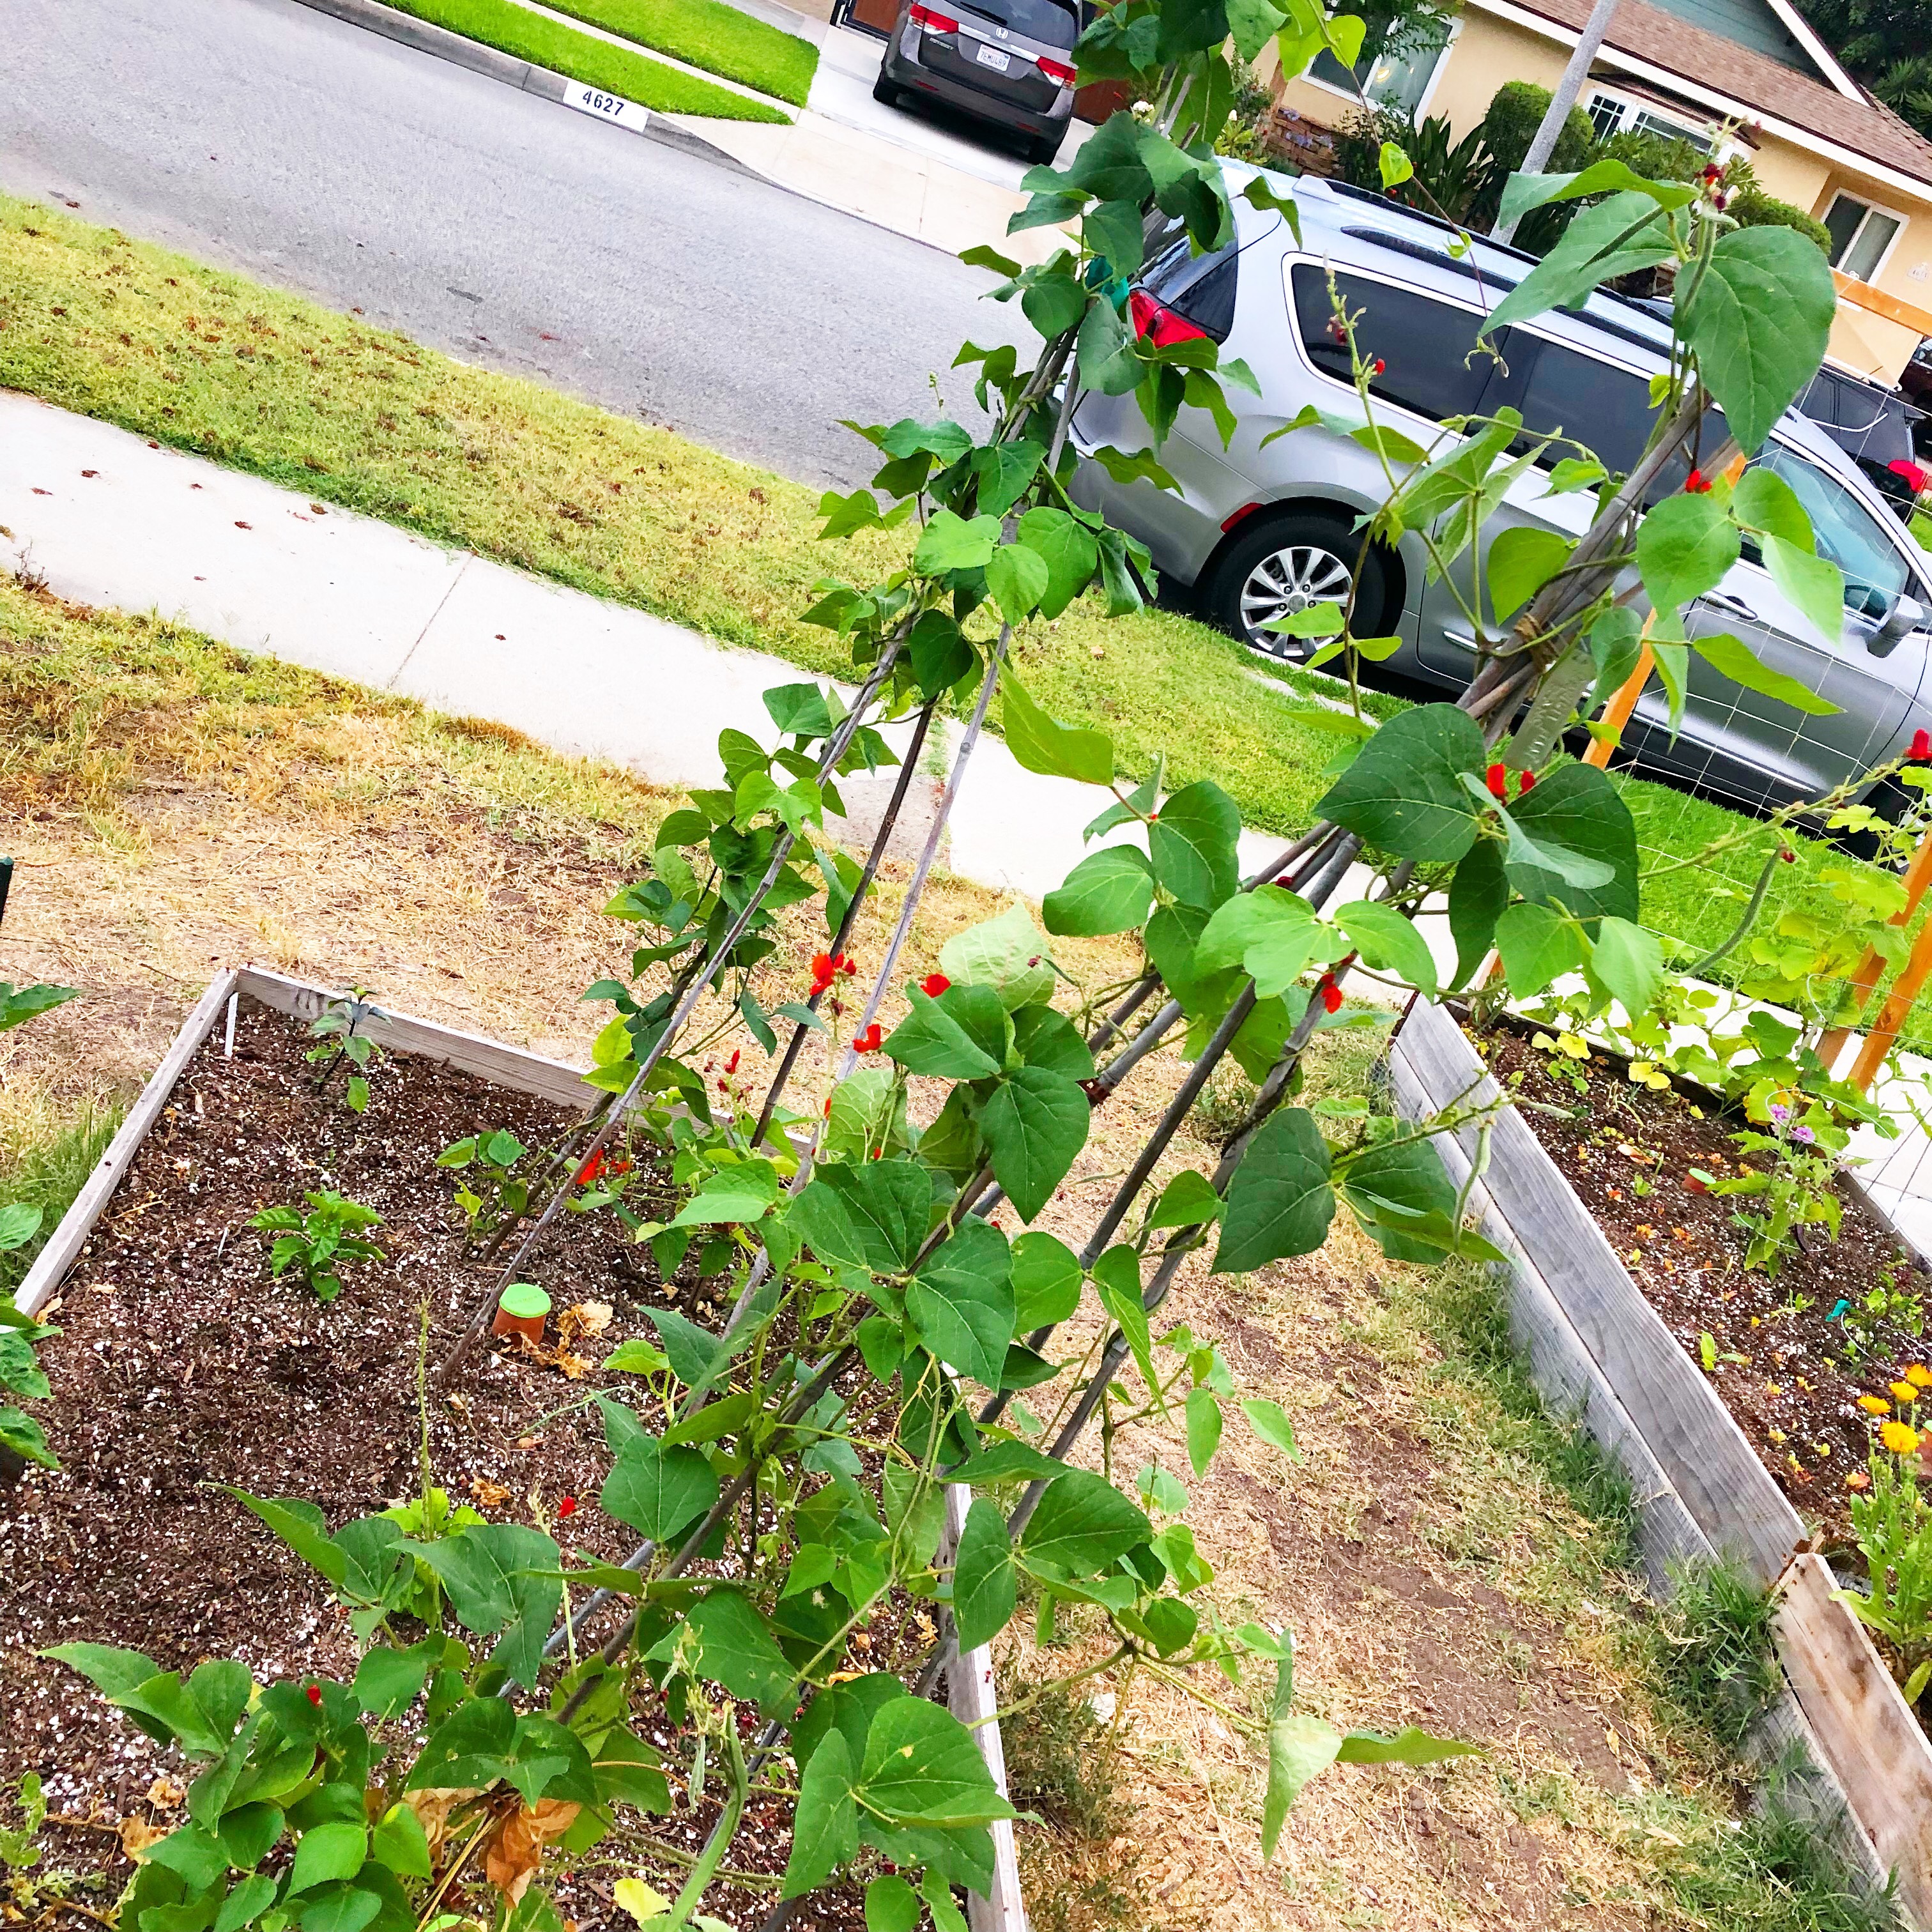
Vertical gardening help those of us that have little to almost no space. The plants do not always need to be planted in the ground or beds but can also be grown in containers. A trellis or structure can also be made to fit into many containers. The only real requirement is for this structure is that it supports the plant and fruits as some can get really heavy. 

(THIS POST MAY CONTAIN AFFILIATE LINKS FOR YOUR CONVENIENCE. PLEASE REVIEW OUR DISCLOSURE FOR MORE INFORMATION.)

Teepees and trellises are some of the easiest things to build from inexpensive materials. All you need for a teepee is three posts or poles and some sort of rope or twine. If you are more of a handier person and would not mind spending a little more time, there are more options. Trellises can also be made of PVC piping or a heavier material but may not necessarily be cheap. Although, there are places out there that “up-cycle” and may even give away materials. If you are like me and are trying to keep costs low, these are great options. 

The main idea behind Vertical Gardening is to find better and more efficient ways of using your available space. Along with extending the variety of vegetables, vertical gardening also helps grow healthier plants. Better air circulation, easier to weed and more open space for smaller plants are a few benefits of vertical gardening.
Luis

Growing From Seed: Kohlrabi

This is only my second time ever growing kohlrabi from seed. I grew them last, from seed, and used peat pellets. The same pellets that I used to start up the lettuce seed from the last post.

(THIS POST MAY CONTAIN AFFILIATE LINKS FOR YOUR CONVENIENCE. PLEASE REVIEW OUR DISCLOSURE FOR MORE INFORMATION.)

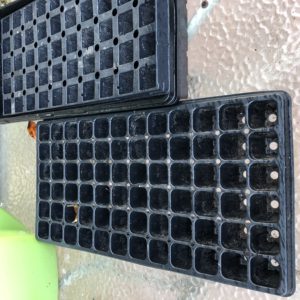
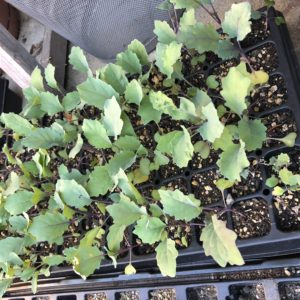
I had a couple free hours and wanted to get some seeds started but was out of pellets. I had a bag of soil and decided to use that. I set out the trays and filled them with soil. I dropped in a few seeds into each cell and pressed them into the soil. I lightly covered them with more soil and filled the bottom tray with water so that the soil could soak up the water.


I put out all the trays in an area of the backyard where it would get some sun but not all day sun. I used that week of warm weather to my advantage and many of the seeds started to germinate.

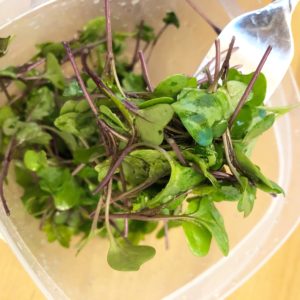
A few weeks later, I had to thin down the seedlings per tray from 3 or 4, down to 1. Those sprouts did not go to waste and went inside the house for a quick rinse. They were then mixed in with half a tablespoon of sunflower oil and were enjoyed as a mini microgreens salad. What is the point of letting them go to waste?

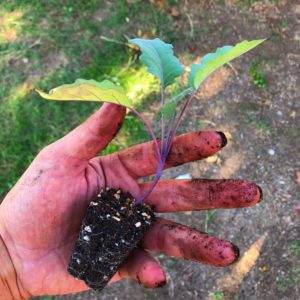
Once the plants were thinned, they were just checked for moisture levels and watered when needed. After a few more weeks of growth, they were planted out into the raised beds and some into 6 packs to be transplanted out at another garden.

The plants will stay here until they are ready to harvest. I’m just hoping that the weather cooperates and we can be enjoying these very soon. One thing that gardening has taught me is patience. We are always so busy around here that it should not seem that long of a wait.

Luis

Materials List:

  1. 10×20 trays
  2. Seedling Starter Trays, 720 Cells: (120 Trays; 6-cells Per Tray), Plus 5 Plant Labels

  3. Seed starting Medium: Coco Coir Bricks, Seed Starting Mix, Potting Mix


Container Gardening

This post is for those people where space may be an issue and large planter beds are not feasible. You would be surprised as to what can be grown in these small spaces. Of course, not all plants do well in containers but there are many that actually prefer it over being in the ground directly.

(THIS POST MAY CONTAIN AFFILIATE LINKS FOR YOUR CONVENIENCE. PLEASE REVIEW OUR DISCLOSURE FOR MORE INFORMATION.)

When I started my gardening adventures, I planted directly into the ground but ran out of space and would not be able to fit the tray of plants I had started. I also wanted to have better growing conditions than my clay soil and by bringing in containers to fill with potting mix seemed easier. It also made more sense for me at that time. 

The containers can be pretty much anything but there are some minimum size recommendations. Most plants will not fruit until it feels anchored and a larger container may be needed. I am not saying you need a massive 20 gallon pot. Although if you have a dwarf tree of any sort, I have a kumquat tree, you may need one but most plants are fine with a 5 gallon pot.

Google brings up over 132,000,000 results for container gardening that may be more informative and much more thorough than this post. I invite you to read more than my 1 post. You will find A Guide to Container Gardening, a chart that shows minimum size requirements of containers for certain plants, here and many other pages.

Containers can be expensive, cheap or even free and who says they have to be ugly? Your creativity should be expressed. Stickers, paint, bottle caps and many other things can help spruce it up.  Your imagination is the only thing hold you back when decorating these containers.

I have used a rectangular salad container to start up some beet seeds and once they got big enough, I put them in the same container as my kumquat tree. The pot is so massive that the tree has room around it for more vegetables and this shows how one pot/container can be used for multiple things. If you have started your own seeds, possibly in your egg cartons or just in small containers, they may need to be transplanted into bigger pots at some point. Of course, the amount of available room for your garden will dictate the size of your containers and may require some creativity but may still bring in some vegetables or herbs.

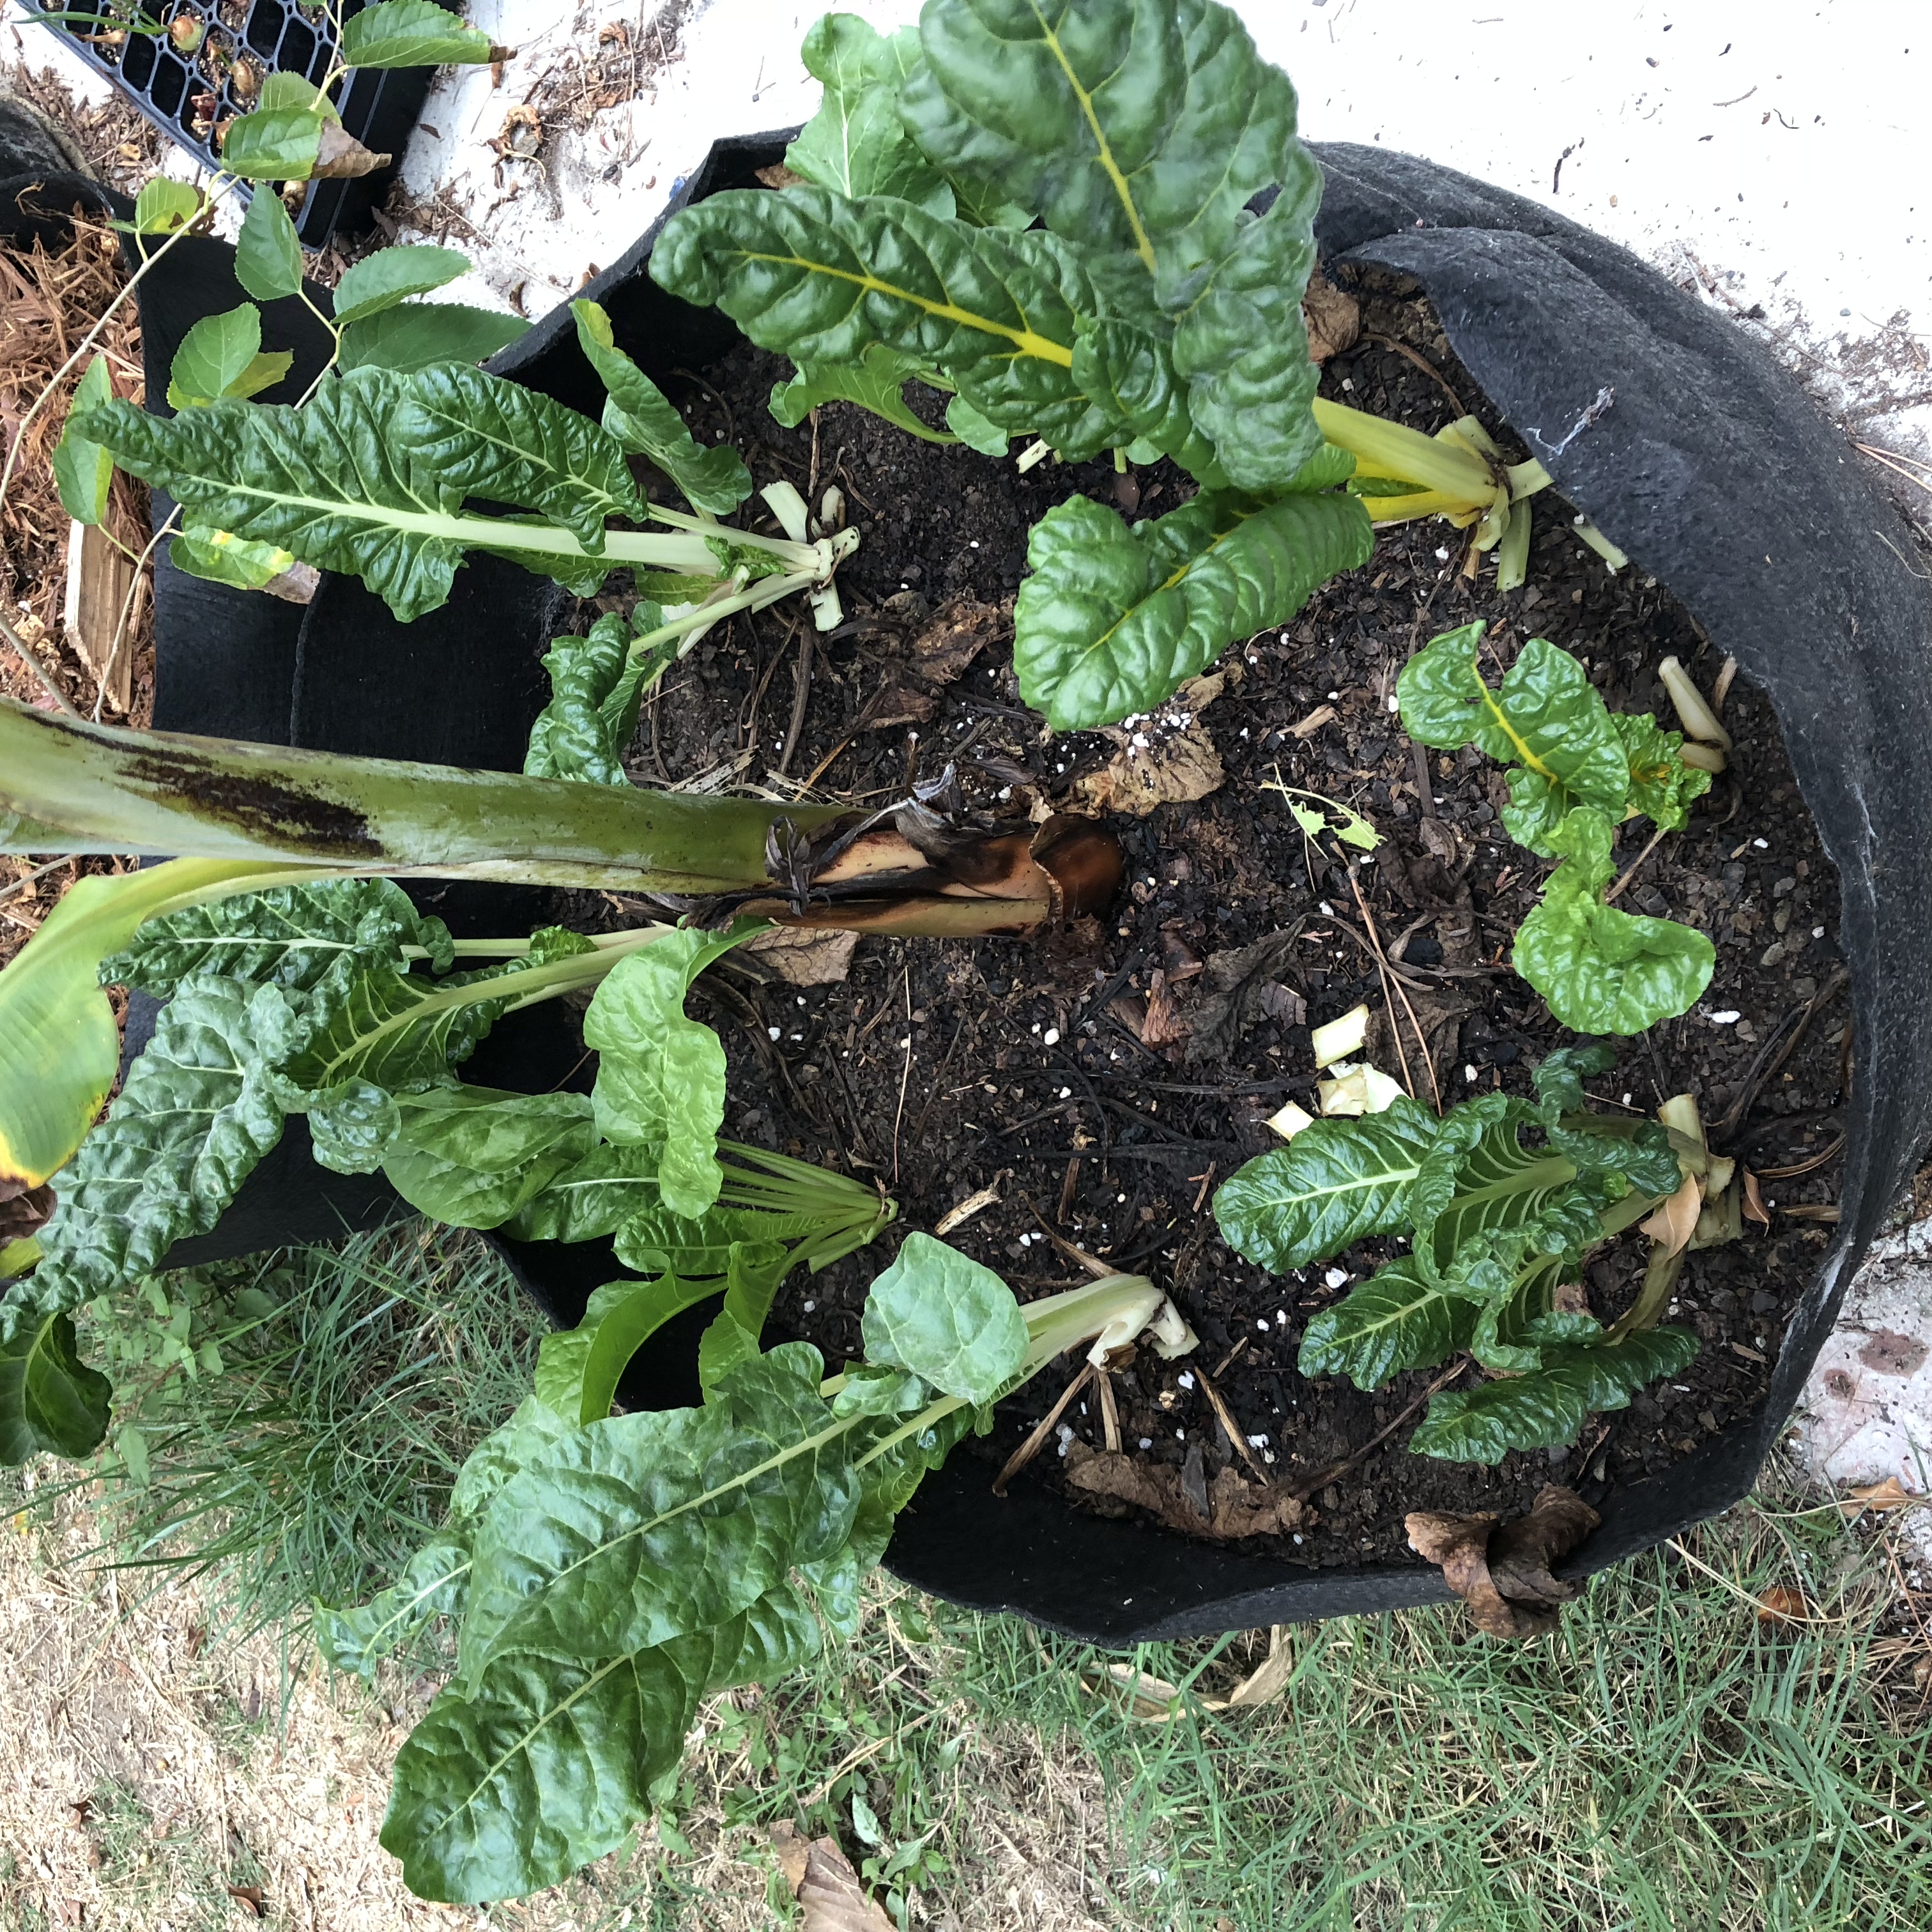
A Smartpot with chard and a banana tree.

Well, I think this should give you some ideas as to where to begin. I know I did not go into detail about everything but I tried to include some useful links in the post. I am always here to try and answer any questions. As I have said before, I do not claim to have all the answers and do not thin I ever will, but may be able to lead you in the right direction. I also invite anybody that has comments / ideas / constructive criticism to post a comment with their information or idea.

Here are some products that may help:

  1. Smart Pots
  2. Patch Planters

Luis


Growing From Seed: Lettuce

(THIS POST MAY CONTAIN AFFILIATE LINKS FOR YOUR CONVENIENCE . PLEASE REVIEW OUR DISCLOSURE FOR MORE INFORMATION.)

Lettuce is one of the easiest crops but can also be the hardest to grow. They sprout pretty easily but you can’t let get them too hot as it will bolt/ go to seed. Once that happens, they usually become bitter.

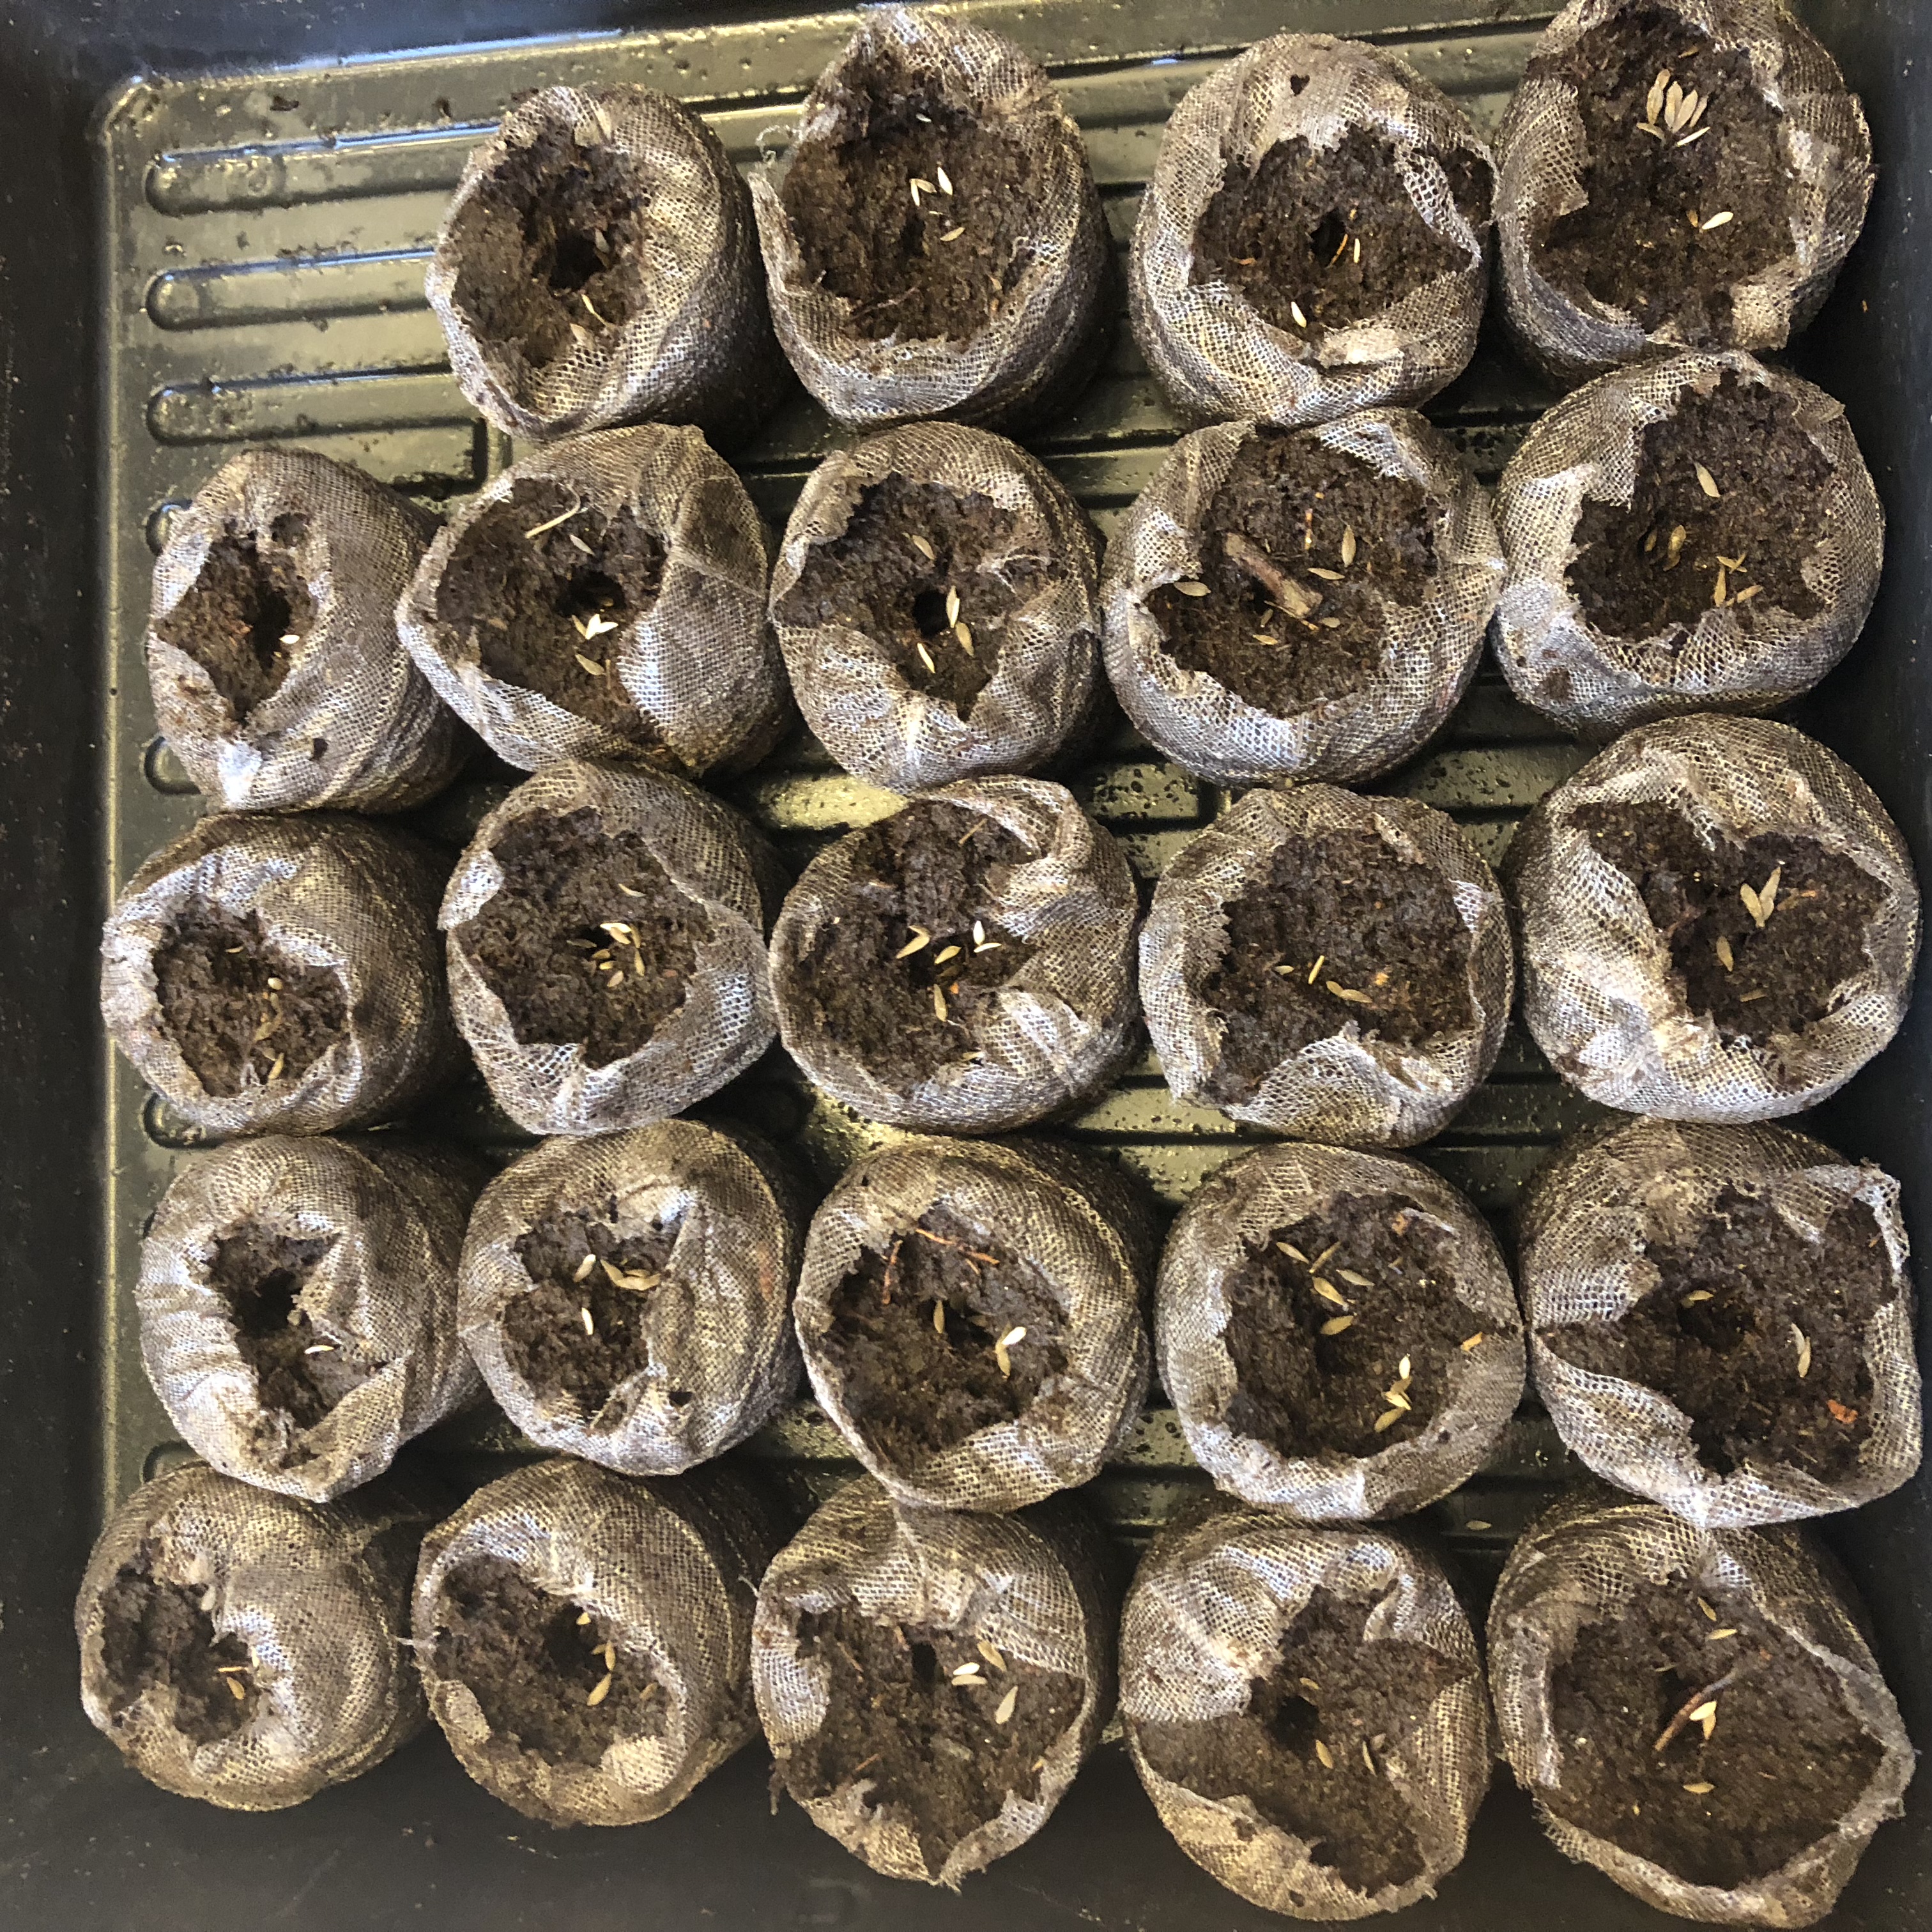
This post is about my most recent time starting lettuce from seed by using peat pellets. I had some left from a bag of 200 that were ordered on Amazon.

I filled a small tray and added warm water. The little pucks expanded and were ready for seeds. I dumped out the extra water and made sure that there were openings in the netting for the seeds. The seeds get covered in the peat and were left alone for a week.

I put the tray in an area of the backyard that gets some sun but not all day. I was lucky that the pellets didn’t dry out. If I had put it in full, all day sun, they would’ve dried out in a day or two. If it doesn’t feel moist, just add water to the tray or container that the pellets are in. They will soak up the water and you just dump out out the extra water.

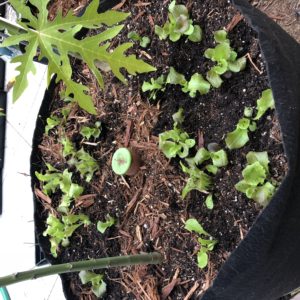
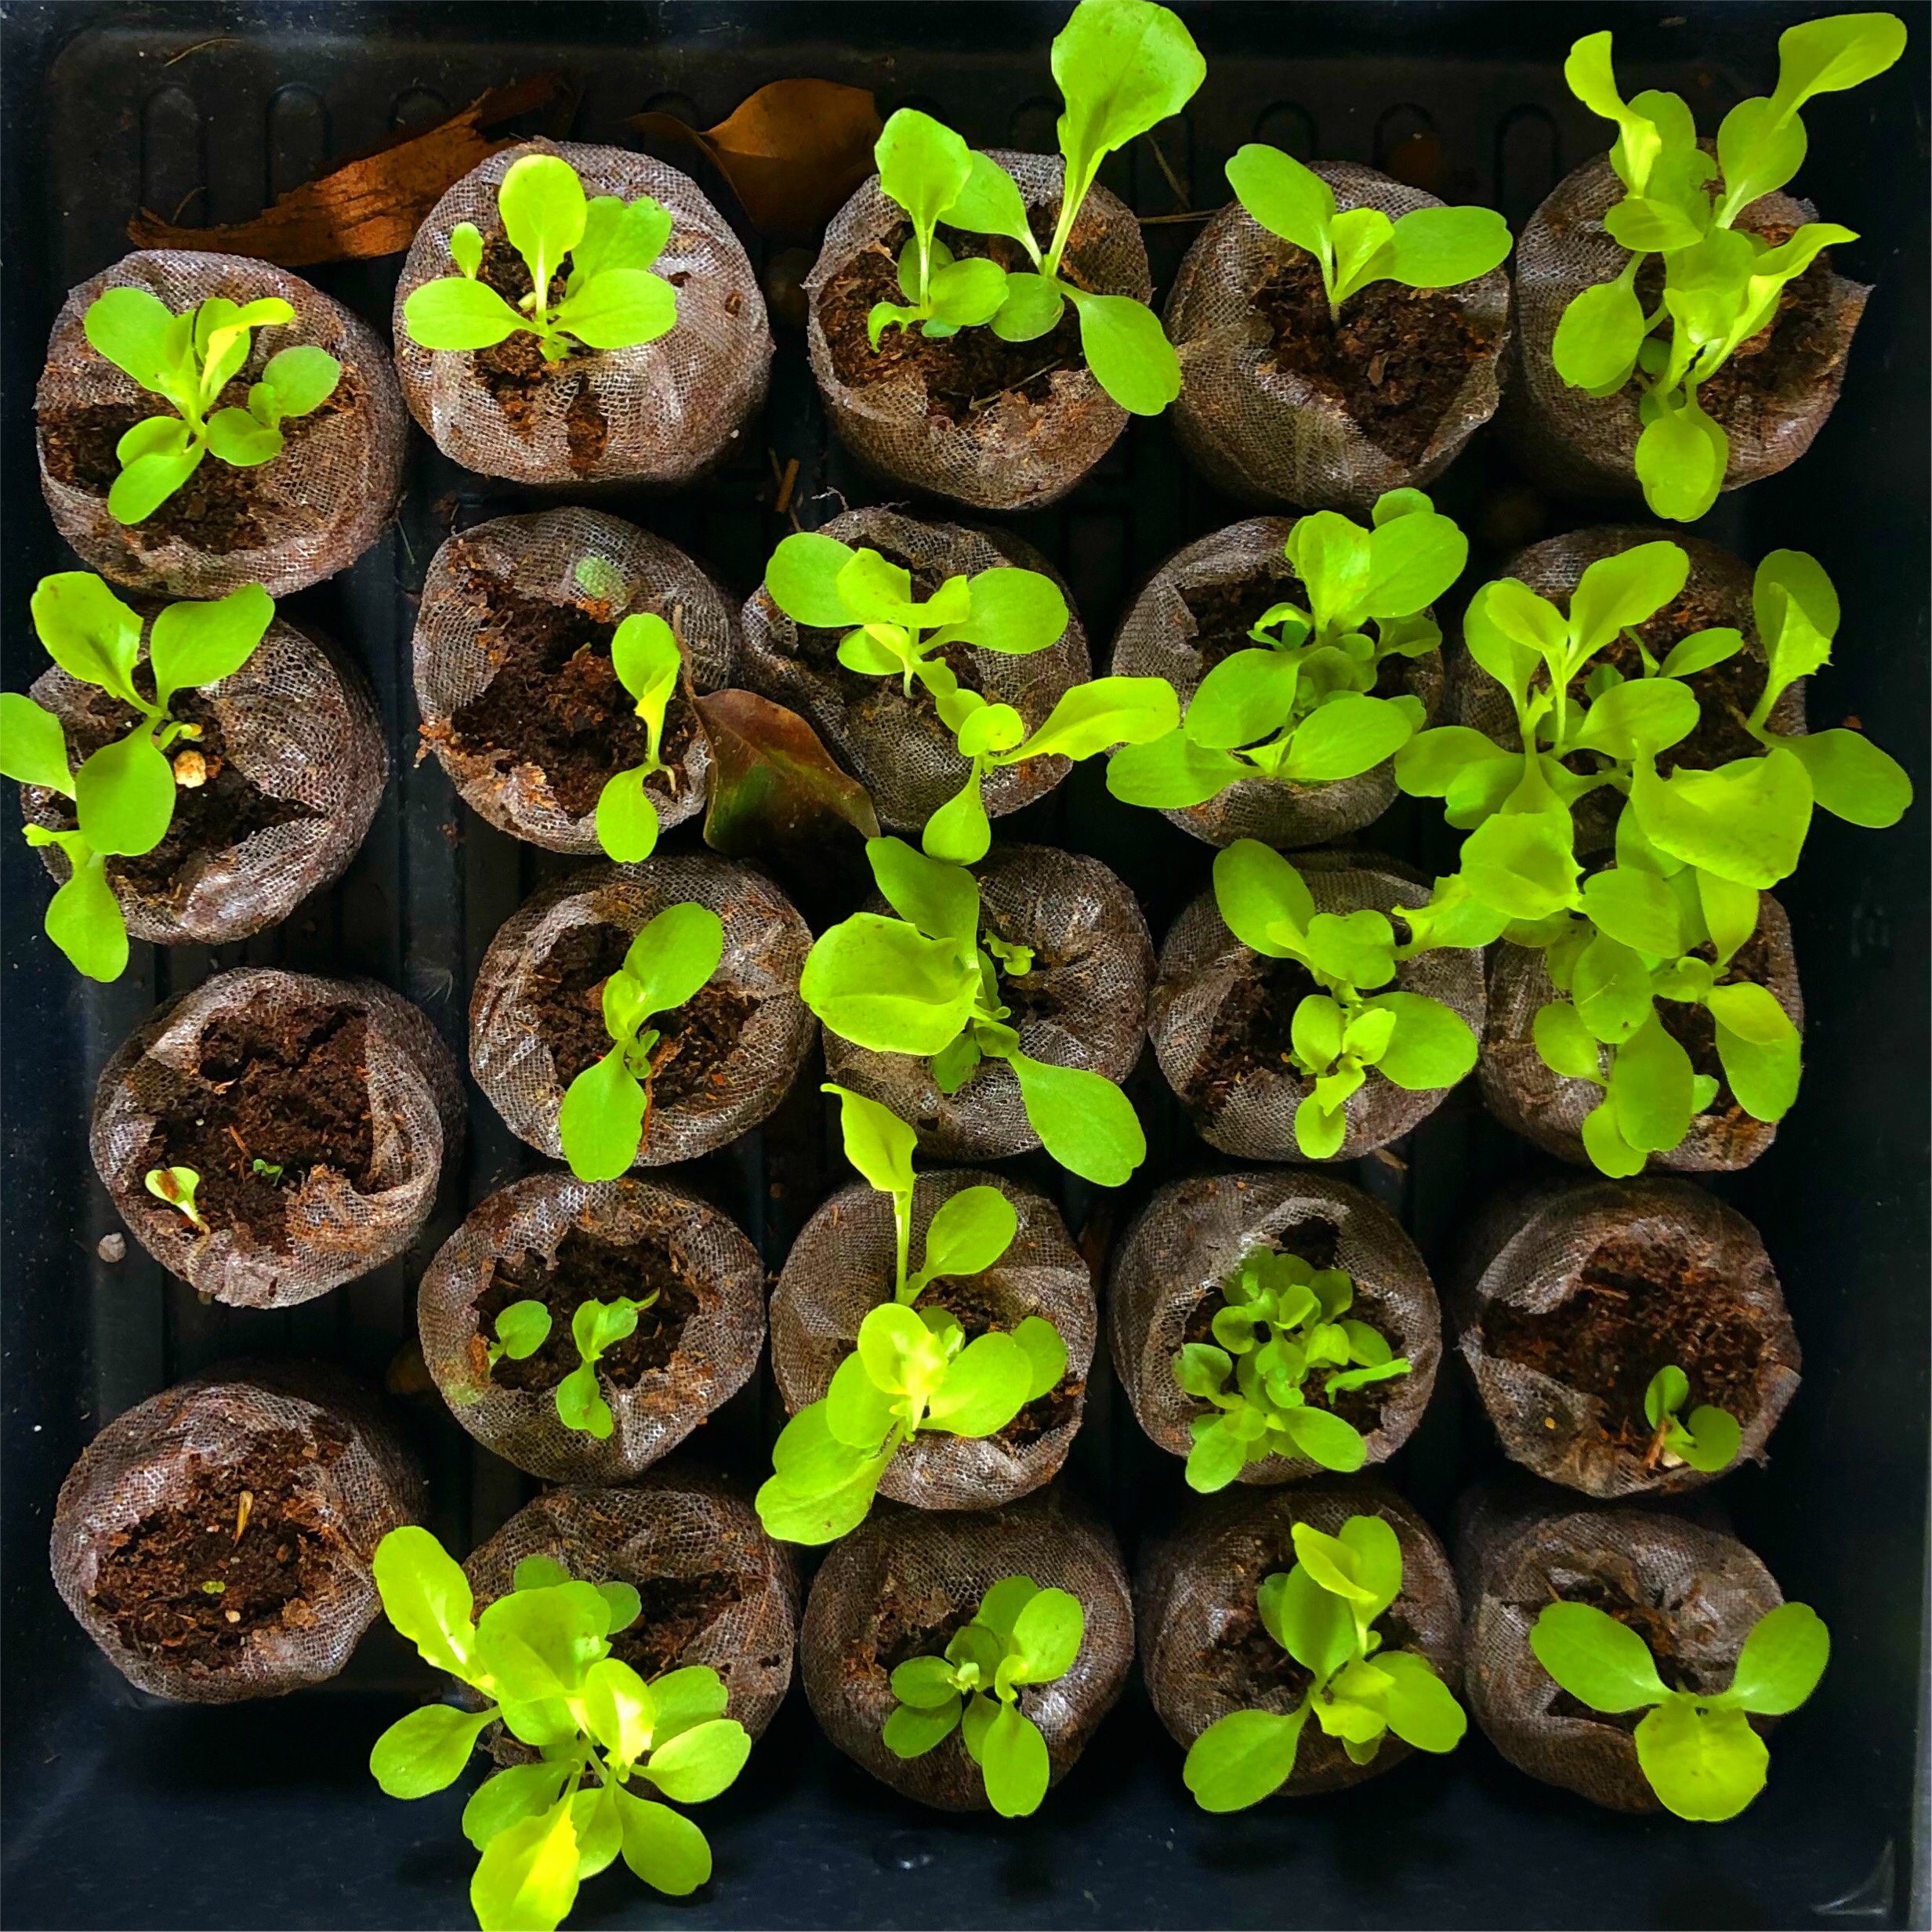
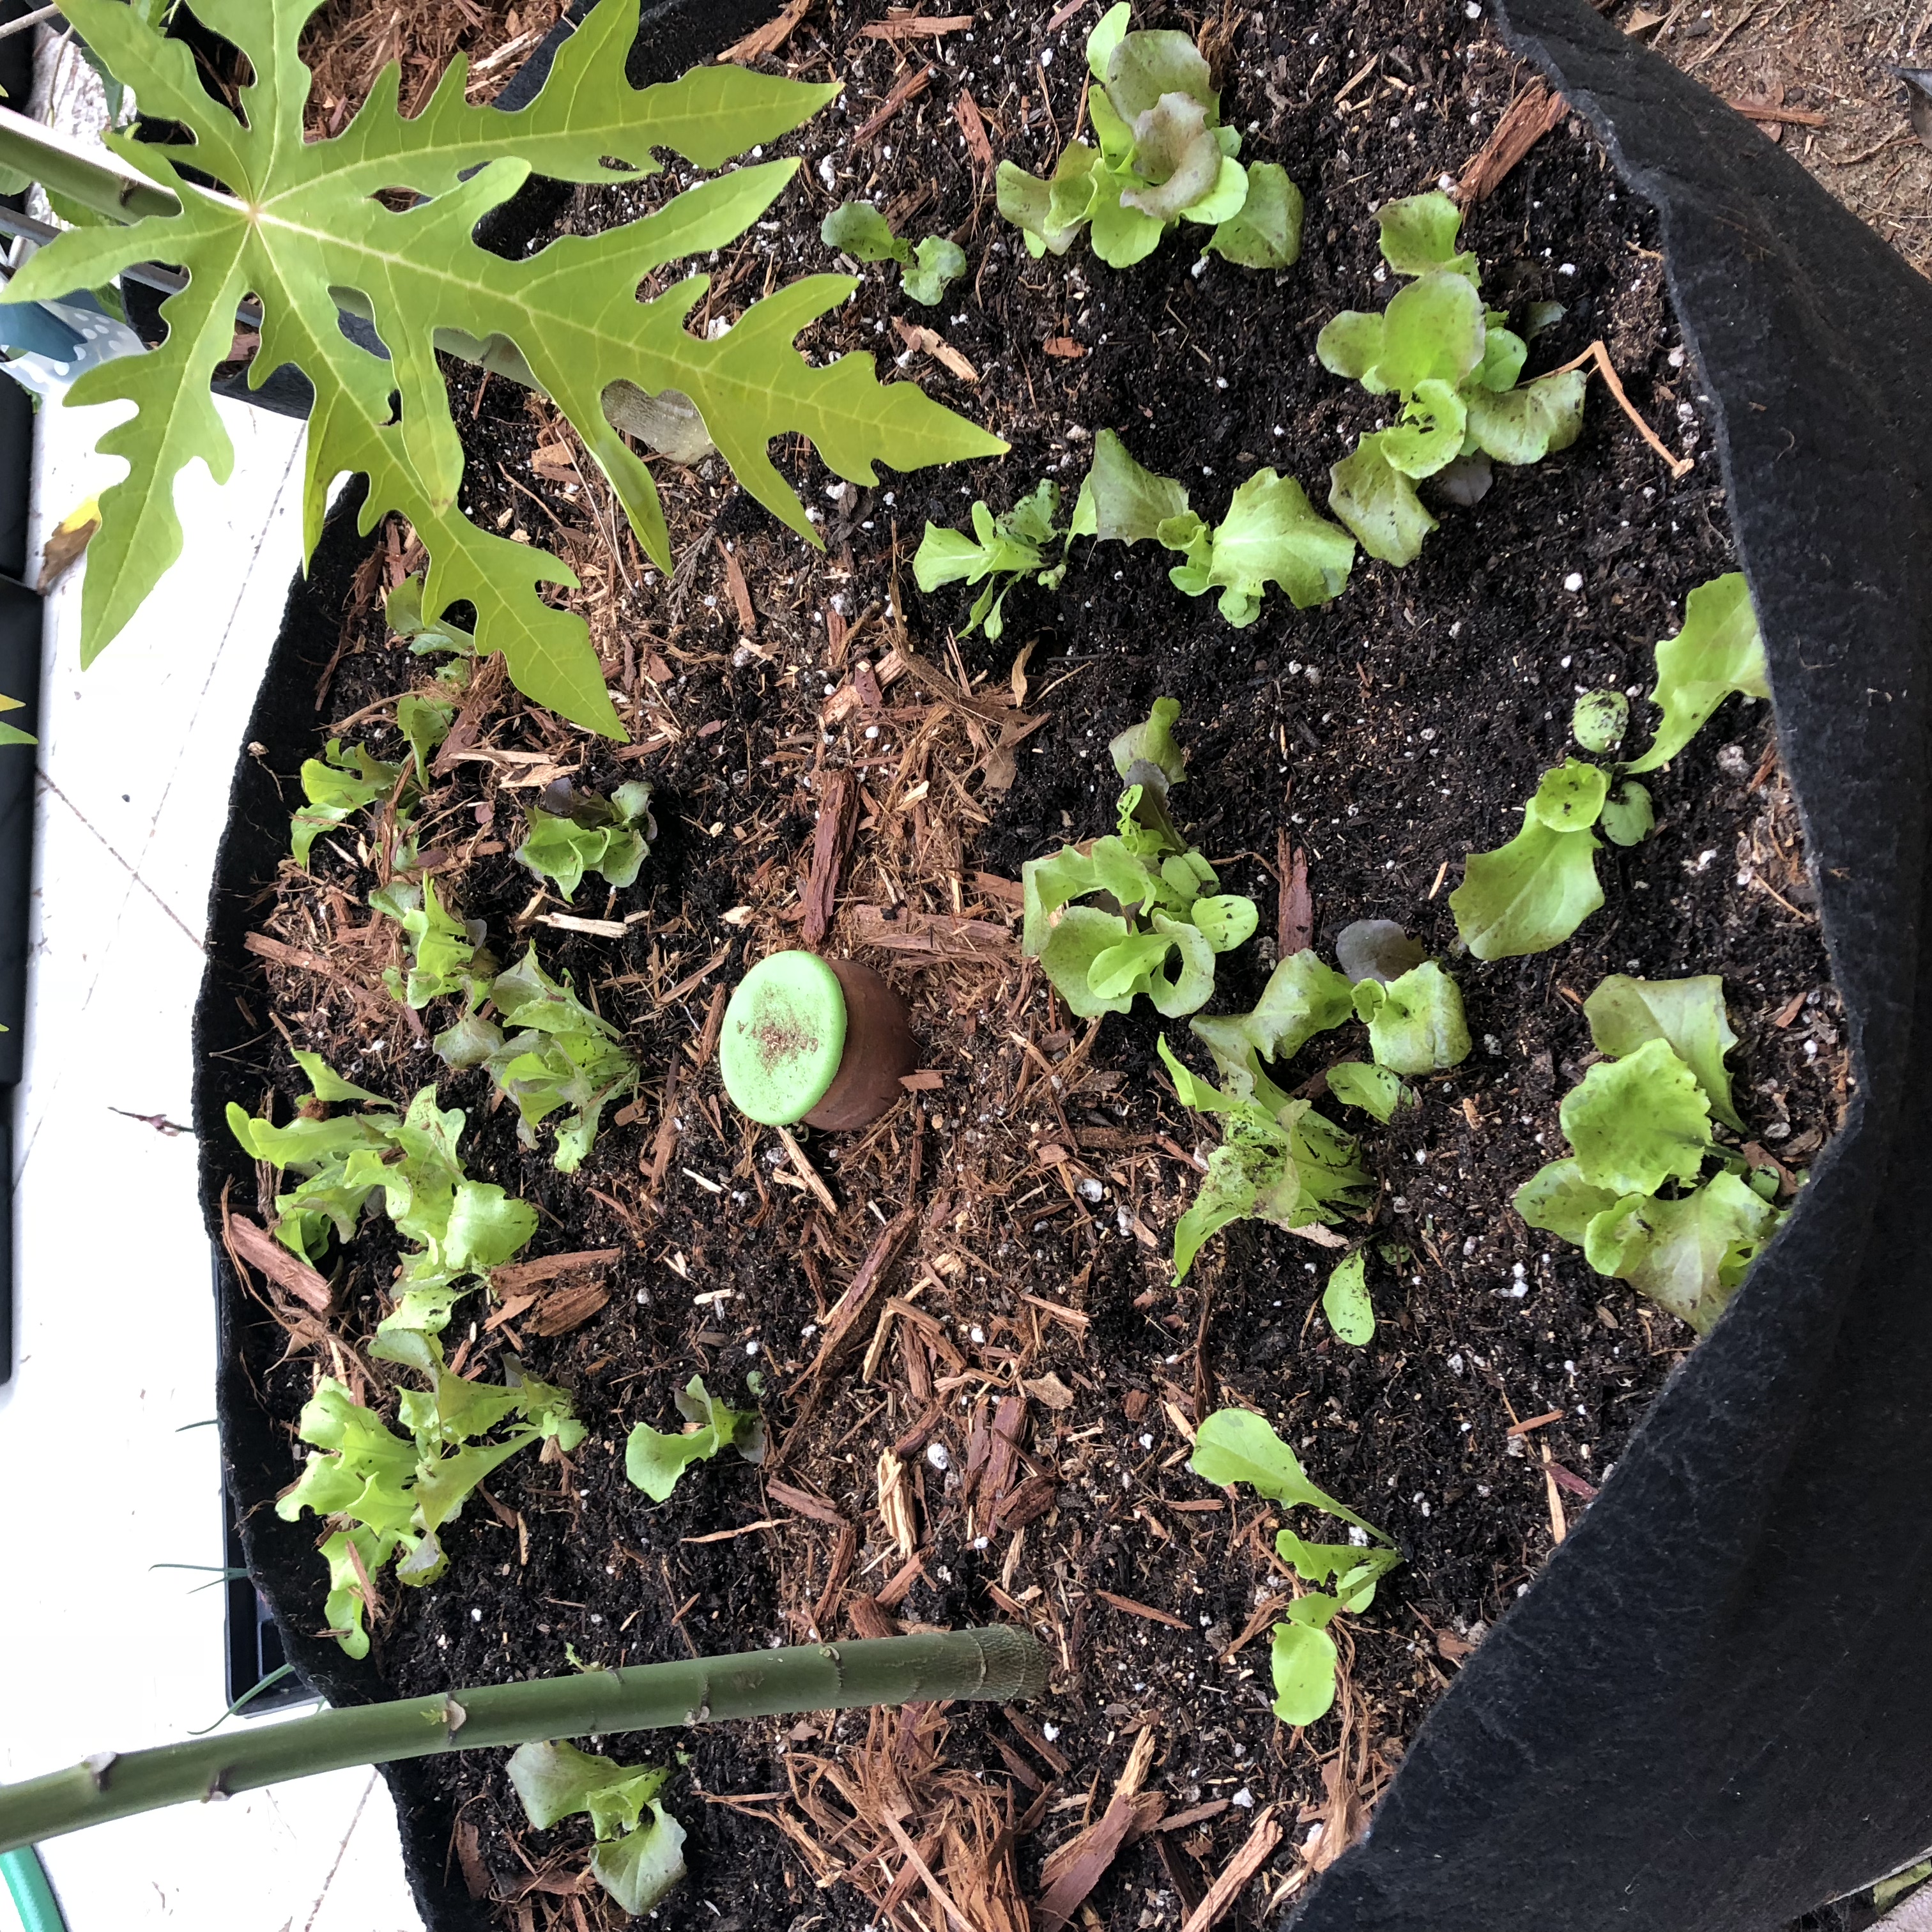
I left them alone and the seeds just exploded in growth. Once the plants got a little size to them; they were transplanted I to a large Smartpot that already had two small papaya trees and a Growoya.

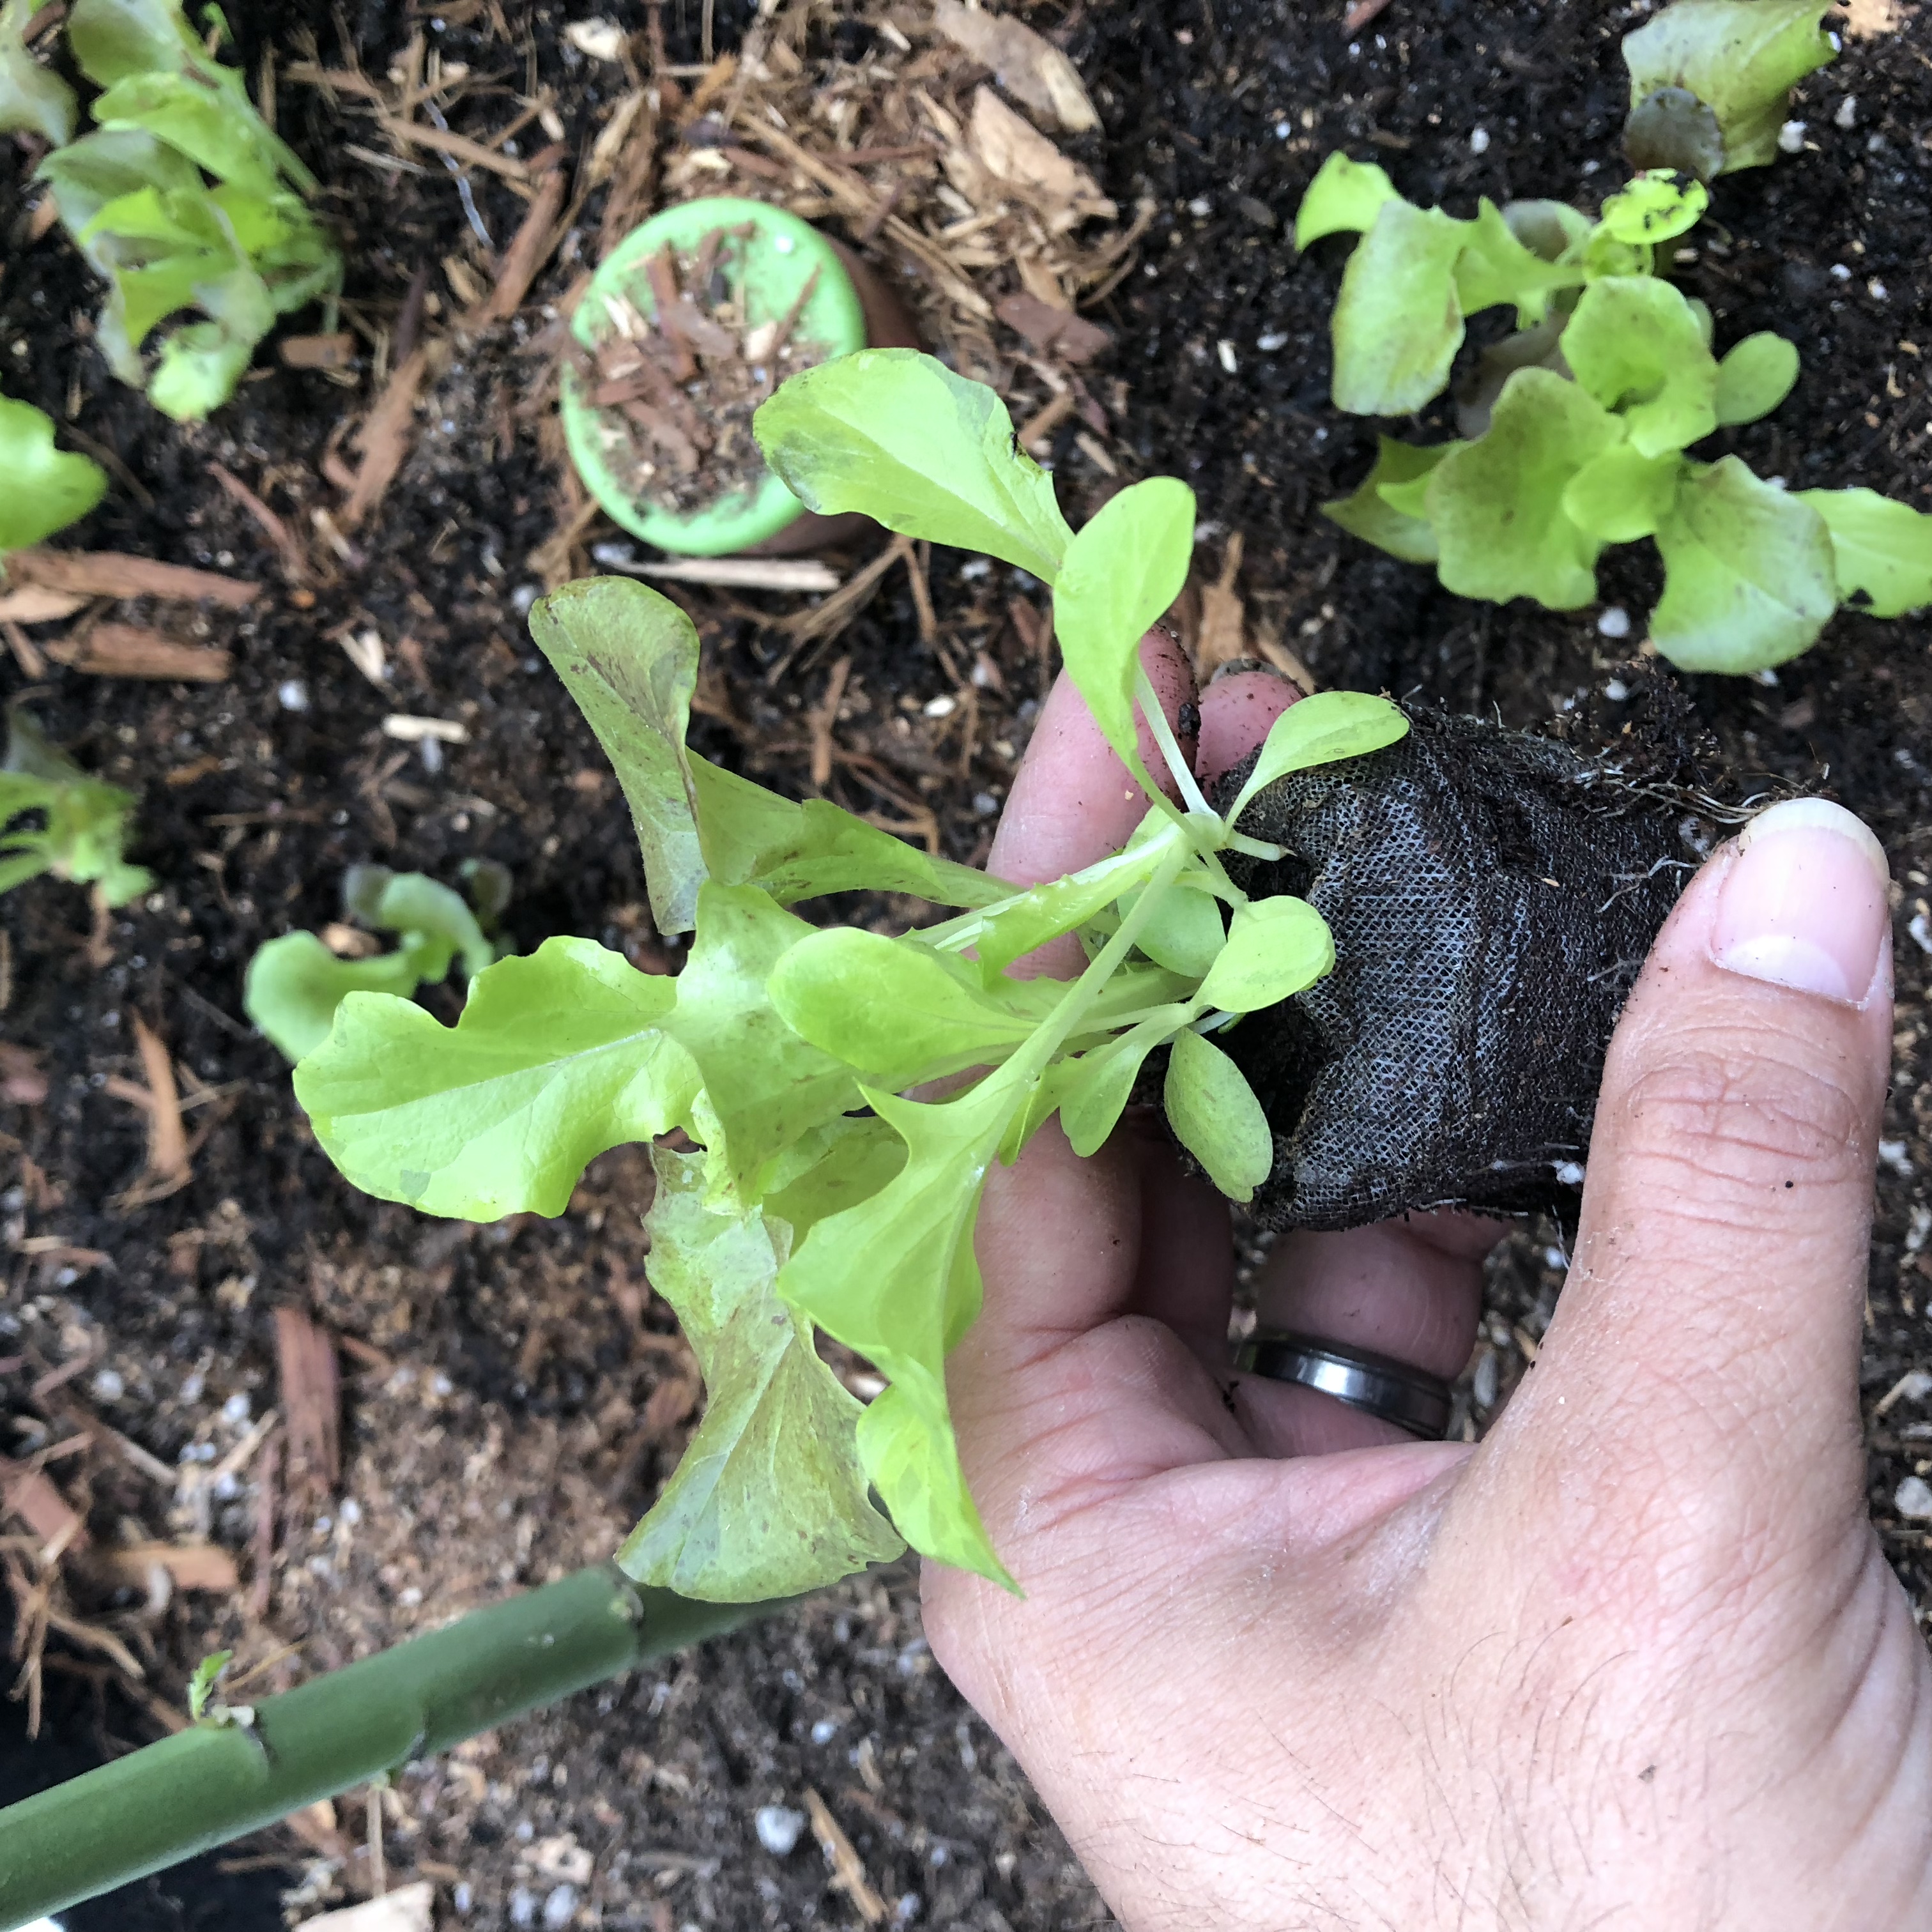
I simply moved back some of the mulch, removed the netting on the pellet, made a small hole and dropped in the whole pellet. I backfilled with soil and cover it back up with mulch. As always, water when you transplant. It didn’t take much as the Growoya keeps the soil pretty moist. I just refill it once a week.

That’s it. You don’t need any fancy equipment. I may check on these lettuce every few days but I hope to be eating from here in couple of more weeks or less.

Here are the Amazon links:

1. Peat Pellets

2. 10×10 Trays

That’s all you really need, other than seeds. It only took 3 weeks from seed to transplant. We should be harvesting in another week or so.

Are You Gardening? Why Not?

I’m back with another post and this time I am asking as to why you are not gardening. I ran a google search for reasons to not garden but did not find anything that satisfied me.

If space is an issue, there are ways around it. You can try container gardening. There are many posts out there and all you gotta is just search for it. I started by using containers and will continue to do so in one way or another.

When I originally started gardening, I thought it would be too difficult but it has not been too bad. I am not going to lie, there is a learning curve. Although, the internet is there to help with every question / issue to that may arise. I started by tossing seeds into soil and added water. It is nerve racking not knowing as to whether or not anything will grow. When the seeds start sprouting, there is no feeling like it in the world. 

The general guidelines for seeds is to follow the directions on the packets. Those packets give you all the basics for those specific seeds. It will not give you every last detail but there is always the internet. When buying seedlings, keep those little tags that come with them and refer back to them when necessary. These tags offer similar information about the plant and help you keep them healthy.

Keeping your plants healthy does not have to be expensive. Gardening in general does not need to be expensive and there are many ways to achieve this. I have bought containers at the 99 cent store, and the spring sales are a great way to pick up potting soil and everything needed. Craigslist, Freecycle and the Pennysaver are great resources for free or near free stuff that you may need. 

That’s what I can think of now and would love to hear as to other reasons out there. I cannot promise that my information or ideas will work for everybody but at least you have started thinking about it. I leave it up to you to do more research about on the subject and not take my word as the absolute truth. There are new products and many other things that change out there daily.

Luis

Farmer’s Markets

I know there are many articles out there that try to get you to grow anywhere even if you don’t think you have enough space. Space may not even be the issue; it could be many different reasons. Regardless, it’s not always easy to grow everything yourself and that is pushing people to shop at farmer’s markets. The other reason is that most people see that we have a broken food system and all the chemicals that are constantly being used on our food.
The next best thing to growing your own is to buy from local growers. Meet your farmer and talk to them about their methods. You want to be as local as possible and may even be hyperlocal when you do a little research. You cannot do that with the conventional, broken agricultural system. 
Farmer’s markets are popping up all over and that gives the consumer more options to shop around. 
To find your local Farmer’s Market:

Farmersmarkets.usda.gov


In this dynamic; it makes it harder on the farmers and growers. They need to find ways of standing out. They may provide specialty items or unique/rare varieties of fruits and veggies. The issue is that once everybody sees what is selling; they all jump on the bandwagon. That farmer will need to keep innovating season after season and this keeps them on their toes.
It is hard being a farmer with the very long hours. These hours include: planning, seeds, planting, weeding, pest management, harvesting, packing, working the market, all the accounting work and many more things. It’s amazing that they get so much done.
So next time you walk through a farmer’s market please talk to them and see what they have to offer. What you see on their tables; really are the fruits of their labor. Please don’t even try to get a “better deal” on something. They have earned every single penny.