Food Gardening for Connection Series

Part 1: What Shifted In Our Family

Written by: Melissa Botten: MOM, CHN, RYT, Student of Spirituality, Bosslady🐝

There is something really special about seeing a seed in your garden, turn into food. Food gardening is like creating magical experiments, especially for the novice gardener like myself. I am always game for a good challenge plus personally/astrologically, very detail oriented. So, growing things I may someday eat, is super fascinating to me….. My Virgo tendencies, allow me to further my curiosity and pay close mind to the whole process & in this case, turning over a seed into an edible food item.

Just over 2.5 years ago, I was invited to the North Long Beach victory garden, for the tomato festival. While there, I asked all of the booth presenters & food gardeners if they could help me get my kids a job. What I meant was, “put them to work, get em’ outside volunteering, allow them to learn something, and to help our family’s mental health improve. Little did I know, that we were about change our family’s lives in an amazing way.

Food Gardening, introduced us to creating a food source, getting outside in a new way and putting our hands in Mother Earth with more of a purpose.

We also got to meet new people of common interests, improve our relationships with each other, build a greater sense of hope and inspiration & overall, improve our mental health.

Anyone else out there have trouble getting your kids to eat regular, routine amounts of veggies and fruits? Is it a fight, or are you at an improved level from the last time you checked? You laugh hearing this, but Wow….. I am serious! My children are very open minded and excited to try new things, but they are also my greatest critics when it comes to food and innovation. So, if you ever really wanna know the truth, ask a child, or just ask mine.

While maintaining balance as best we can as parents, putting the green stuff out onto the table is risky. Will it go to waste, will they pretend to eat it, then hide the evidence in their cheeks or pockets like I used to do? I remember one of my aunts telling me as a new mom, that my children will act & do to me, as I did to my parents. Ha! I’m doomed.

As a young lady growing up during some of the trendiest, dangerous and most fad diets in history, I was so confused about food & nutrition. I also knew at a young age that I was a vegetarian, in my heart I knew. I was just like many kids that grow up in the mountains or have dad’s that are hunters. We eat the meat because that’s just what we do for meals and family tradition. Both of my parents were providers and my dad was the hunter.

From a young age I had food allergies, which did help devote my need for understanding vegetables, consuming plants, roots & herbs….. and the nutritional advantages & intolerances that go along with it. Because of all of the information that I didn’t understand at that time, my weight ups and downs became part of my lifestyle. Hi I’m Melissa, I’m a recovering yo-yo dieter.

My experience was mostly because of the fact that I didn’t know what I was doing, I was following trends. and a trend is not necessarily a bad thing but what’s missing most of the time is information around that.. TREND.

Understanding that not everyone can afford a nutritionist or go to school to get a certification in nutritional science, it’s hard to know who to talk to about your health concerns that are personal to YOU. There are so many opinions out there, do this, do that, not this, try that. However when we discovered that we can grow our own food and how easy it can be, everything changed. This is where our family and my private practice took nuritional healing to the next level.

This is just a another good thing about holistic healing & nutrition, it has little to no side effects except for improving your health. Let a kid plant a seed and see what happens. Let them dig into the ground, spit in the soil on top of that seed(this is fascinating for the DNA will grow into the seed of that plant). This technique of swapping saliva is essentially, claiming that food source for the person who spit on it. I’m not sure how a much closer you can get to your food than that.

So dig in friends! Grab a simple pot with ventilation in the bottom, get some soil and seeds, and get growing! Sprouts from growing veggies are ready within days… Your thyroid will thank you. Radishes and peas grow REALLY FAST as well as many other veggies that will yield harvest in 90 days or less. Also, this food your growing… it’s ALL FREE. So if anything, save your money for vacations and grow your own food!

We are on YouTube!

Hello and welcome!

I have been uploading regularly to YouTube over the last couple of months and would love for you to join me! All you gotta do is just tap the banner and follow our journey over there! Don’t forget to smash the subscribe button followed by the bell icon to get notified when we upload!

Thank you for stopping by!

Luis T

P.S. I am working on bringing in guest bloggers with posts that are related to gardening. Please stay tuned for that!

Banana Zucchini Bread

My wife made this delicious bread with a homegrown zucchini. She started with the recipe from the link but had a few modifications.

Taste of Home

This is the modified version:

  • Total Time
  • Prep: 20 min. Bake: 75 minutes+ cooling 
  • Makes
  • 2 loaves

Ingredients

  • 4 large eggs, room temperature
  • 1 1/2 cups sugar
  • 1 cup of applesauce
  • 2 medium ripe bananas, mashed (about 1 cup)
  • 3 cups all-purpose flour
  • 1-1/2 teaspoons baking powder
  • 1-1/2 teaspoons baking soda
  • 1-1/2 teaspoons ground cinnamon
  • 1 teaspoon salt
  • 1-1/2 cups shredded unpeeled zucchini
  • 1 cup of mini chocolate chips

Directions

  • In a bowl, beat eggs. Blend in sugar and applesauce. Add bananas and mix well. Combine the flour, baking powder, baking soda, cinnamon and salt; stir into egg mixture. Stir in zucchini and mini chocolate chips just until combined.
  • Pour into two greased 9×5-in. loaf pans. Bake at 325° for 1 hour and 10 minutes or until a toothpick comes out clean. Cool for 10 minutes. Remove from pans to wire racks to cool completely. 
If Cooking for Two: Wrap and freeze one loaf to enjoy later.
That’s it. I’m enjoying a slice with coffee as I type this. Let me know in the comments if you made it and the results.
Also, let me know if you would like to see more recipes.
Luis T

Growing From Seed: Kohlrabi

This is only my second time ever growing kohlrabi from seed. I grew them last, from seed, and used peat pellets. The same pellets that I used to start up the lettuce seed from the last post.

(THIS POST MAY CONTAIN AFFILIATE LINKS FOR YOUR CONVENIENCE. PLEASE REVIEW OUR DISCLOSURE FOR MORE INFORMATION.)

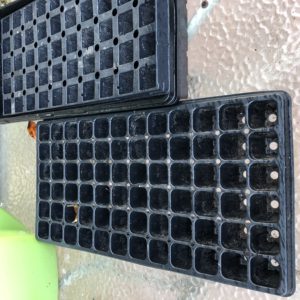
I had a couple free hours and wanted to get some seeds started but was out of pellets. I had a bag of soil and decided to use that. I set out the trays and filled them with soil. I dropped in a few seeds into each cell and pressed them into the soil. I lightly covered them with more soil and filled the bottom tray with water so that the soil could soak up the water.


I put out all the trays in an area of the backyard where it would get some sun but not all day sun. I used that week of warm weather to my advantage and many of the seeds started to germinate.

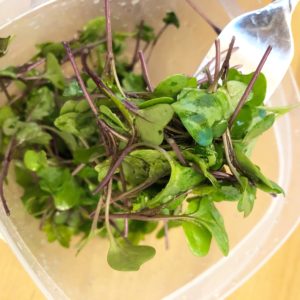
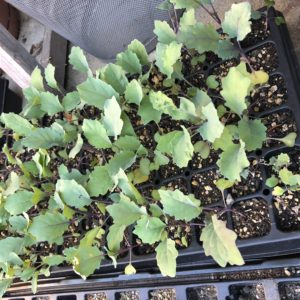
A few weeks later, I had to thin down the seedlings per tray from 3 or 4, down to 1. Those sprouts did not go to waste and went inside the house for a quick rinse. They were then mixed in with half a tablespoon of sunflower oil and were enjoyed as a mini microgreens salad. What is the point of letting them go to waste?

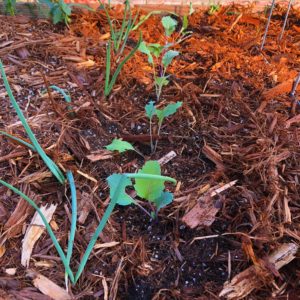
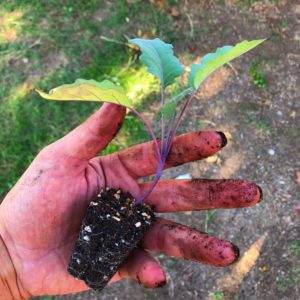
Once the plants were thinned, they were just checked for moisture levels and watered when needed. After a few more weeks of growth, they were planted out into the raised beds and some into 6 packs to be transplanted out at another garden.

The plants will stay here until they are ready to harvest. I’m just hoping that the weather cooperates and we can be enjoying these very soon. One thing that gardening has taught me is patience. We are always so busy around here that it should not seem that long of a wait.

Luis

Materials List:

  1. 10×20 trays
  2. Seedling Starter Trays, 720 Cells: (120 Trays; 6-cells Per Tray), Plus 5 Plant Labels

  3. Seed starting Medium: Coco Coir Bricks, Seed Starting Mix, Potting Mix


Growing From Seed: Lettuce

(THIS POST MAY CONTAIN AFFILIATE LINKS FOR YOUR CONVENIENCE . PLEASE REVIEW OUR DISCLOSURE FOR MORE INFORMATION.)

Lettuce is one of the easiest crops but can also be the hardest to grow. They sprout pretty easily but you can’t let get them too hot as it will bolt/ go to seed. Once that happens, they usually become bitter.

This post is about my most recent time starting lettuce from seed by using peat pellets. I had some left from a bag of 200 that were ordered on Amazon.

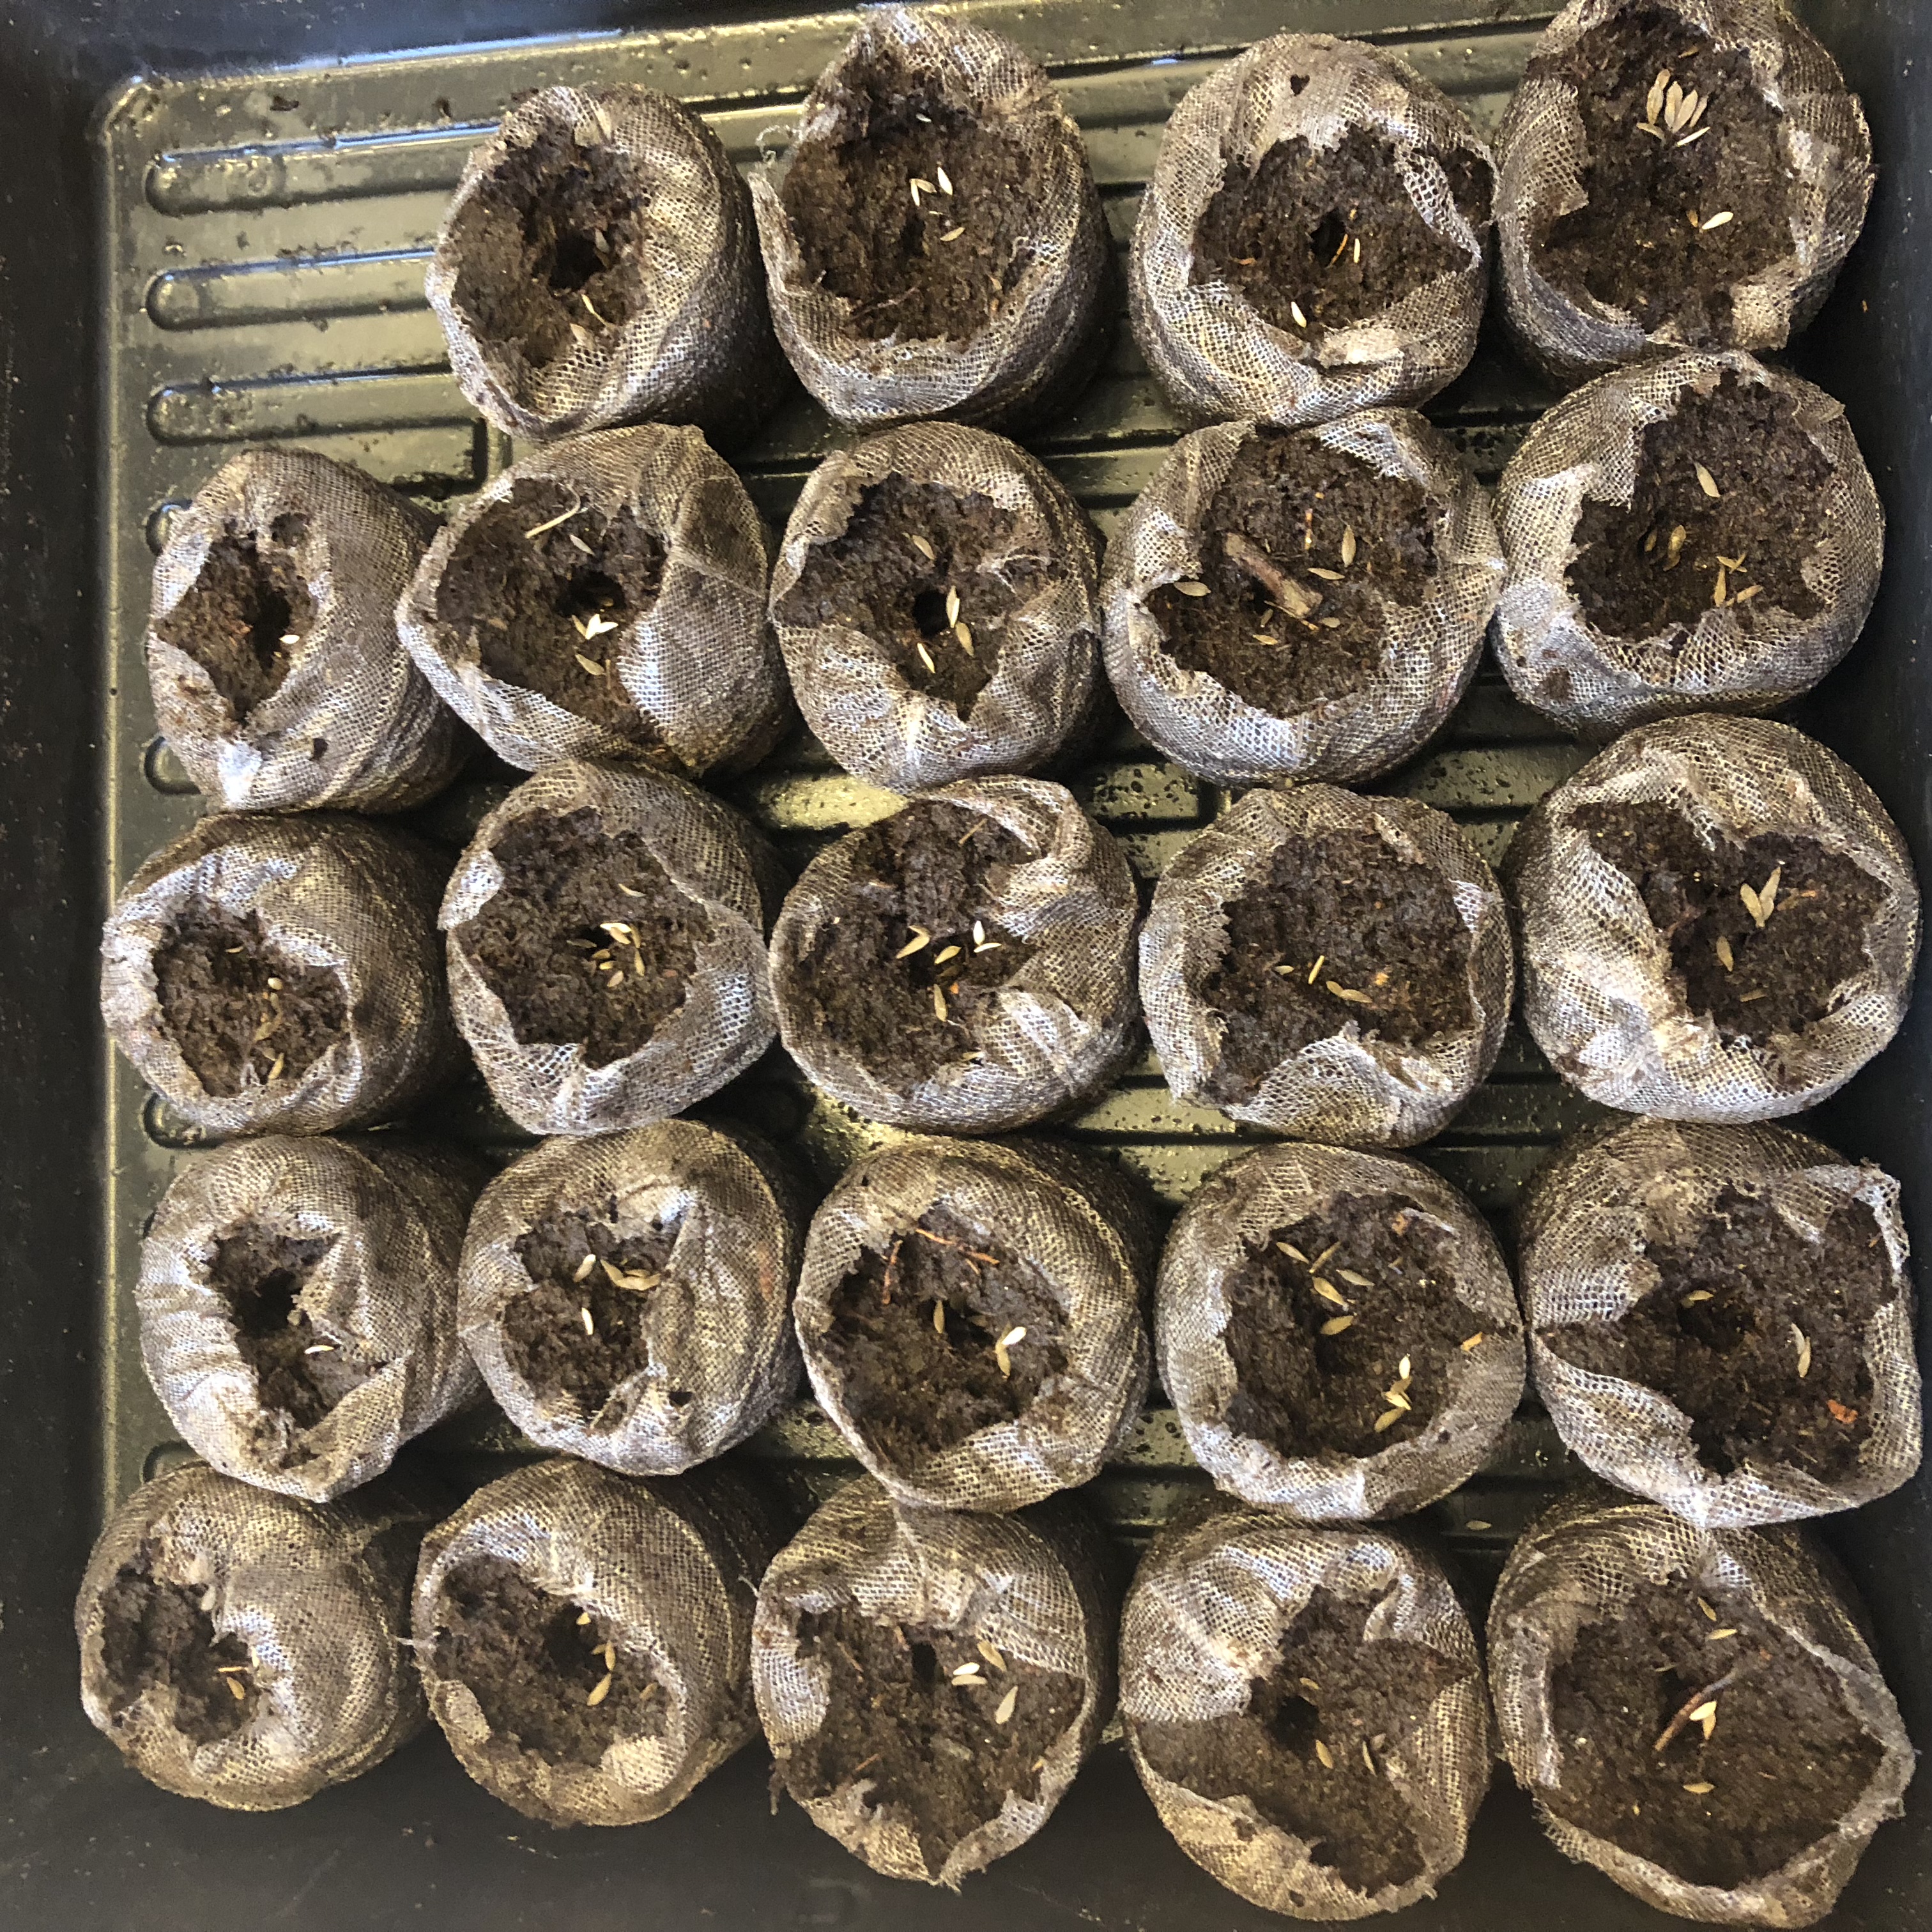
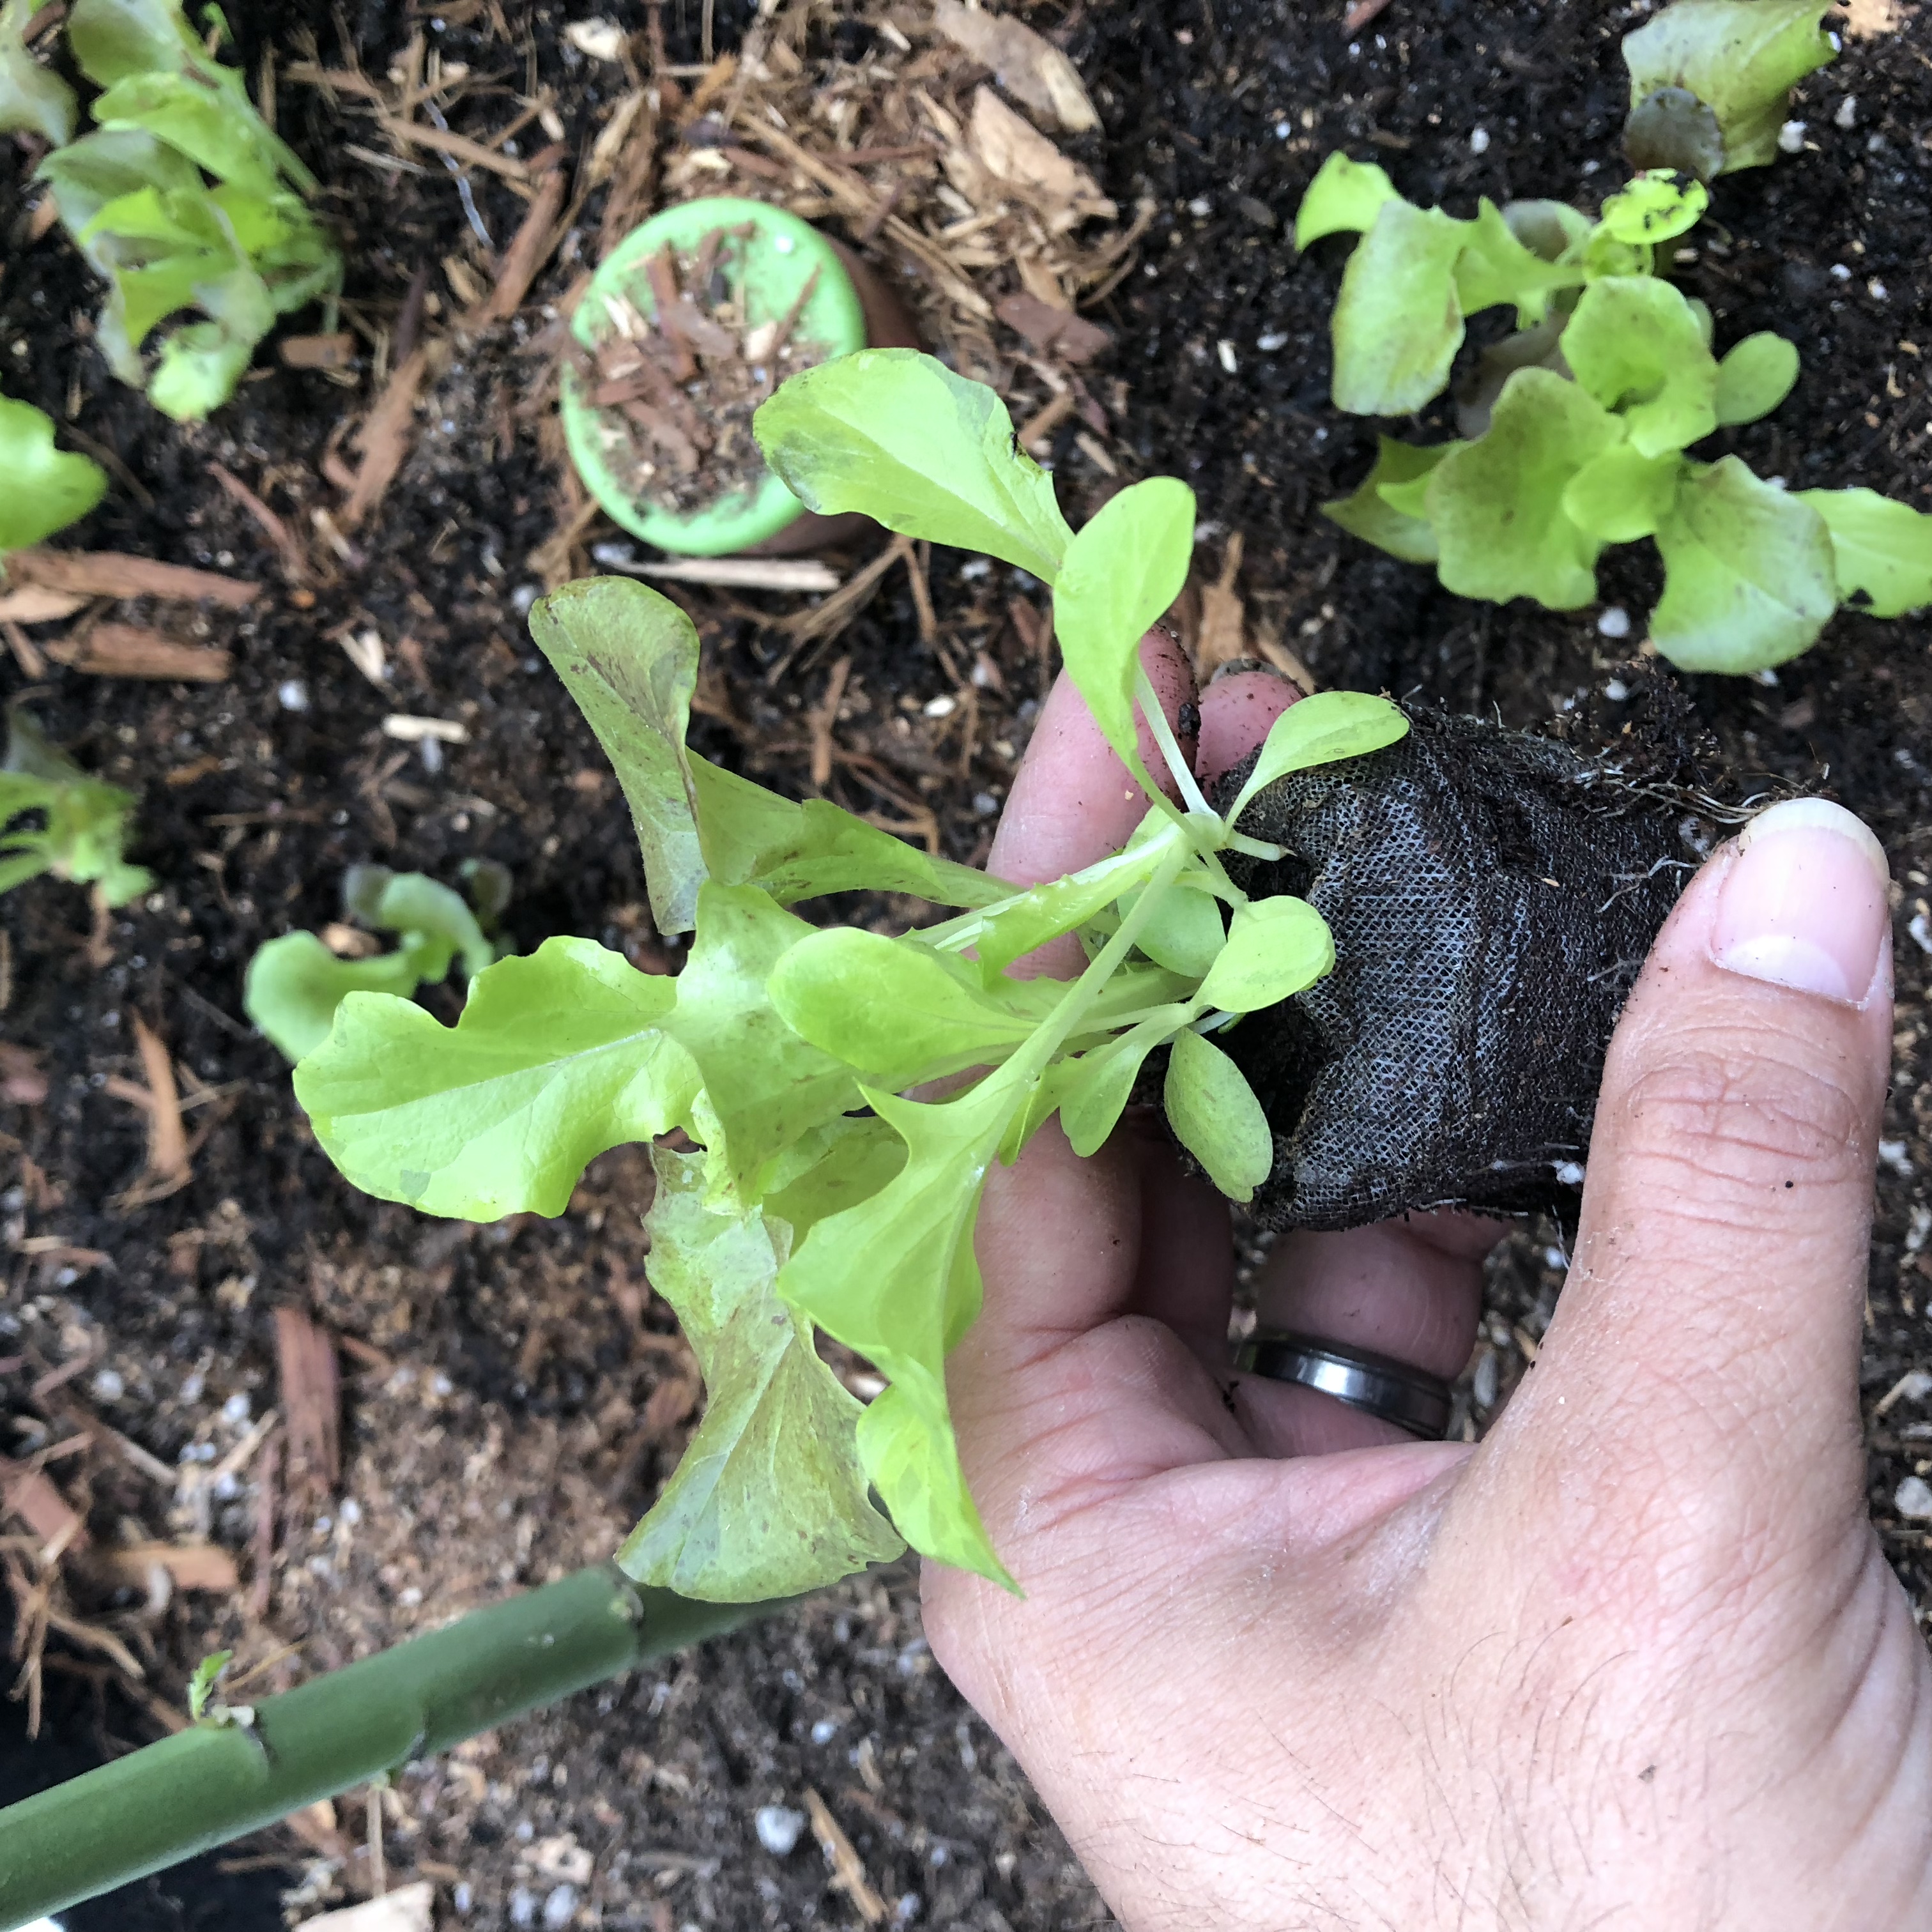
I filled a small tray and added warm water. The little pucks expanded and were ready for seeds. I dumped out the extra water and made sure that there were openings in the netting for the seeds. The seeds get covered in the peat and were left alone for a week.

I put the tray in an area of the backyard that gets some sun but not all day. I was lucky that the pellets didn’t dry out. If I had put it in full, all day sun, they would’ve dried out in a day or two. If it doesn’t feel moist, just add water to the tray or container that the pellets are in. They will soak up the water and you just dump out out the extra water.

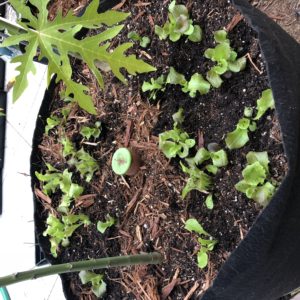
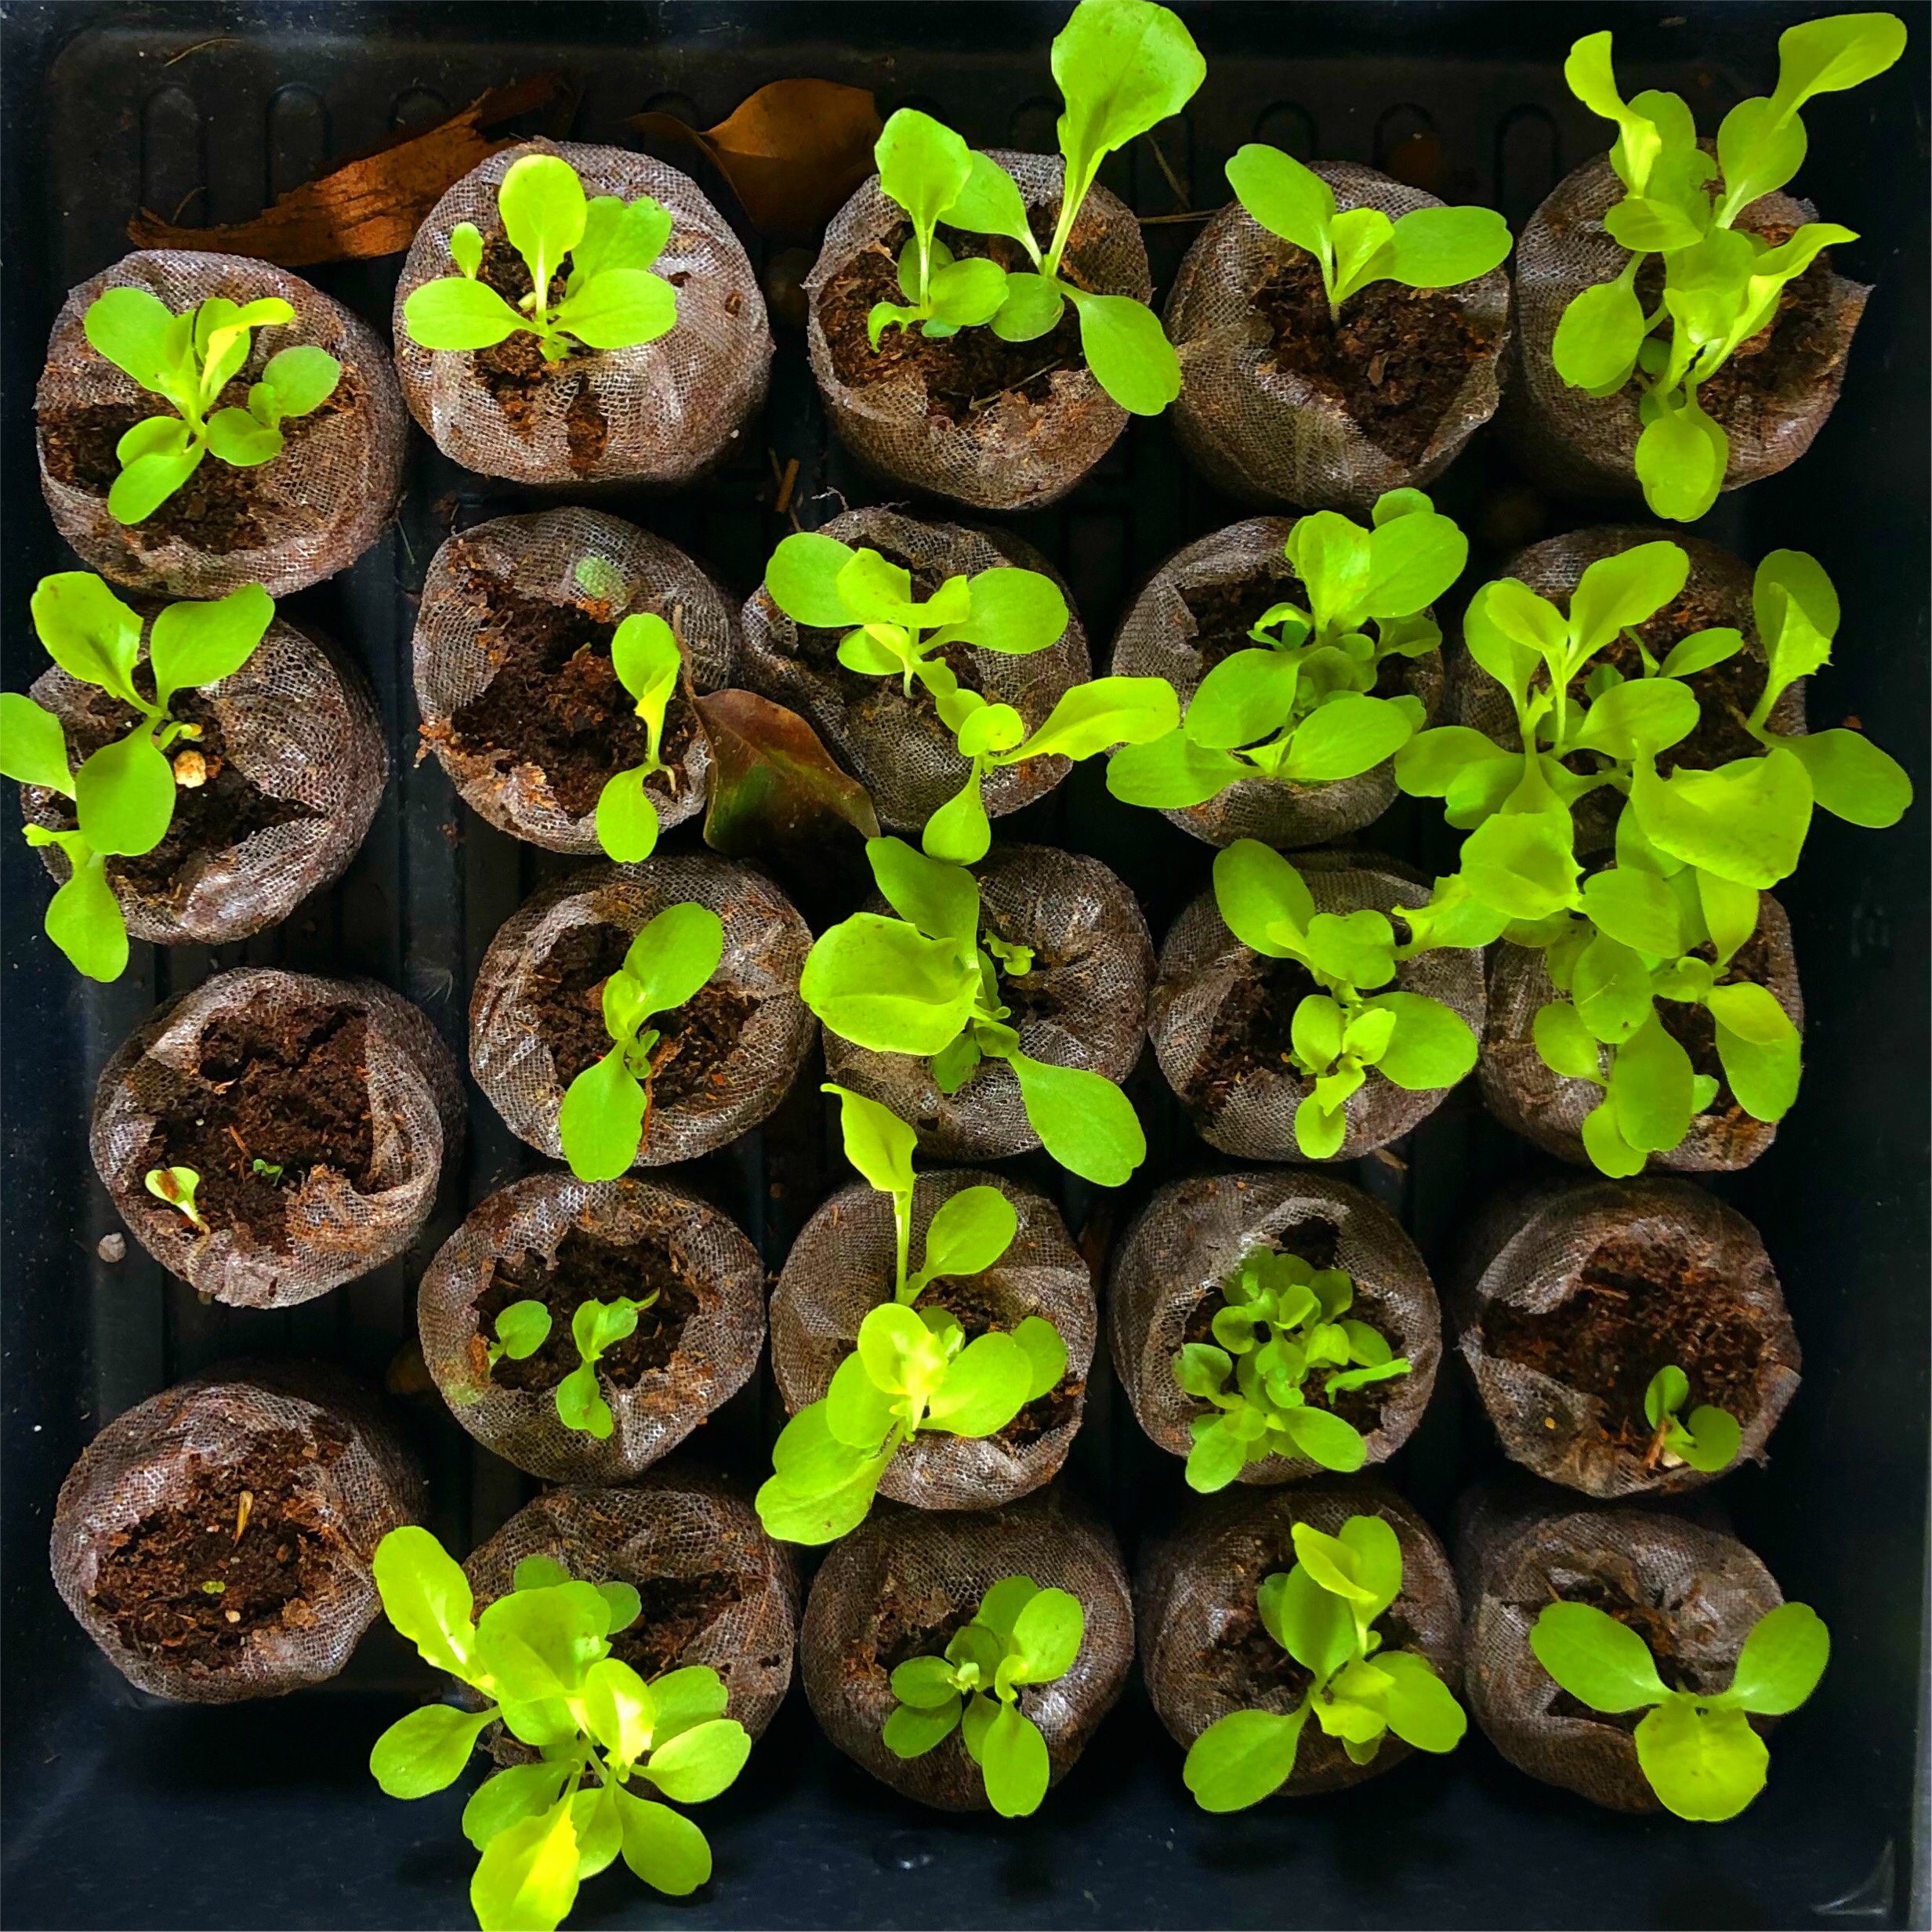
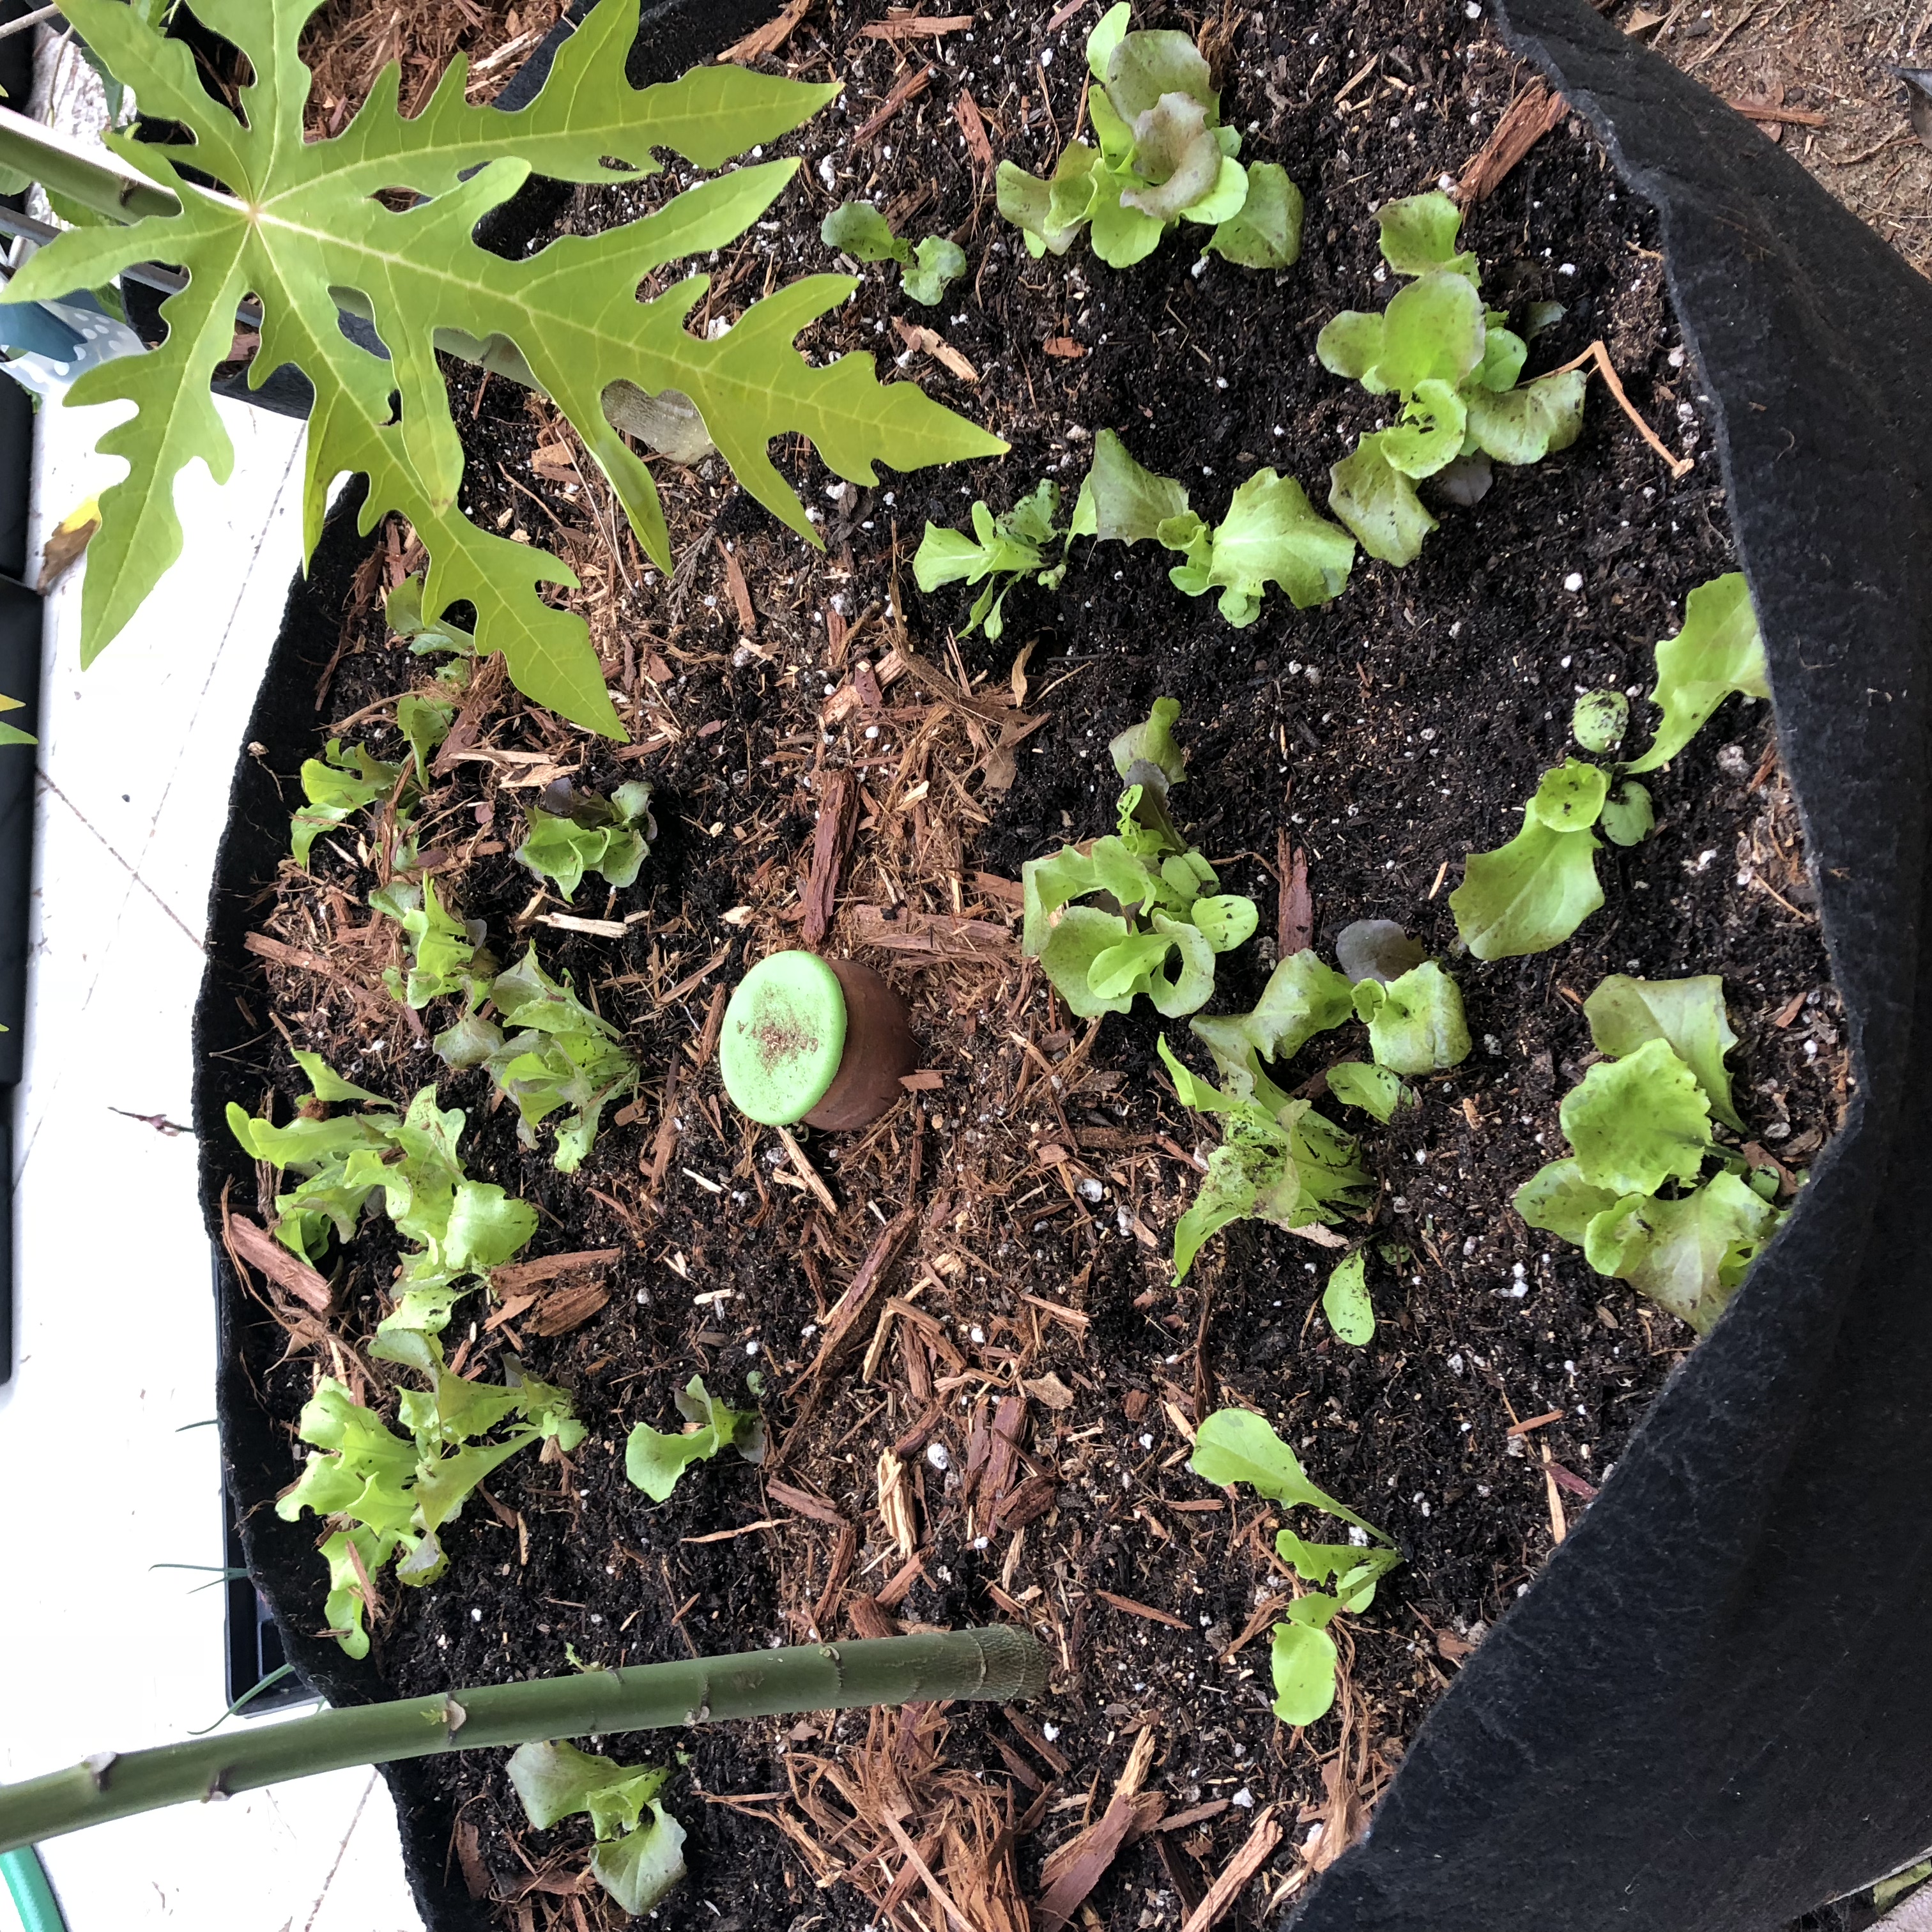
I left them alone and the seeds just exploded in growth. Once the plants got a little size to them; they were transplanted I to a large Smartpot that already had two small papaya trees and a Growoya.

I simply moved back some of the mulch, removed the netting on the pellet, made a small hole and dropped in the whole pellet. I backfilled with soil and cover it back up with mulch. As always, water when you transplant. It didn’t take much as the Growoya keeps the soil pretty moist. I just refill it once a week.

That’s it. You don’t need any fancy equipment. I may check on these lettuce every few days but I hope to be eating from here in couple of more weeks or less.

Here are the Amazon links:

1. Peat Pellets

2. 10×10 Trays

That’s all you really need, other than seeds. It only took 3 weeks from seed to transplant. We should be harvesting in another week or so.